If you’re having problems with your electric water heater, you may want to troubleshoot the issue yourself. Of course, to do this you would have to drain the tank — which can be done in six easy steps.
Consider this a quick and simple guide on how to drain an electric water heater. Keep reading to learn more about the draining process.
Getting Started: Safety Precautions and Tools
Before you can begin draining your water heater, there are a few preliminary steps to take for your own safety. So, to get started, here’s what you’ll need to do first:
- Turn off the power that connects to the water heater by going over to your electrical panel, opening it, and locating the fuse or circuit breaker that powers it. Turn the water heater power off.
- Next, you’ll need to turn off the water supply to your water heater. To do this, you’ll need to locate the water shutoff valve, which is usually near the cold water inlet pipe at the top of the water heater tank. Turn the valve clockwise to shut off the water.
- If you are unable to locate the water supply shutoff valve, you can turn off your water supply at the source — the main valve of your home.
You’ll also need to have a few items handy to help drain your water heater. You likely have the necessary items in your home already, so there’s probably no need to run out to the hardware store.
Here’s what you’ll need:
- A garden hose
- Flathead screwdriver
- Bucky
- Rubber work gloves
- Towel
Once you’ve gathered all of the items needed and shut off the water supply and power to your water heater, you can go ahead and drain your water heater by following the steps below.
6 Steps to Drain Your Water Heater
If you’re planning to drain your water heater for regular maintenance, such as removing any remaining sediment from the tank, it’s a good idea to take a hot shower beforehand. This pro tip can help lower the current water level in the tank while also removing some of the hot water. It’ll also help lower the water temperature quicker, which is beneficial as it’s recommended to allow the water to cool for your own safety.
Now let’s get to the steps:
Step 1: Locate the Drain and Get it Ready
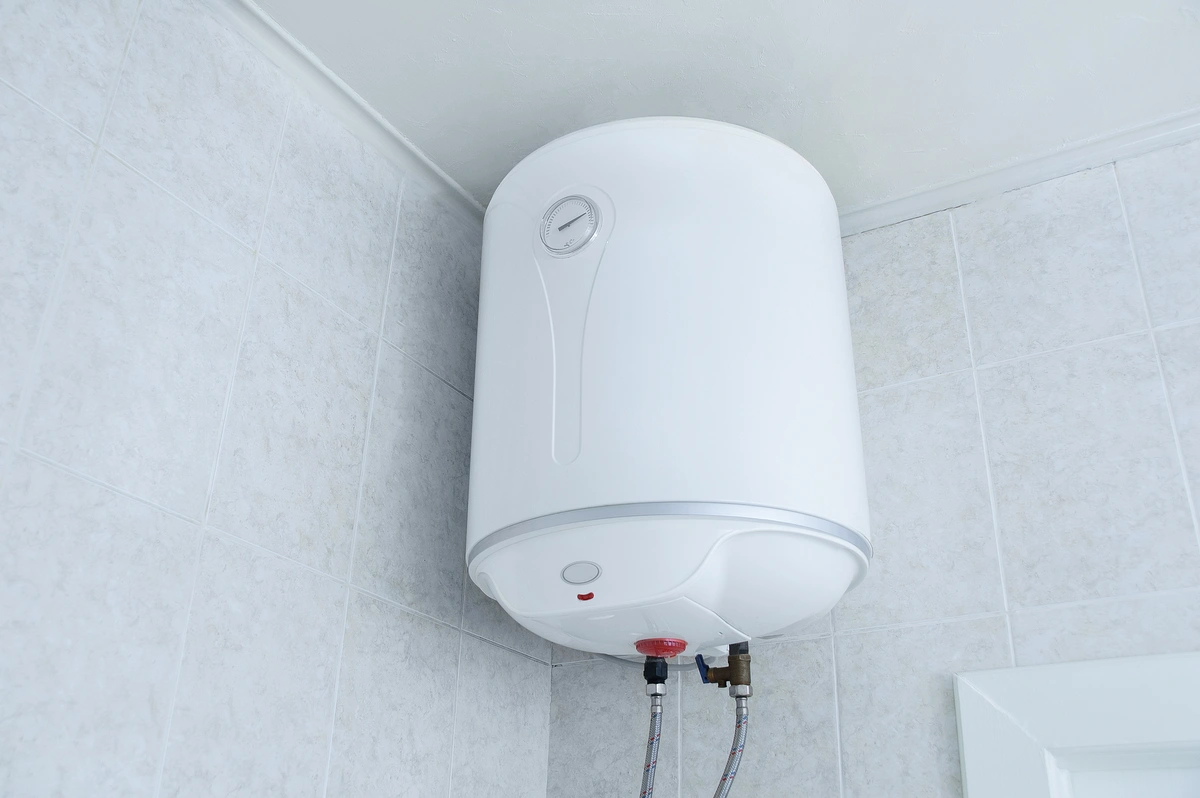
At the bottom of the tank, there’s a component known as the drain cock. It’s typically a silver, brass, or plastic valve that has a threaded end. This is where the water will be draining from.
To get the drain cock ready, you’ll want to:
- Attach your garden hose to the drain valve via the threading (it should fit snugly with the threading, so you won’t have to worry about leaks).
- Run the garden hose to either your floor drain or bucket — whichever is most convenient for you.
Step 2: Open the Pressure Release Valve
Next, you’ll need to locate the temperature and pressure (T&P) valve — or, pressure release valve — in order to alleviate pressure from your water tank.
- Check on either side or the top of your water heater for a valve that has a tube tilted towards the floor. It’ll be connected to a metal pipe, so it should be easy to find.
- Flip the lever on the pressure release valve into the opposite position (usually upward) to open it.
Step 3: Allow the Water to Cool
As mentioned earlier, it’s best for your own safety to allow the water tank to cool off before following the next steps. Of course, you can still drain the water while it’s still hot, but you’ll want to keep in mind that it will be scalding hot.
It’s best to wait two to three hours for the water temperature to cool down — especially if you forgo the hot shower beforehand.
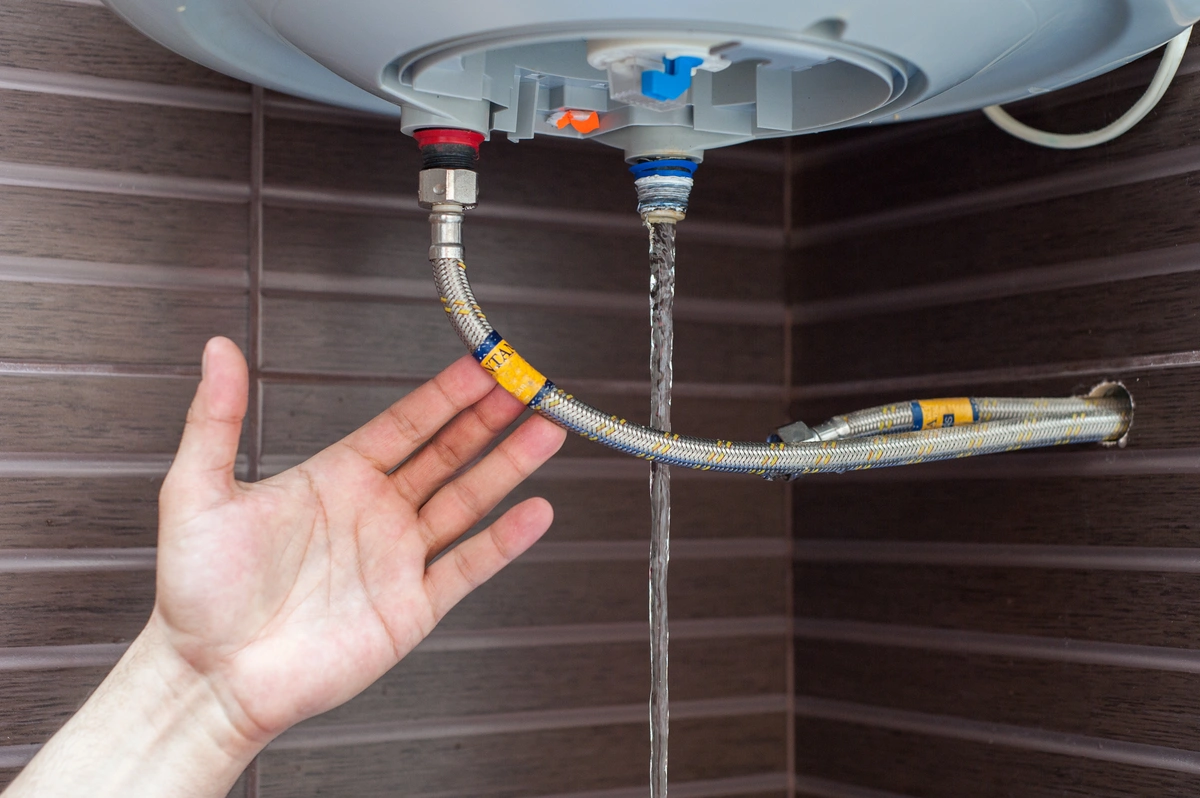
Step 4: Drain the Water Heater
Once the water is cooled, it’s time to drain it. This is when you’ll want to put your rubber gloves on, as they’ll protect your hands from any hot water or sediment.
- Locate the drain valve. Keep in mind that some drain valves have handles while others only have handleless stems. If yours has a handleless stem, there should be a slot that’s perfect for your flathead screwdriver.
- Turn the valve counter-clockwise to start the water flow. If you’re only doing a partial flush, you’ll only want to let a few gallons out. If you’re doing a complete flush, you can let the water run until the tank empties completely.
If you’re using a bucket to collect the water, you’ll likely have to close the valve and dump it several times)
Step 5: Close the T&P Valve

Once the draining has finished, you’ll need to close the valve by flopping the lever in the opposite directly (usually clockwise). If you’re using a hose, you can go ahead and disconnect it now as well.
Step 6: Restore the Power and Water
Once the water tank is completely drained, you can go ahead and take care of any maintenance or troubleshooting required. Once that’s finished, all you have to do is restore the power and water supply.
- Make sure all valves are closed — including the shutoff valve
- Head back to your electrical panel and turn the circuit or fuse back on to power the water heater tank.
- Wait for the water to fill back up in the tank before attempting to use any hot water. This should take about 20-30 minutes for a 40-gallon water tank and 30-40 minutes for an 80-gallon tank.
Don’t Forget About the Professionals
Draining your water heater is easy — troubleshooting and fixing issues is the hard part. If you’re simply flushing your water tank to get rid of sediment, which is recommended, it’s best to call professional plumbers for all of the other stuff.
That’s where we come in. A.J. Alberts Plumbing has been making residential plumbing look easy for over 30 years. Give us a call for all of your water heater tank needs and more — we’ll come right away!