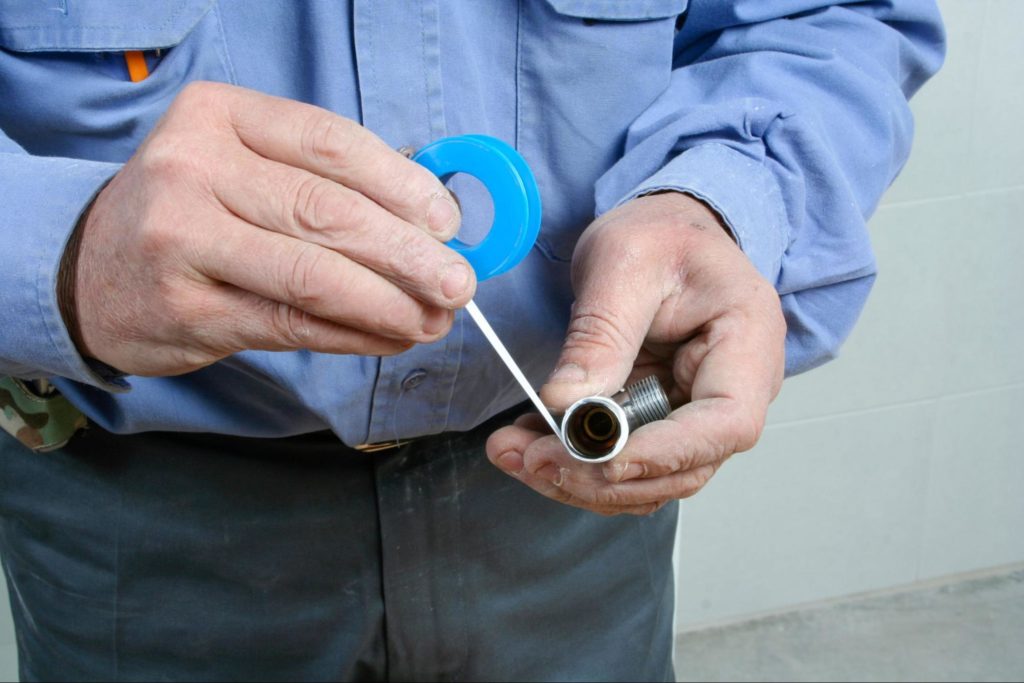
Trying to learn how to fix a PVC pipe leak like the pros?
You’ve always dreamed of being a DIY home improvement superstar but haven’t had the chance to shine. And then it happens… Your PVC drain pipe in your kitchen or bathroom starts leaking.
This is your moment. As long as leaks aren’t in a PVC joint, you should be able to fix the issue temporarily. Since drain pipes aren’t pressurized, DIY repairs are actually pretty effective until you can get a professional over to fix the leak permanently.
Learning how to fix a PVC pipe leak is fairly simple, and you have four plans of attack to choose from:
- Rubber or Silicone Repair Tape
- Fiberglass Wrap
- Rubber and Hose Clamps
- Repair Epoxy

Repair Option #1: Rubber or Silicone Repair Tape
Rubber or silicone repair tape is heavy-duty tape that sticks to itself. It is easily stretched because of its gummy nature. This type of repair tape works best on cracked pipes rather than leaking joints. Repairs with rubber tape are very simple.
What You’ll Need:
- Scissors or utility knife
- Clean rag
- Rubber or silicone repair tape
Step 1: Dry and Clean Out the Pipe
Repair tape works best when applied against dry PVC plastic. Use your clean rag to wipe down the pipe so that it is fully dry and free of any grime.
Step 2: Wrap the Repair Tape
Be sure to wrap the tape very tightly around the leaking area. You can either rip off a piece of tape or wrap the tape roll around the pipe a few times before cutting it. If the leaking split is running lengthwise across the pipe, wrap the tape in a spiral fashion along the length of the split.
Step 3: Test It Out
Run water through the drain pipe and see if the rubber tape has fixed the repair. Keep in mind that this should be a temporary fix, and you should call a professional plumber to replace the pipe as soon as possible.
Repair Option #2: Fiberglass Wrap
Fiberglass wrap is a type of cloth coated with water-activated resin. Once again, this fix is best for leaky walls of drain pipes, not joints.
What You’ll Need:
- Clean rag
- Fiberglass wrap
- Scissors or utility knife
Step 1: Clean and Dry the Pipe
This will be the first step for all of your repair options. Be sure that your pipe is dry before attempting a repair.
Step 2: Cut and Apply the Fiberglass Wrap
First, cut a piece of fiberglass fabric big enough to fit around the split. Then, wet the fiberglass fabric and wrap it tightly around the area. The piece should be big enough to extend the wrap at least 2 inches on each side of the leak.
Step 3: Let the Wrap Harden
Don’t immediately test this solution because the fiberglass wrap will need to dry and harden fully first. Usually, this takes about 15 to 20 minutes. When it’s dry, you can test the repair.
Repair Option #3: Rubber and Hose Clamps
If the leak is on a smooth section of the pipe (not a joint or contoured area), and it’s isolated in one area, then a piece of rubber and some hose clamps can temporarily stop your leak.
What You’ll Need:
- Scissors or utility knife
- Screwdriver
- Clean rag
- Piece of sheet rubber
- 2 or more worm-gear hose clamps
Step 1: Cut a Rubber Patch
After you clean and dry your pipe, cut a patch of sheet rubber to fit around the crack. An old bicycle inner tube works great for patching rubber. Then, position the rubber over the crack.
Step 2: Attach the Hose Clamps
Fully loosen a pair of worm-gear hose clamps, then place them over the rubber patch on the pipe. (They should be aligned directly over the ends of the split.) Tighten the hose clamps until the rubber is forcefully compressed.
Step 3: Test It Out
If positioned correctly, this method should seal the crack completely, but run water through the pipe to check if it worked. This is a very temporary fix, so be sure to schedule professional repairs ASAP.

Repair Option #4: Repair Epoxy
Epoxy is a putty or liquid material used to bond PVC and other plastics. This is a great solution for fixing small leaks in PVC fittings and pipes.
What You’ll Need:
- Plastic disposable putty knife
- Clean rag
- Two-part epoxy patch kit
Step 1: Mix the Epoxy
After cleaning and drying your pipe, follow the manufacturer’s instructions on the repair epoxy you have. Most repair epoxies have a two-part mixing process. Most liquid epoxies are self-mixing, while putty epoxies often require hand-mixing.
Liquid epoxy is better for leaks in tight areas, and putty is great for easily-accessible leaks. Keep in mind that you have a limited time to work with the epoxy once it’s mixed, so don’t mix it together until you’re ready to apply it.
Step 2: Apply the Repair Epoxy
Thoroughly coat the cracked area with epoxy. This method can work on leaky joints, so be sure to run a bead of epoxy around the entire joint if that’s the case. Let the epoxy dry according to the manufacturer’s directions. This can be anywhere from 25 minutes to 1 hour or more.
Step 3: Test the Epoxy
After the epoxy is fully hardened, run water through the drain. Keep your eye on the area and don’t let the repair sit too long before having a professional plumber replace the pipe.
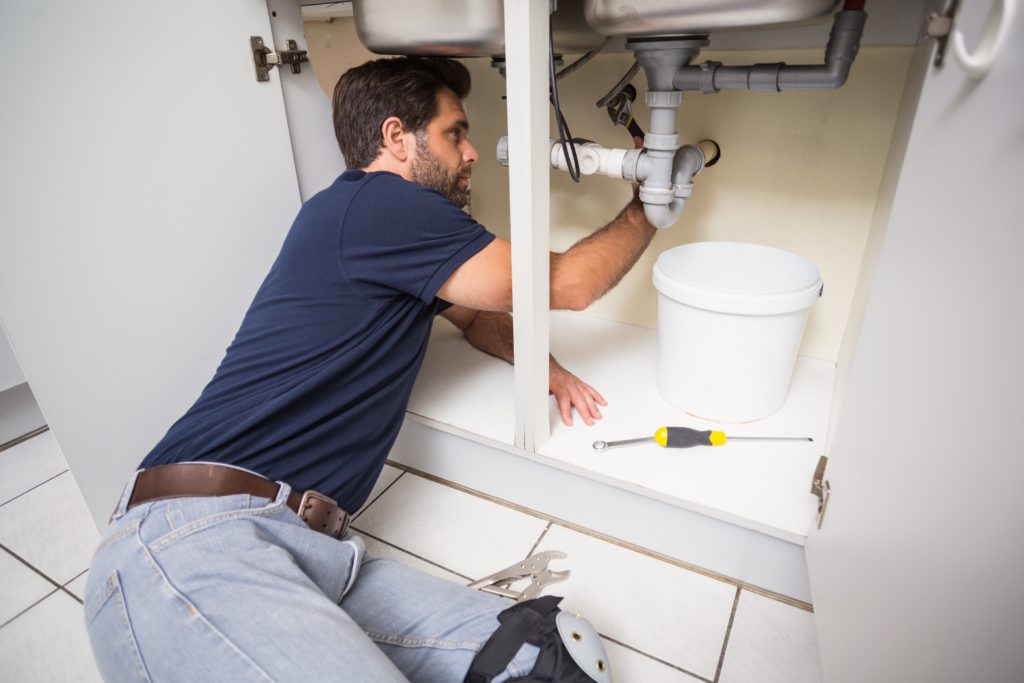
DIY Repairs: Enough to Hold You Over Until AJ Alberts Arrives
It can be super satisfying to complete a successful DIY repair on a PVC drain pipe. But keep in mind that all repairs like this are a temporary fix, not a permanent solution. The only way you can fix the problem long-term is to call an experienced plumber.
Whether you have leaky bathroom pipes or an issue in your kitchen, the skilled team at AJ Alberts will solve your problems quickly. And if you’ve had a few unsuccessful DIY attempts, we’ll fix those too. Just call us first next time and save yourself the frustration.
Reach out to AJ Alberts Plumbing for all your go-to leaky pipe needs in the Twin Cities.