Annoyed by low water pressure in your shower?
The problem may not be with your plumbing—it could just be a grimy shower head restricting the water flow. Today you’ll learn how to clean a shower head (the right way).
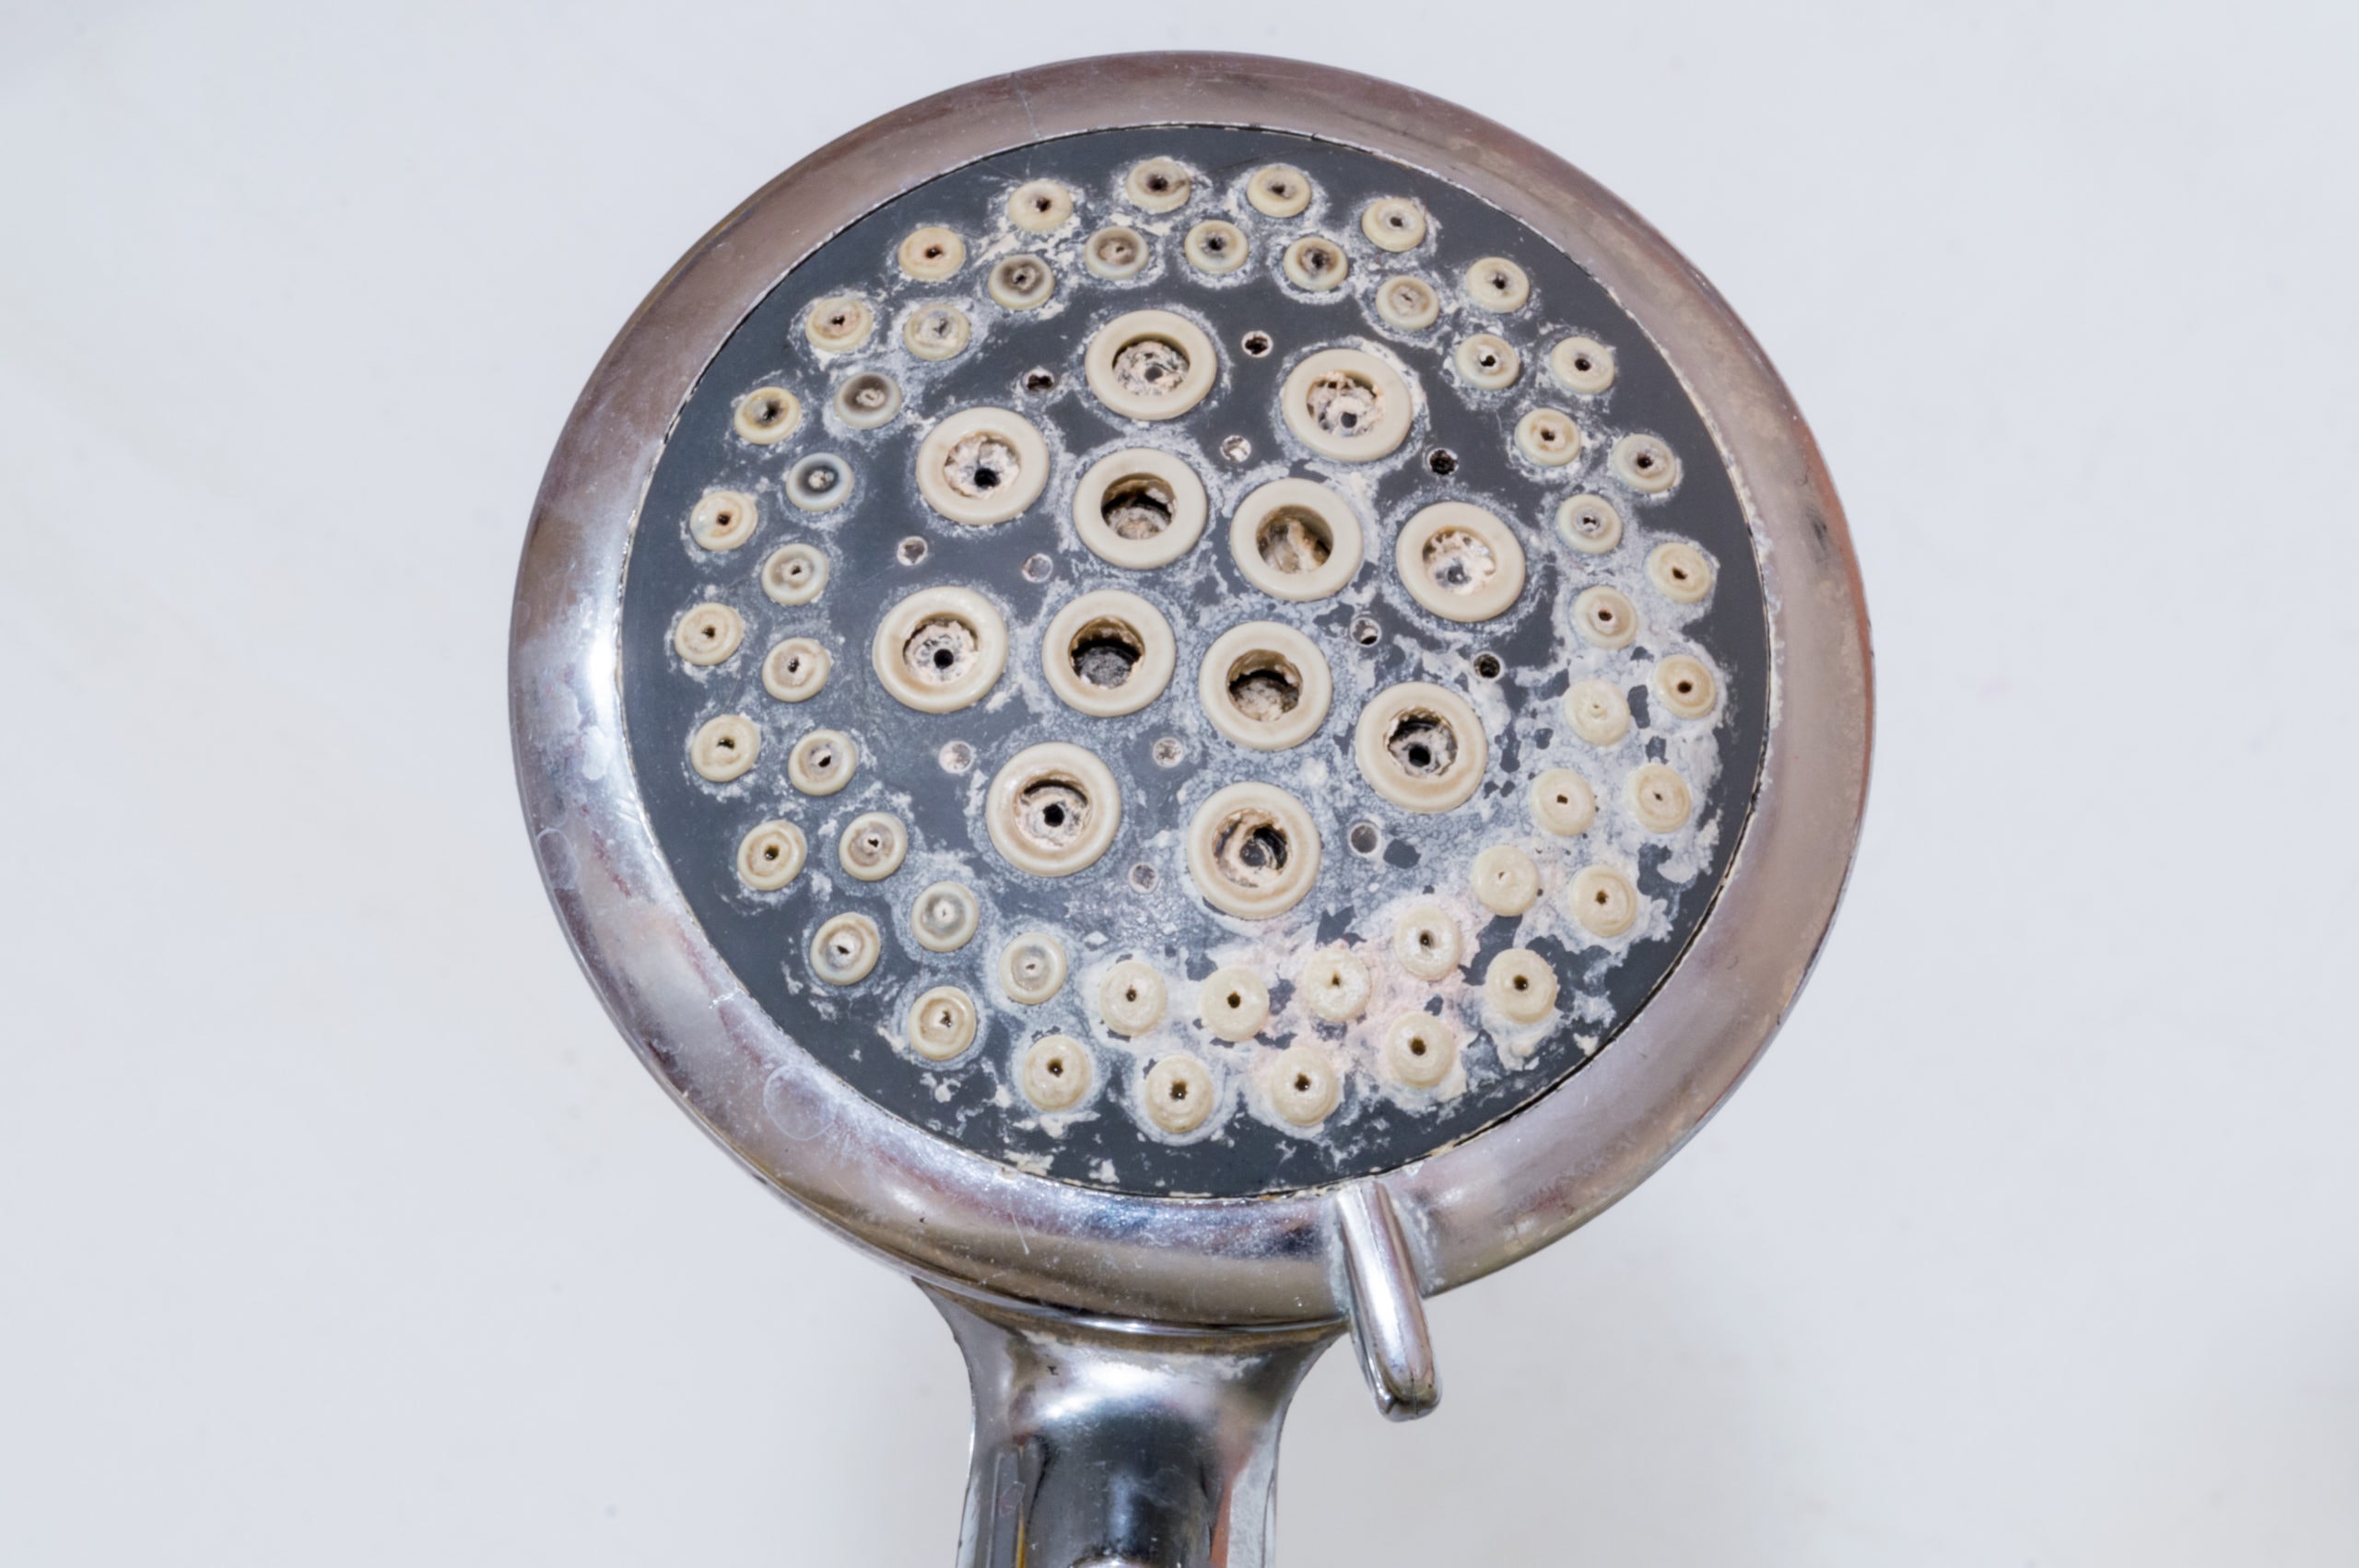
Over time, you may find your shower head showing signs of white or orange build-up. This build-up is from minerals in the water that get left behind as water flows through. The harder your water, the more build-up you may see. But, this doesn’t mean you need to buy a new shower head. You can keep it clean and flowing with things you already have around your home!
Consistent cleaning of your fixtures can keep your pipes from backing up and give you better water pressure. We’ll walk you through two common DIY methods of cleaning your shower head and the directions for each.
The Quick Cleaning Method
One way to clean your shower head doesn’t even require you to remove it or break your arms trying to scrub it above your head. All you need are these supplies:
- Distilled white vinegar
- Large plastic baggy
- Zip-tie or tape
This method is an easy 3-step process, and you can do it while you clean the rest of the bathroom!
Step 1: Measure out one cup of your white vinegar.
Step 2: Carefully pour the vinegar into your large plastic baggy.
Step 3: Put your baggy around the showerhead so that the entire head is submerged. You may need to add more or pour some out depending on any overflow.
Step 4: Secure the bag in place using cable ties, tape, or something else you can easily tie around to hold it in place.
Step 5: Leave the bag over your shower head overnight, or at least six hours. When you remove the bag, run the hot water to clear out the loosened debris. Wipe the outside of it if you need to.
There you have it! Your water should be running free and clear now, without any build-up blocking the streams. You can use the same technique on your tub faucet if you notice build-up on that as well.
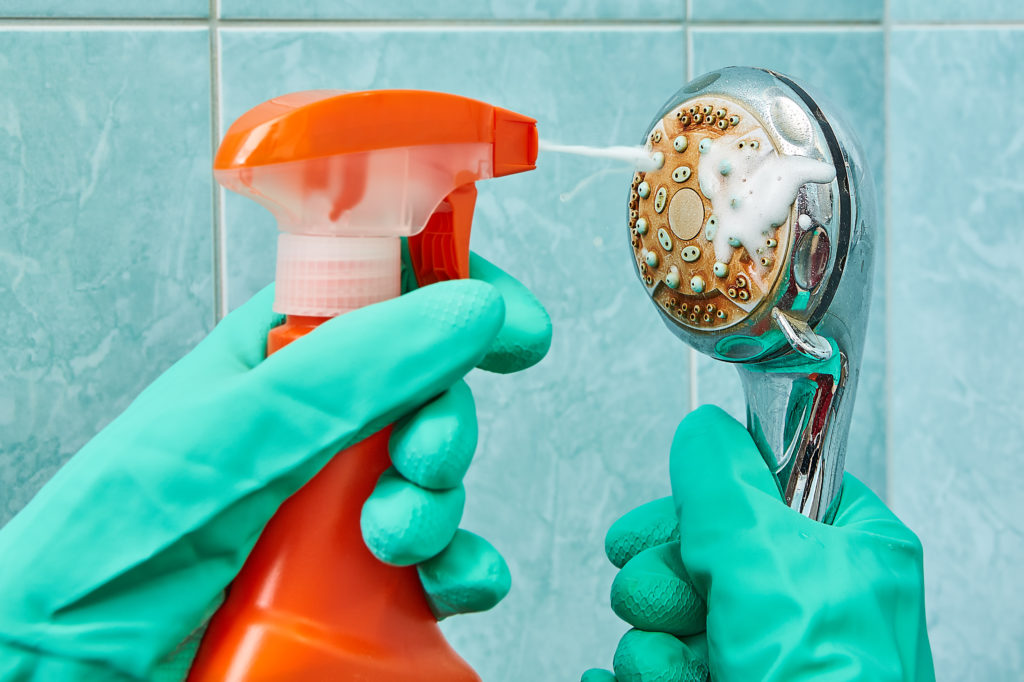
The Deep-Clean Method
The simple method works great for ongoing maintenance or if the build-up on your shower head isn’t so bad. However, this deep-clean should be done for stubborn mineral build-up that needs a little extra elbow grease to clean. You’ll need a few more things for a deep-clean, including tools to remove your shower head.
- Distilled white vinegar
- Bowl
- Cleaning cloth or soft cleaning brush
- Something with a small point like a needle or toothpick
- Wrench
- Needle-nose pliers
Make sure you have the right size wrench or an adjustable plumber’s wrench to avoid scratching or stripping your showerhead and pipes during removal. If you need, hold the showerhead with a cloth to protect it as you unscrew the hardware.
Step 1: Remove your showerhead by loosening the nut connecting it to the feed pipe. Once the wrench gets it loose enough, you can use your hands to remove it the rest of the way.
Step 2: Inspect the threaded connector of the showerhead for debris or damaged o-ring. These can easily be replaced if needed. Remove debris gently with your finger or pliers.
Step 3: Use your pliers to gently remove the filter screen from inside the showerhead and rinse it clean of any deposits or build-up. Set aside.
Step 4: Place your showerhead in a bowl of distilled white vinegar deep enough to submerge it entirely. Same as the plastic bag method: soak it overnight or for at least six hours.
Step 5: Remove the showerhead from the bowl and give it a rinse. Using your needle, toothpick, or another pointy object, gently clear out mineral buildup from the holes in your shower head. This can completely remove anything blocking your water from flowing freely. Be careful not to damage the showerhead or get your small tool stuck in the holes.
Step 6: Put the filter screen back in your shower head and reconnect it to the feed pipe. Run the shower with hot, full pressured water for a few minutes. Check that it’s flowing better and make sure there are no leaks in the connection.
Note: For super stubborn mineral buildup, try a vinegar solution of baking soda and white distilled vinegar in the bowl. The two will react and fizz to really deep clean the mineral deposits off of your shower head. This can also be applied to the tub fixture and shower drain.
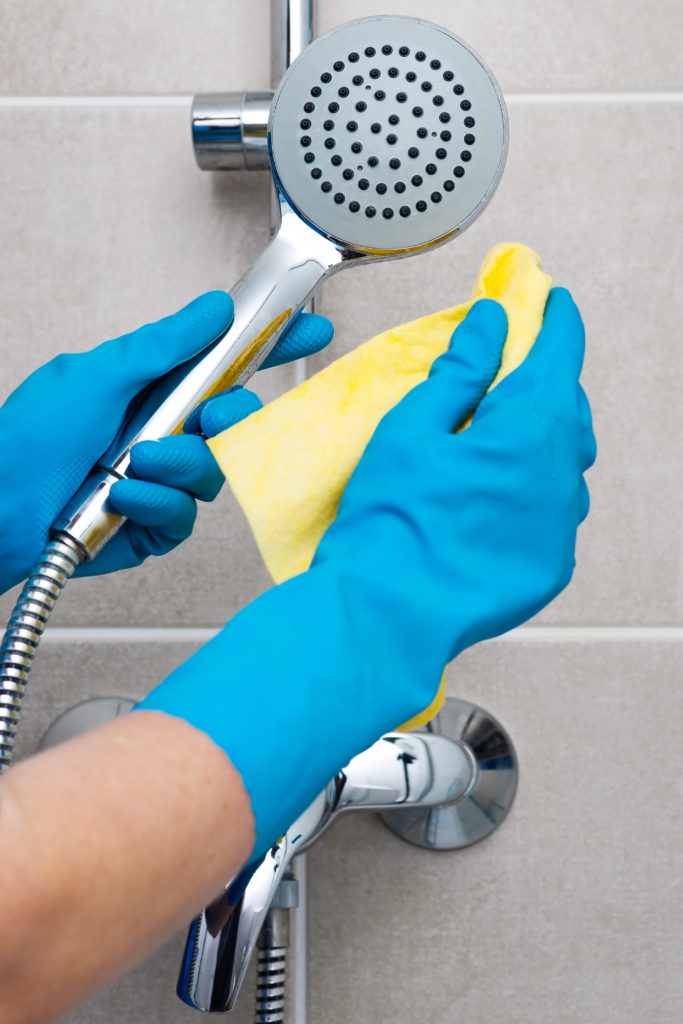
What Causes Mineral Buildup?
If you notice white filmy mineral buildup on surfaces like stainless steel, chrome, glass, or your bathroom fixtures, chances are you have hard water. And these white stains are caused by excess calcium and magnesium in your water. If you notice brown or orange stains on fixtures, you likely have an excess of iron and copper in your water. But, these minerals can be removed using filtration.
If your home has a water heater, you can install a whole house filter to remove these minerals before it ever hits your hot water tank or your home’s fixtures. You can also purchase shower filters to keep these minerals from building up on your showerhead. It also makes it easier to rinse in the shower and is better for your skin and hair. If you see buildup on your faucets, imagine the buildup left behind on your skin and hair.
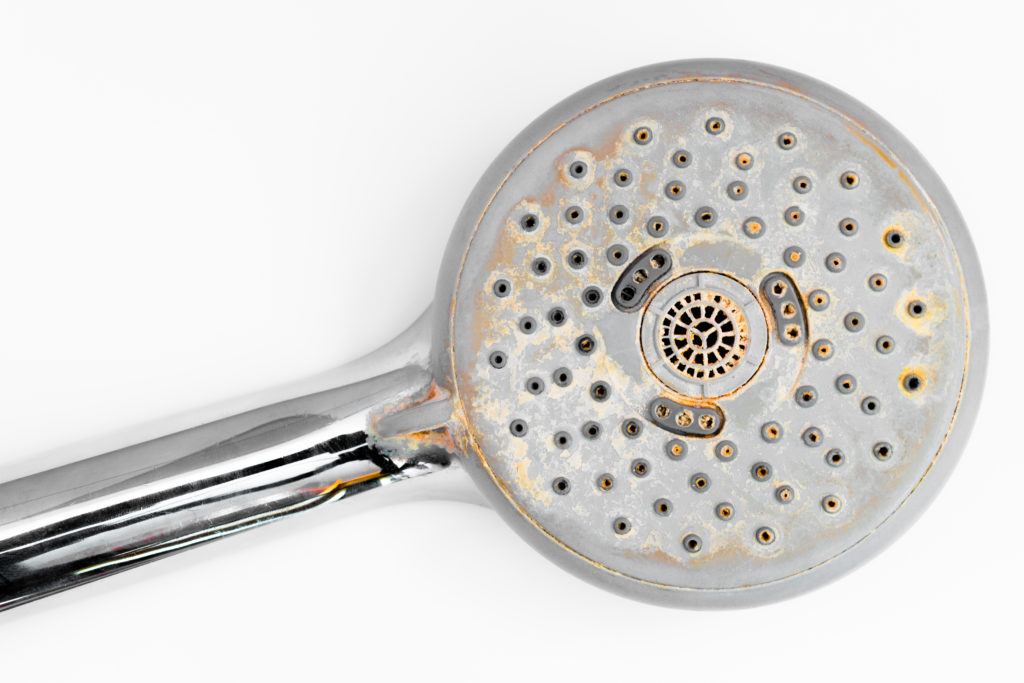
Installing water filtration throughout your home helps protect your pipes, fixtures, and can even improve water pressure. A.J. Alberts can install several different filtration systems in your home. From quick-change filters under the sink to whole-home reverse osmosis, you can have better water for drinking and washing throughout your entire home. Plus, filtering your shower and bath water can improve your skin and hair health and make it easier to rinse!
How to Improve the Plumbing in Your Home
If you’re finding yourself cleaning your fixtures all too frequently, it might be time for a new one. And it is probably time to address your hard water. The good news is, A.J. Alberts can help you with both! Not only can we fix your hard water from clogging your shower head, but we can make sure your homes plumbing is performing at its’ best! Give us a call at 651-738-0580 to get started!

