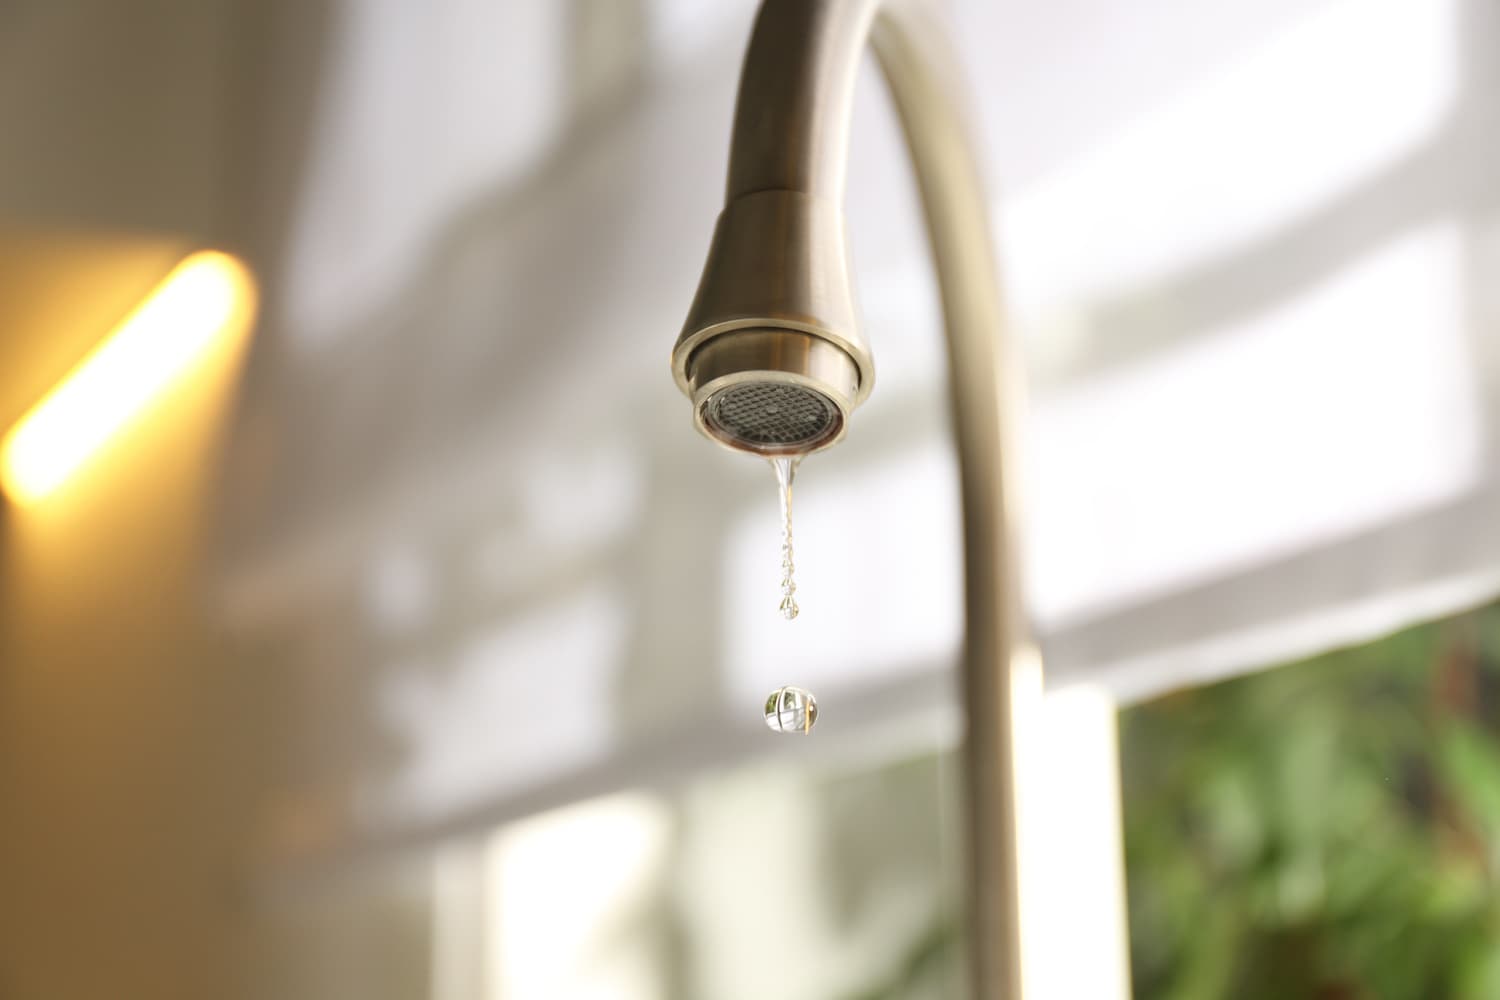


Every faucet will reach the end of its lifespan at some point and probably leave behind some annoying leaks in your kitchen plumbing lines or unsightly rust stains in your kitchen sink, likely needing to be replaced. Alternatively, your personal aesthetic might just be changing with each of the latest editions of Better Homes and Gardens magazine.
Whatever your reasoning might be for wanting to install a new kitchen faucet, there’s one indisputable fact; if you want to DIY it, you need to know exactly how to replace a kitchen faucet in the first place— and these short, sweet DIY instructions aim to do just that.
Seems simple, right? We promise it is, and you can use this six-step guide to get all the information you need to replace a kitchen faucet with ease.
Step One: Gather Tools & Prep Your Space
Before installing your new faucet, you first need to go beneath your kitchen sink and assess the old faucet setup to find out how many holes are under there. Sink holes indicate the number of hardware pieces that will protrude or stick out from the countertop’s surface. For example:
- One-hole faucets are denoted by a single handle and neck combination, complete with all the proper sink functions in one place (think pull-down sprayers and built-in hot and cold handles).
- Two-hole sinks typically include a single sink neck with a sprayer or soap dispenser in the extra hole.
- Sinks with three holes can feature a few different combinations of fixtures:
- Neck, single temperature control handle, and spray hose
- Neck with build-in hot and cold handles, sprayer hose, and soap dispenser
- Neck in center hole and two hot and cold water handles on either side
- Four-hole faucets come with every functionality listed above and require more holes than any other kitchen faucet style to house each piece of hardware.
🛍 Buyer’s Guide: Find this year’s best kitchen faucet models according to Good Housekeeping here.
You’ll be able to put a one-hole faucet in a two-hole sink, but the same can’t be said about a two or three-hole faucet in a one-hole sink, and definitely not one that requires a fourth hole.
That’s why it’s crucial to count the number of holes in the sink and see if any extra holes already punched in the sink cabinet surface aren’t being used before purchasing your new faucet and putting it in place. So, move your cleaning supplies aside and make room to maneuver under the sink without issue.
In addition, you’ll also need to gather the proper tools and equipment required to do the job right prior to starting your faucet replacement project:
- Basin wrench
- Adjustable wrench
- Pillow (for laying on your back)
- Eye protection
- Flashlight or headlamp
- Old towels and rags
- Bowl, bucket, or shallow pan
Since you’ll be spending a lot of time on your back during this project, we suggest using a pillow to stay comfortable. Eye protection such as safety glasses can also stop dust and debris or water droplets from getting in your eyes. It’s easy to forget to protect yourself during simple DIY projects, but this should be a top priority to avoid any prolonged pain.
Step Two: Shut Off & Disconnect Water Supply Lines
Even though we encourage you to keep a shallow pan or bucket on hand, it’s still obviously most helpful to make sure you shut off your water lines and disconnect supply tubes from the valves beforehand. You can typically turn the shutoff valves pretty easily by hand, but a rag, basic wrench, or pair of pliers can give you a better grip if you’re struggling.
🔥 Hot Tip: If your home doesn’t have stop valves, you will need to turn the water off for the whole house.
Once your home’s water supply is disconnected, you can open each faucet handle to relieve pressure in the lines. Then, detach the faucet supply tubes hanging underneath the sink, which run from your faucet body to both hot and cold water supply valves. To do this:
- Use your adjustable wrench to turn the nuts underneath counterclockwise. Each one should connect to the corresponding temperature valves by a threaded nut.
- Stabilize the water pipes while you loosen the supply lines to avoid damaging the existing plumbing connections or compromising the materials.
- Repeat the disconnection process described in the previous step for the other side.
- Remove supply tubes from under your sink and set them aside.
- Inspect your valve for even the slightest drip, as this indicates a faulty valve. In those cases, you can turn off your home’s entire water supply to replace the valve before moving forward with your kitchen faucet replacement.
Step Three: Disconnect Faucet Supply Lines & Detach Old Faucet
As we mentioned in step two, you’ll need to disconnect and remove each water supply line, then set them aside before you can move on to detaching the old kitchen faucet itself.
For two-handle faucets, you’ll find the supply lines connected directly to each hot and cold water valve. Simply unscrew the mounting nuts that secure the faucet body to the supply line connections. Then, remove the mounting hardware from the underside of the sink, so you can lift out the sink pieces and remove them.
Single-handed faucets have a much simpler setup, as there are no separate hot and cold handles to worry about, and all of the connections are part of the same spout assembly. For these models, mounting hardware is made to slide directly over each line easily instead of removing them. Just break the caulk seal and separate the old mounting hardware from your cabinet’s underside, where it’s usually connected to a single shank.
Once the connecting nuts are unscrewed, you can also detach your sprayer hose. Either remove the nut that connects to your diverter or if you don’t plan on re-using the old kitchen faucet, you can cut the sprayer line instead.
Step Four: Install New Faucet
With the old faucet connections and mounting hardware removed, clean up the area and prepare to install your replacement faucet. One of the most popular sink styles today is the single-handle, center-set faucet with an escutcheon plate to cover the extra holes. For this article’s purpose, we’ll focus on how to replace a kitchen faucet of this kind, although one-hole installations won’t require the escutcheon plate.
Single-handle sink models are made with both the hot and cold water lines built directly into the faucet. It’ll typically also include a diverter that connects to a side sprayer. Still, every sink design is different, so consult your manufacturer’s instructions to ensure you’re doing everything right and don’t waste any time.
To make things easy, single-handle faucets come with hot and cold valves included in the spout assembly and often have built-in, flexible supply lines labeled for your convenience as well. If your sink features valves with threaded nuts, you’ll need to attach the supply line yourself. Most commonly, it’ll be a 0.5″ male connection that comes out of your faucet.
🔥 Hot Tip: Don’t forget to use Teflon tape (AKA plumber’s tape, thread seal tape, or PTFE) on the nut threads before installation, too, for the best seal.
Step Five: Attach Hot & Cold Water Lines
With a single-handle faucet, your mounting hardware will usually connect to a single shank underneath the sink. You should place a washer against the countertop, then twist a mounting nut until it’s about half an inch from the surface. Use mounting screws to secure the faucet assembly against the cabinet’s underside, and use the escutcheon to cover the first and third holes.
To install the escutcheon, place the provided gaskets on the underside of each plate. Then, slide them over the supply lines and onto the mounting surface. Before you tighten connections against your cabinet, have a second set of eyes to ensure your new faucet is lined up correctly against the sink.
Step Six: Reconnect & Flush Water Supply Lines
After placing your new faucet into the open holes, tightening up each connection, and installing the escutcheon plates, it’s now time to reconnect your supply lines to the corresponding supply valves. Most homes feature a 3/8-inch fitting.
As we mentioned, make sure to wrap the valve threads with Teflon tape clockwise before you hand-screw the nuts and tighten them with your adjustable wrench. Take care not to damage any of the connections and cause a leak.
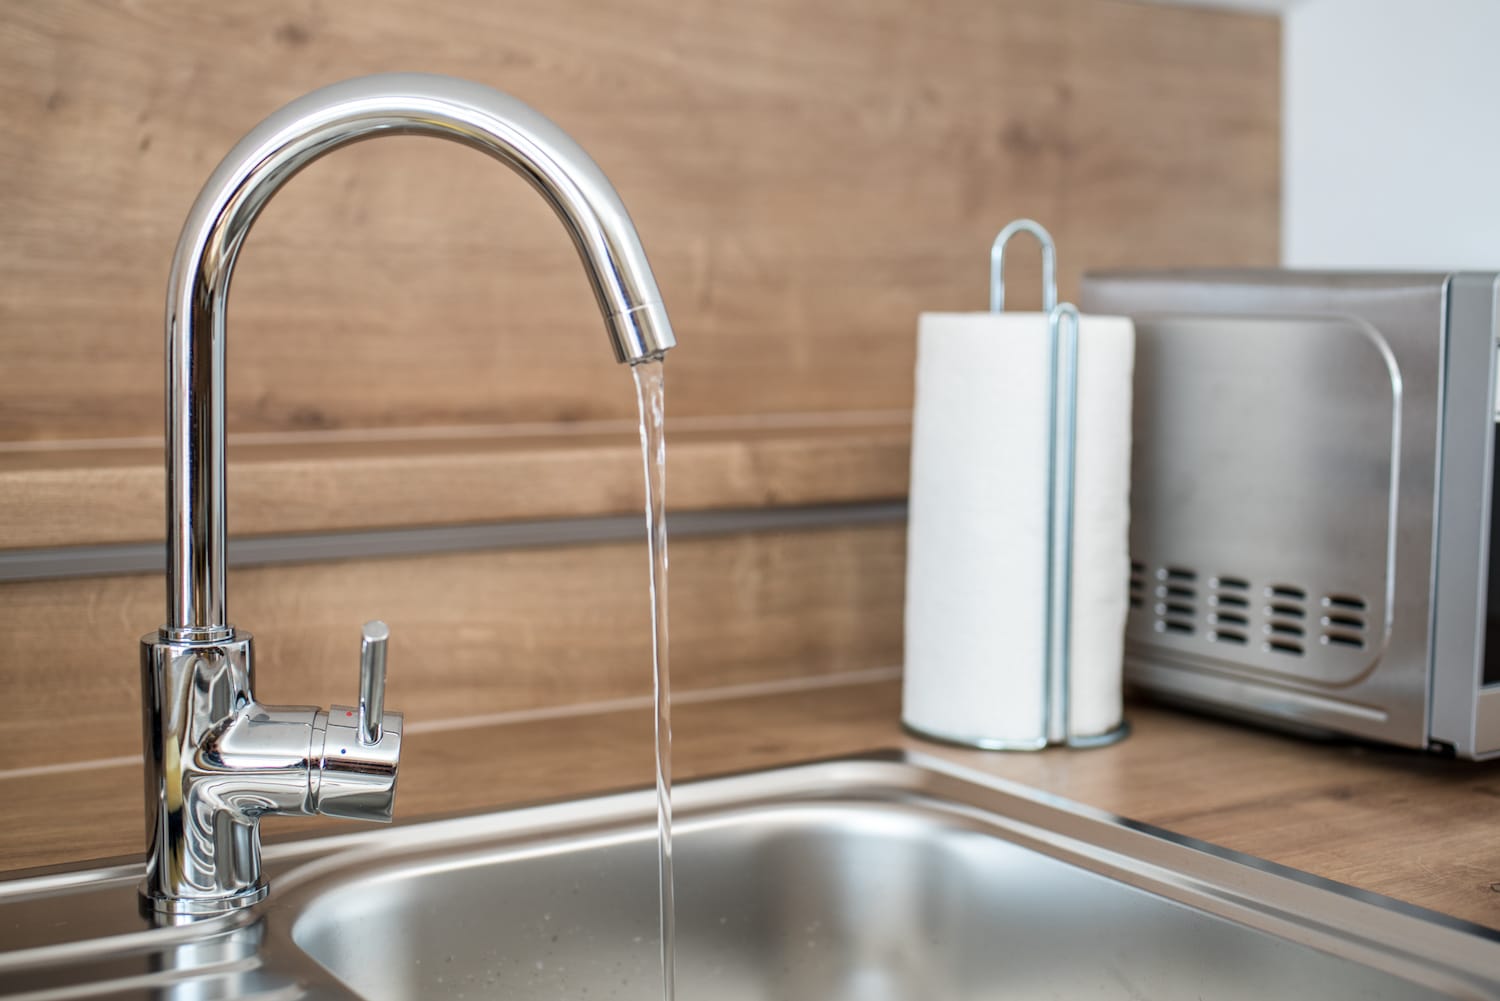
With your supply lines re-attached, turn the water lines back on at each valve and test the operation of your faucet and sprayer. Now, you can look for those leaks and flush out any accumulated debris from the supply lines. Allow the water to run for just a couple of minutes to ensure everything is working as expected.
If there are no apparent leaks or other glaring issues, give yourself a pat on the back for completing this DIY plumbing project. Pretty painless, right?
No Time to DIY? ⌛️
No worries.
Whether you don’t have time to replace a kitchen faucet yourself, lack the proper tools to tackle the job, or just dislike DIY projects altogether, you always have another option. Even though installing your own new faucet is a fairly simple process, you can still get all the help you need from our plumbing experts here at AJ Alberts, who can replace a kitchen faucet with ease as well.
So, why wait if you’re sick of your existing faucet dripping nonstop or have your eye on a new faucet from the local store? Replace a kitchen faucet with help from the team at AJ Alberts today. Contact us now to talk!