Winter is just around the corner, and you know what that means — it’s time to prepare your home for the chilly months ahead. One essential task on your winter checklist is winterizing your outdoor faucets. Failing to do so can lead to frozen pipes and costly repairs. But before you start sweating, don’t worry–we’ve got ya covered!
In this blog post, we’ll walk you through the steps for how to winterize outdoor faucets like a pro, ensuring they stay in top shape until spring blooms again.
What’s inside this read:
- 3 top benefits of winterizing outdoor faucets
- 5 easy steps for winterizing outdoor faucets
- Extra tips + tricks for effective winterizing
Read on to find out everything you need to know about how to effectively winterize your outdoor faucets before the snowy season blizzards in!
Why Winterize Your Outdoor Faucets? 🤔
Before we roll up our sleeves, it’s crucial to understand why winterizing your outdoor faucets is a must-do task. So, let’s explore the top 3 benefits of winterizing them!
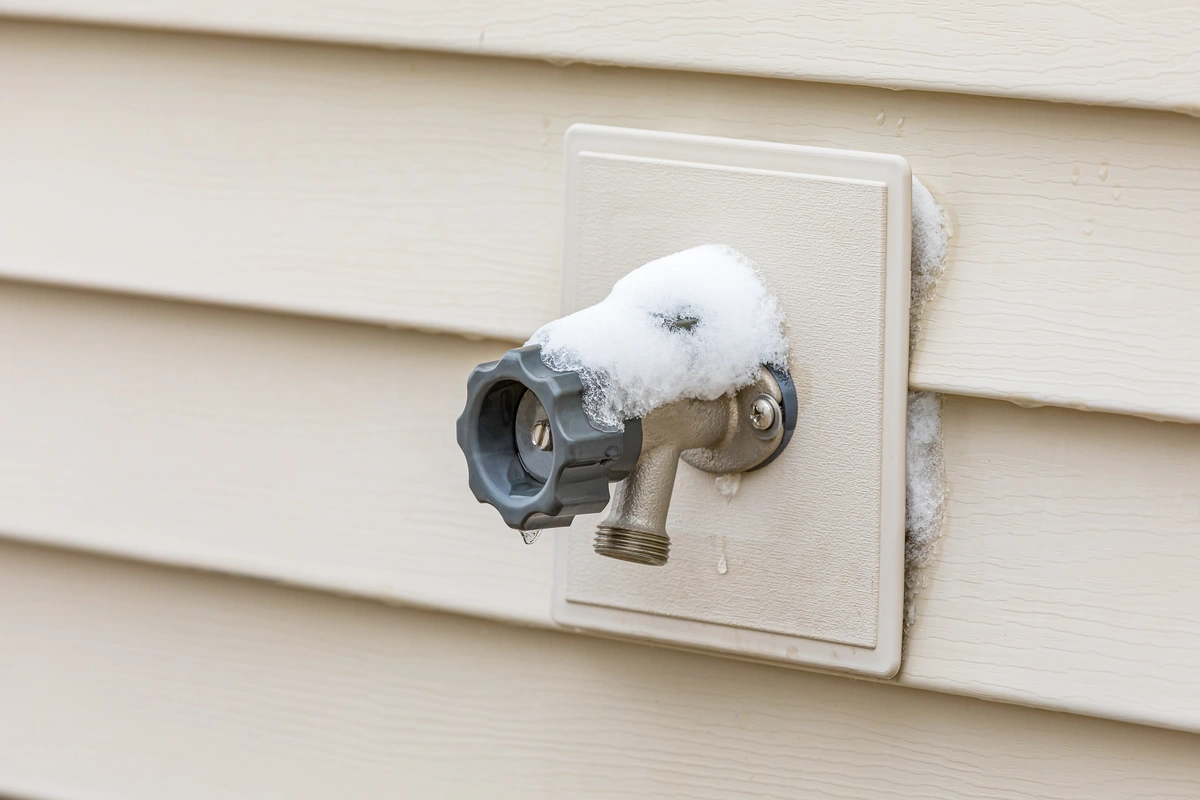
1. WInterizing Outdoor Faucets Prevents Freezing
Outdoor faucets are vulnerable to freezing temperatures. If water remains trapped in the pipes, it can expand when it freezes, causing pipes to burst and leading to costly repairs.
3. WInterizing Outdoor Faucets Protects Plumbing
By winterizing your faucets, you safeguard your entire plumbing system from potential damage, including indoor pipes connected to the outdoor faucets.
4. WInterizing Outdoor Faucets Saves Money
Taking preventive measures now can save you a bundle on repairs. This said, winterizing not only saves you money in the long run but also ensures your home is ready to face the winter chill without any unexpected plumbing surprises.
Tools and Materials You’ll Need 🛠️
First things first, gather your gear. Here’s what you’ll need:
- Adjustable wrench or pliers: You’ll use these to disconnect hoses and open the faucet valves.
- Insulating materials: This can include faucet covers, foam pipe insulation, or even old towels and rags.
- Teflon tape: Use it to seal any connections to prevent water leaks.
- Bucket: Handy for catching any water that might come out during the process.
5 Steps to Winterize Your Outdoor Faucets ❄️
Now, let’s get into the nitty-gritty of winterizing your outdoor faucets. Follow these steps, and you’ll be well-prepared for the winter freeze:
1. Turn Off the Water Supply 🚫
Locate the water shut-off valve that controls the outdoor faucet. This valve is usually found indoors, often in the basement or a utility room. Once you’ve found it, turn it off to stop the flow of water to the outdoor faucet. Make sure the valve is fully closed to prevent any leaks.
2. Disconnect Hoses and Accessories 🌀
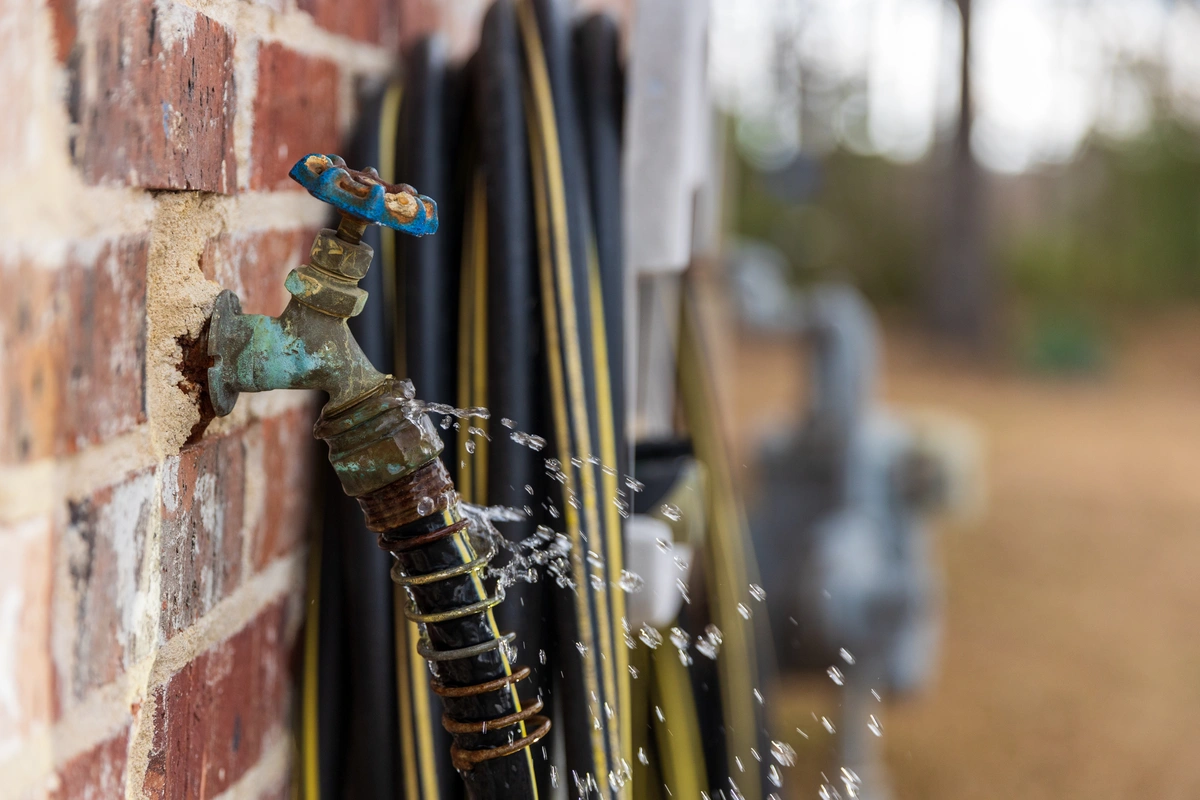
Remove any hoses, attachments, or accessories from the outdoor faucet. Drain the hoses thoroughly and store them in a dry place for the winter. Leaving hoses connected can trap water inside the faucet, leading to freezing and potential damage.
3. Drain the Faucet 🚰
Now, it’s time to drain any remaining water from the outdoor faucet. To do this, first open the faucet valve outside to allow any water to drain out. If your faucet has a vacuum breaker or anti-siphon valve, open it as well.
Then, head back indoors and open the faucet handle connected to the shut-off valve. This will help any remaining water in the pipe to drain out. Make sure that you leave both the indoor and outdoor valves open to allow complete drainage.
4. Insulate the Faucet 🧣
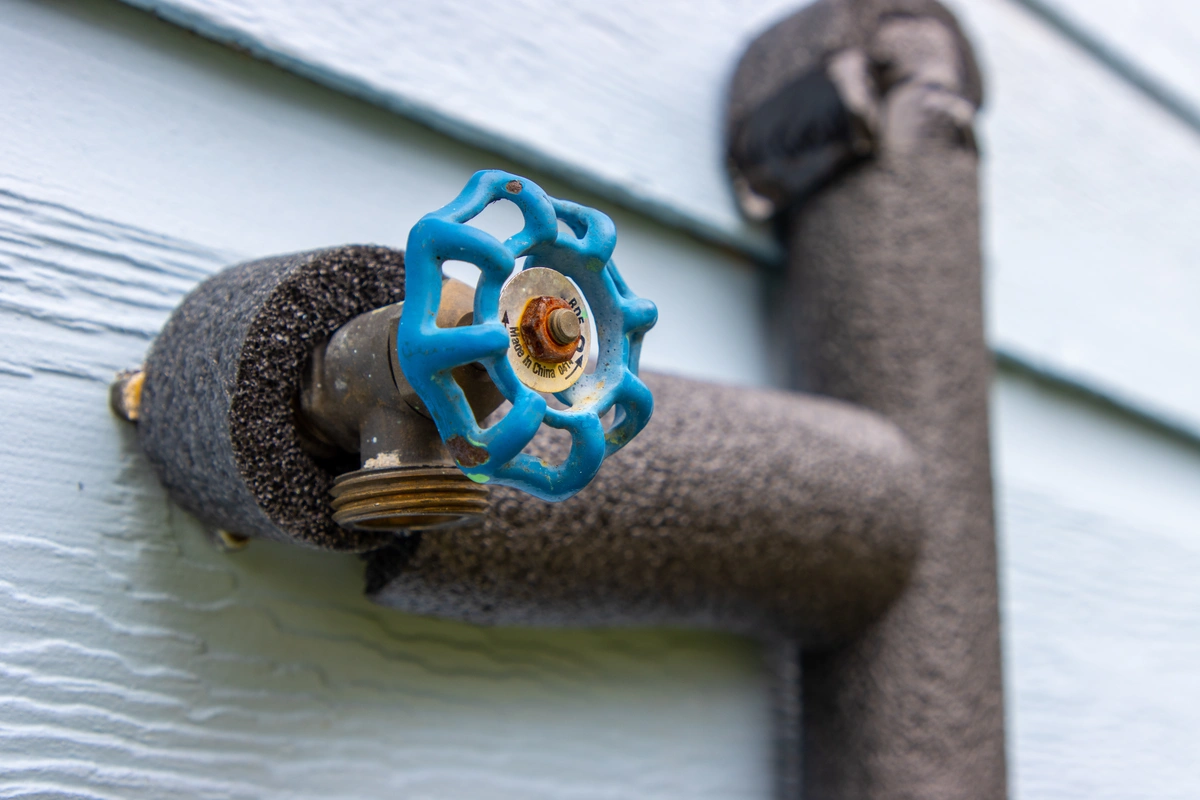
To provide an extra layer of protection against the cold, insulate the outdoor faucet. So, use an insulating cover designed for outdoor faucets. These covers are made from materials that provide thermal insulation, keeping the faucet warm. Alternatively, you can wrap the faucet with foam pipe insulation or old towels for a quick and easy solution. Once you’re finished, secure the cover in place with duct tape or zip ties.
5. Seal Any Gaps 🩹
Inspect the area around the faucet and look for any gaps or openings where cold air could enter. Use a combination of Teflon tape and caulk to seal these gaps. This will help keep the area around the faucet insulated.
Additional Tips + Precautions for Winterizing 🌨️
Here are some extra tips and precautions to ensure your outdoor faucets are properly winterized:
- Check for Leaks: After winterizing, monitor the faucets and the areas around them for any signs of leaks during the winter months. If you notice any issues, address them promptly.
- Regularly Inspect Covers: If you’re using insulating covers, periodically check them to ensure they remain in place and are providing adequate protection.
- Consider Frost-Free Faucets: If you’re in the process of renovating or replacing outdoor faucets, consider installing frost-free faucets. These types of faucets are designed to prevent freezing and are a great long-term solution.
- Be Cautious with Heat Tape: Some homeowners use heat tape to prevent freezing. While it can be effective, use it with caution and follow manufacturer instructions closely to avoid fire hazards.
- Consult a Professional: If you’re unsure about the process or have complex plumbing setups, it’s wise to consult a professional plumber to ensure your outdoor faucets are properly winterized.
Head Into The Cold With Winter-Ready Outdoor Faucets
With your outdoor faucets properly winterized, you can rest easy knowing that you’ve taken important steps to protect your plumbing from freezing temperatures. Remember, a little preventive maintenance now can save you from costly repairs later. So, grab your tools, follow these steps, and keep those outdoor faucets cozy all winter long. Stay warm and worry-free!
Get in touch today with our team of plumbing experts at AJ Alberts. We’re happy to answer any questions about how to winterize outdoor faucets and help ensure your home is ready to face winter.