Have you decided that you’re sick of buying bottled water as an alternative to using questionable tap water?
If so, you’re probably wondering how to install an under-sink water filter yourself — or if you need a technician to do it for you. Fortunately, it’s an installation task you can do on your own with ease.
Below are the 9 steps to follow for a successful installation of under-sink water filters, plus the tools you’ll need.
What You’ll Need
The tools and supplies needed to install an under-the-sink water filter include:
- The water filter and its cartridges
- Scissors or cutters
- Plumber’s tape
- Teflon
- An adjustable wrench
- A power drill
- A screwdriver
- A bucket
How to Install an Under-the-Sink Water Filter in 9 Steps
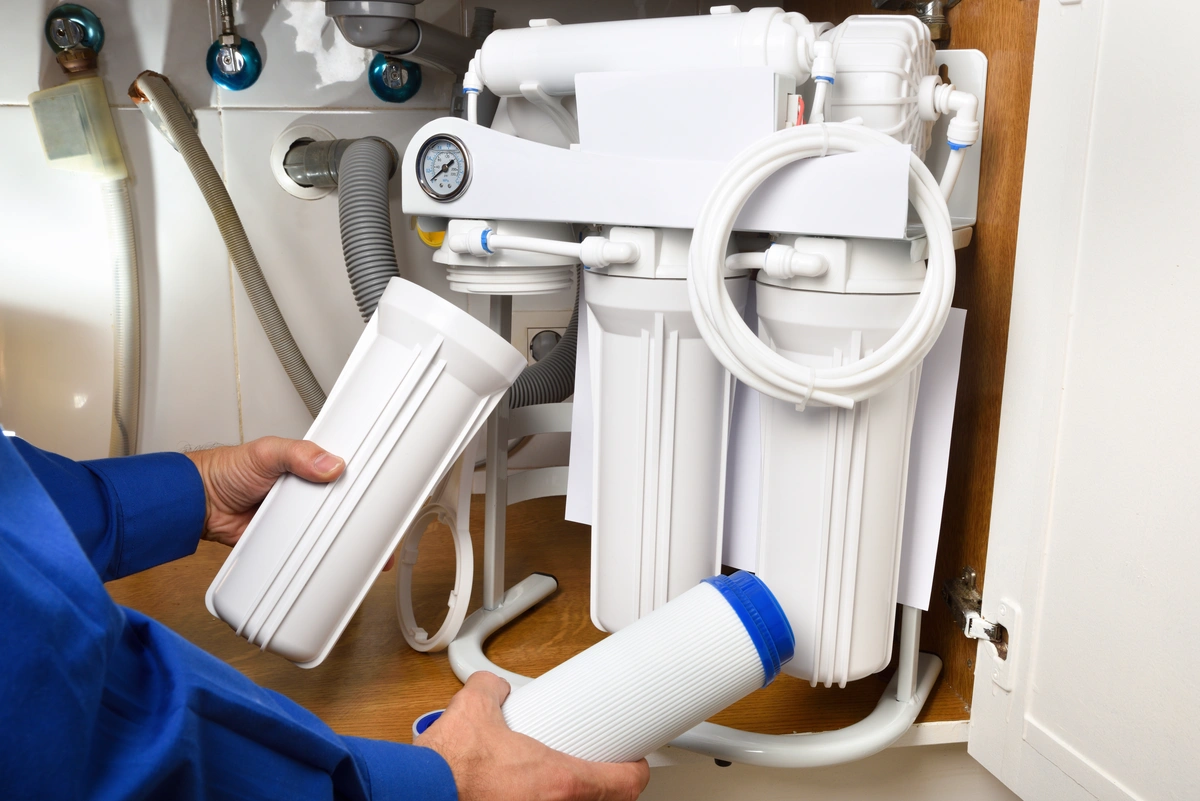
Under the sink water filters are designed to be easily hooked up to the cold water supply beneath your kitchen sink. The installation process requires that you intercept the cold water line to install the filter, and if your system comes with a faucet, you’ll also need to drill a hole to install that as well.
These are the steps:
1. Turn Off Your Cold Water Supply
Turning off the cold water supply valve is the first thing you’ll need to do to get started. By doing this, you’ll prevent leaking or flooding while you install the filtration system.
The cold water supply valve is usually located on a vertical pipe at the back of your sink, and it’ll be attached to the pipe that’s significantly colder.
2. Disconnect the Tubing
Next, you’ll need to disconnect the cold water tubing from the faucet. To do this, loosen the nuts and remove the tubing from the supply line with your adjustable wrench.
3. Install a T-Adapter
Your filtration system should come with a copper T-adapter that allows you to attach it to your water line. The T-adapter should be installed at the feed water line, and you’ll want to wrap Teflon around the adapter threads before tightening the bolt back in place.
This will ensure water won’t escape through the connection.
4. Connect the Tubing to the T-Adapter
Now it’s time to connect your filtration system’s tubing to the T-adapter. To do this, you’ll want to install the shut-off valve to the tubing to make it easier to replace the filter cartridges.
From there, attach the nut and copper insert from the T-fitting and connect it to the fitting and tighten it into place.
5. Install the Faucet
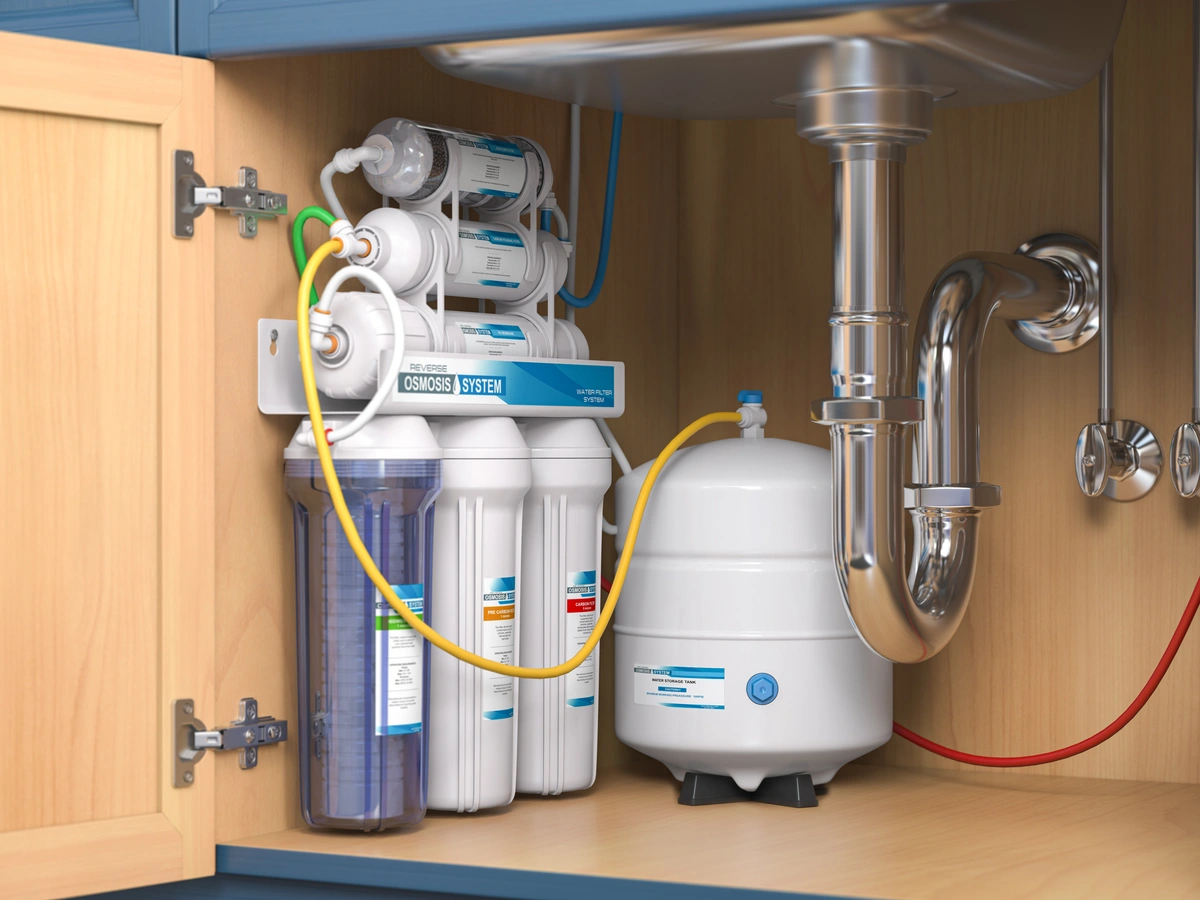
If your water filtration system didn’t come with a faucet, you can skip this step. (If you’ve purchased a reverse osmosis system, it should come with a faucet).
If it did, using your power drill, drill a hole in your countertop that will allow the faucet to fit securely. You’ll want to refer to the installation or owner’s manual that came with the filtration system for the exact measurements and process, as each filtration system is different.
If you have an existing hole from a soap dispenser, you may be able to use that as well.
Fill the empty hole around the faucet’s gasket to prevent water leakage, and connect the faucet to the filter tubing using the nuts, washers, and any other supplies provided by the manufacturer.
6. Mount the Filtration System
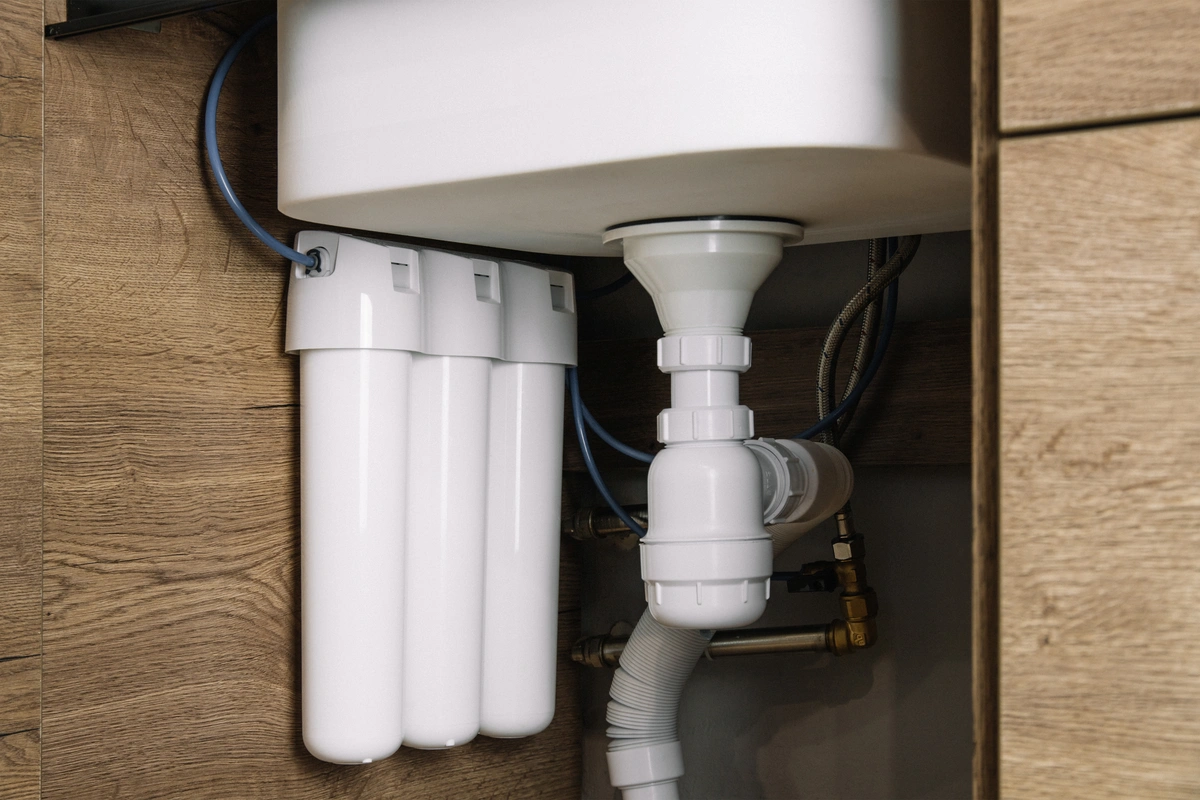
Your filter should have come with a mounting bracket that allows you to adhere it to the cabinet wall to keep it in place. Using a pencil, mark where you plan to install this bracket and drill the appropriately sized holes for its hardware.
Be sure there’s enough space so you can easily access your under-sink water filter and change the filters as needed. Then, secure the system to the bracket.
7. Connect it to Your Plumbing
Now it’s time to connect the filter stages to your plumbing connections. Identify the inflow and outflow ports first, then start by connecting the faucet’s tubing to the outflow line and connect the cold water feed line to the system’s inflow line.
This will allow cold water to flow directly through the system’s filters and out of the faucet.
8. Turn the Water Back On
Now you can turn your water supply back on — but do so slowly to prevent damage from sudden water pressure.
Your new filtration system should have its own shut-off valve, be sure to open the valve to allow water into the unit. Upon doing this, you’ll want to press the pressure release valve to get rid of any trapped air.
9. Flush the Filters
The last and final step involved flushing the filters to wash away any carbon or other debris that is lingering from the manufacturing process. Refer to the owner’s manual for how to flush your system, using your bucket to catch the water.
As the water is running, check for leaks in the system to ensure everything has been installed properly — and be sure to address any leaks before using your system regularly.
Leave It to the Pros
When you’re ready to have clean and safe water come directly from your sink, give us a call. AJ Alberts Plumbing offers top-of-the-line reverse osmosis filtration systems and other filtration protection to keep your drinking water safe and healthy.