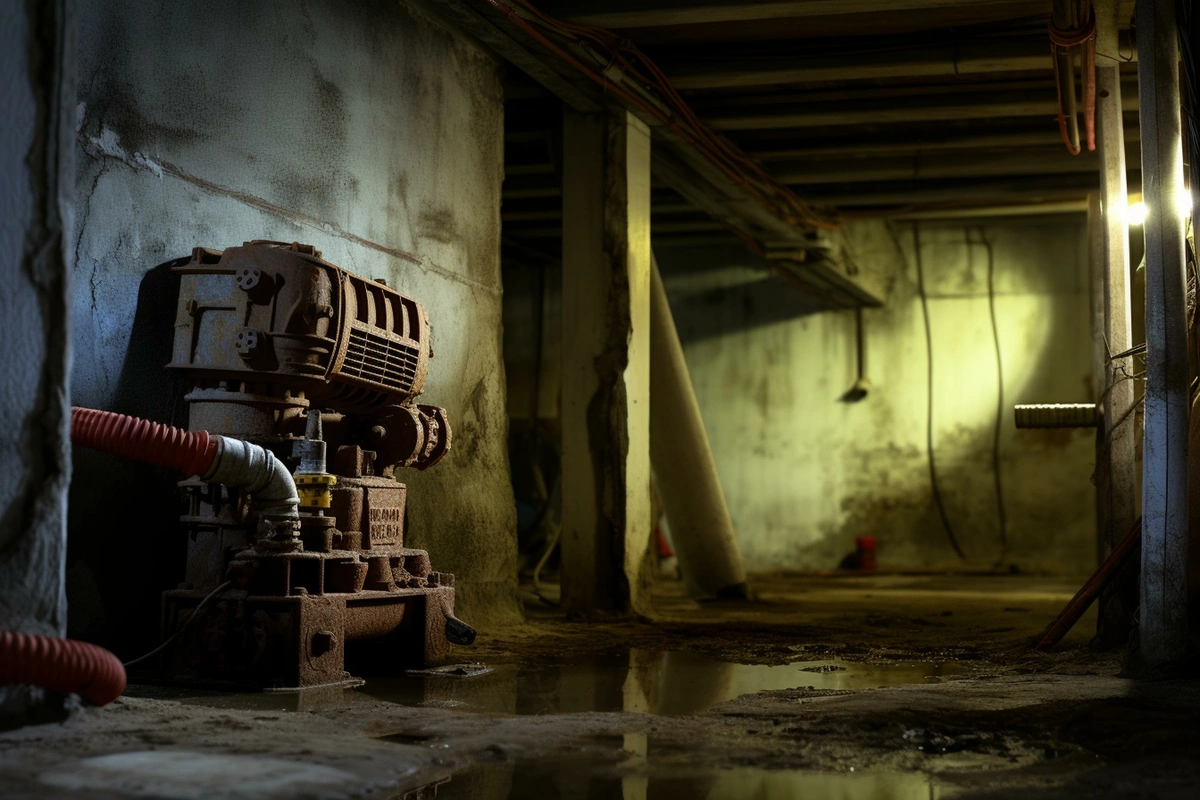
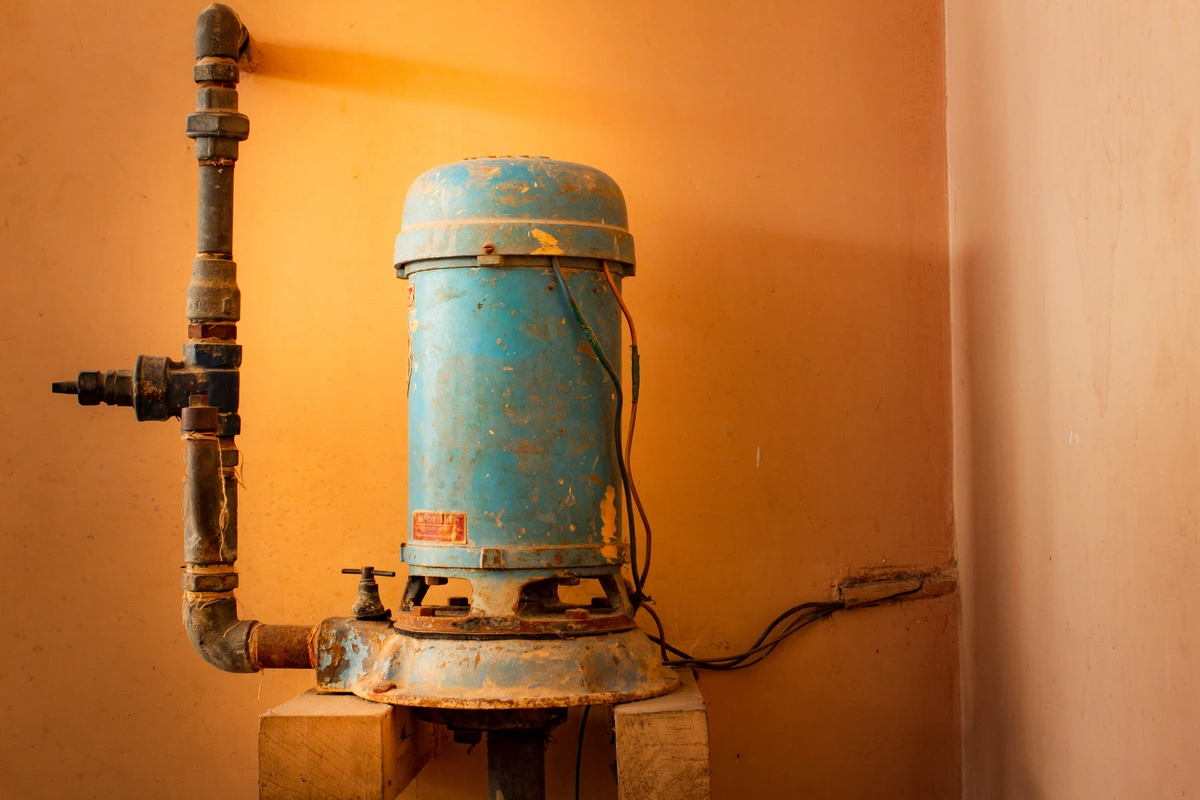
Are you tired of that annoying sump pump leakage in your basement? Don’t worry–you’re not alone. Sump pump leaks can be a common headache for homeowners, but the good news is that you can tackle many of these issues on your own without breaking the bank.
In this step-by-step guide, we’ll walk you through how to stop your leaking sump pump, providing you with the know-how and confidence to take control of the situation.
What’s inside this read:
- Reasons why you may have a sump pump leak
- 6 steps for repairing a leaky sump pump
Read on to learn everything you need to know about how to fix your leaky sump pump!
Why Is Your Sump Pump Leaking in the First Place? 🤷♂️

Before we roll up our sleeves and get to work, it’s crucial to understand why your sump pump might be leaking. Several reasons could be causing this problem:
- Improper Installation: If your sump pump was not installed correctly, it can lead to leaks from the get-go. And, if not addressed promptly, this could ultimately cause basement flooding.
- Clogged Discharge Pipe: A clogged or frozen discharge pipe can cause water to back up and spill out.
- Sump Pit Issues: If your sump pit is damaged or not the right size, it can lead to overflow and leaks.
- Seal and Gasket Problems: Over time, seals and gaskets can deteriorate, leading to leaks.
- Float Switch Malfunction: A malfunctioning float switch can result in the sump pump not turning on or off properly, causing leaks.
Now that we’ve identified potential culprits, let’s get into how you can fix these issues.
Tools and Materials You’ll Need 🧰
Before you start the repair process, make sure you have the following tools and materials on hand:
- A bucket
- A flashlight
- A pair of pliers
- A pipe wrench
- A screwdriver
- Replacement parts (seals, gaskets, or a new float switch)
- A garden hose (if needed)
- Waterproof sealant
- A sump pump basin lid (if your sump pit doesn’t have one)
Step-by-Step Guide to Fixing Your Leaky Sump Pump 💪
Let’s go over the 8 steps for how to fix your leaky sump pump in a DIY fashion.
1. Safety First! 🚧
Always start by unplugging the sump pump or turning off the power supply to ensure your safety while working on it. Water and electricity are not a good mix!
2. Check for Obvious Issues 🔍
Inspect the sump pump and its components for any visible damage or loose connections. Tighten loose bolts, screws, or pipe connections. Ensure that the float switch moves freely without any obstructions.
3. Clear the Discharge Pipe 🌊
If you suspect a clogged discharge pipe, disconnect it and clear any debris using a garden hose or a pipe snake. Once it’s clear, reattach it securely to the sump pump.
4. Replace Seals and Gaskets 🛠️
If you notice leaks around the pump housing, it’s likely due to worn-out seals or gaskets. Turn off the sump pump and follow the manufacturer’s instructions to replace these components. Make sure to apply waterproof sealant when reassembling.
5. Adjust the Float Switch 🎚️
A malfunctioning float switch can lead to overflows and leaks. If necessary, adjust the float switch’s positioning according to your pump’s manual to ensure it triggers at the right water level.
6. Check the Sump Pit 🕳️
Inspect the sump pit for damage and make sure it’s the correct size for your pump. If it’s damaged, replace it, and consider adding a lid to prevent debris from falling in.
7. Test Your Sump Pump 🔄
With all repairs and adjustments made, plug the sump pump back in or restore power. Fill the sump pit with water to the level at which it should activate the pump. Monitor the pump’s operation to ensure it turns on and off correctly.
8. Monitor for Leaks 🧐
Once your sump pump is back in action, keep an eye on it for a while to ensure there are no more leaks. If you spot any new issues, go back through the steps to pinpoint and address the problem.
Preventive Maintenance Tips 🛠️

Prevention is key to avoiding future sump pump leaks. Here are some maintenance tips to keep your sump pump in top shape:
- Regular Inspections: Schedule routine checks on your sump pump to catch any potential issues before they become major problems.
- Clean the Sump Pit: Periodically remove debris, dirt, and sediment from the sump pit to prevent clogs and pump strain.
- Battery Backup: Consider installing a battery backup system to ensure your sump pump continues working during power outages.
- Replace Old Units: If your sump pump is more than ten years old, it might be time for a replacement, as older pumps are more prone to failure.
- Install a Sump Pit Lid: A sump pit lid can prevent debris from falling into the pit, reducing the risk of clogs and damage.
- Install a Water Alarm: A water alarm can alert you to rising water levels in the sump pit, giving you a heads-up before a potential leak.
DIY Sump Pump Repair Made Easy 🛠️
A leaking sump pump can be a nuisance, but with the right tools, materials, and a little DIY spirit, you can tackle the issue head-on. Remember to always prioritize safety by disconnecting power before working on your sump pump.
By following the step-by-step guide and implementing preventive maintenance, you can keep sump pumps in tip-top shape, ensuring your basement stays dry and leak-free. No more worrying about unexpected water surprises—take control and enjoy a leak-free sump pump!
Contact our team of plumbing experts at AJ Alberts to ask any questions or tell us your concerns about the sump pump in your home. We’ll make sure your house stays leak-free!


