Despite the fact that we use it every single day, most of us don’t give much thought to the plumbing systems that make our lives functional. In fact, the average homeowner would be hard-pressed to explain how any of their plumbing systems work.
Because of this, it makes total sense that plumbing problems are one of the most stressful parts of homeownership. We believe that knowledge is power and that you deserve to understand your home’s plumbing system.
If you’ve been dealing with plumbing problems in your home, it might be time for a P trap replacement. Not sure what a P Trap is? Don’t worry. We will talk you through everything you need to know about P traps!
What Is a P Trap?
So, what exactly is a P trap?
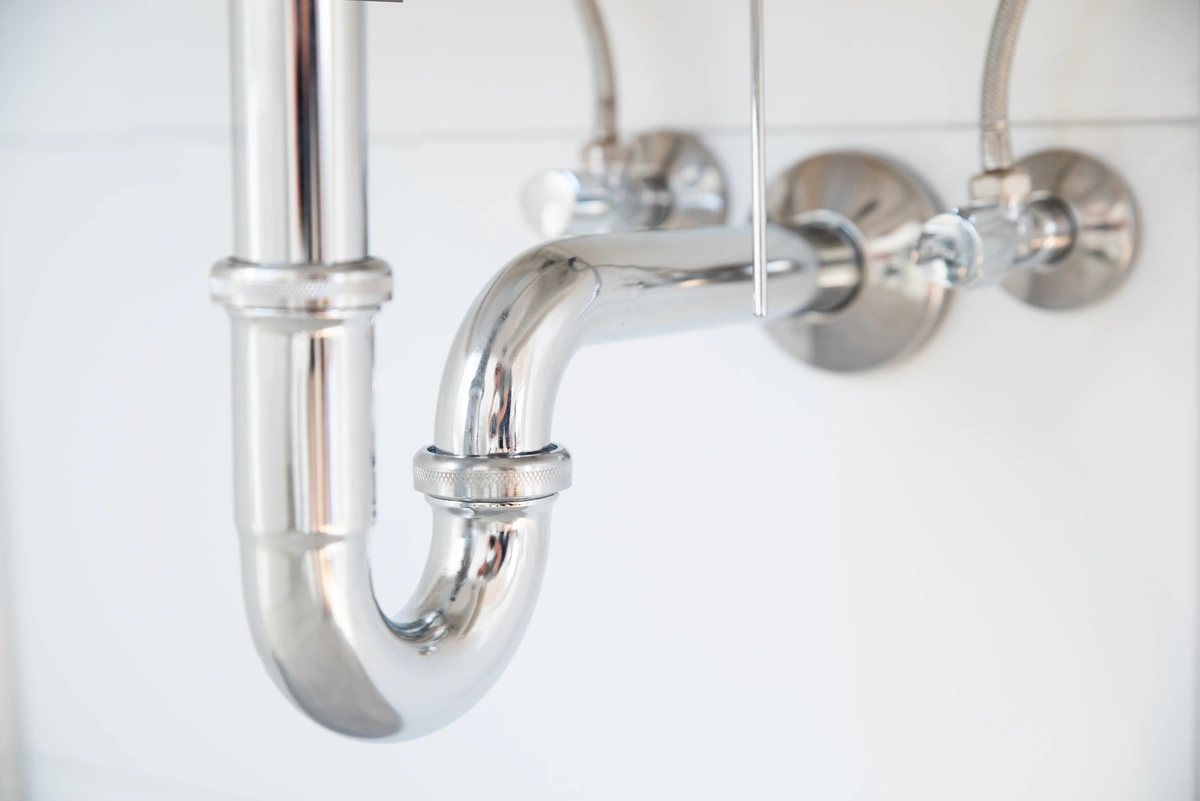
A P trap is a U-shaped pipe that is typically used for kitchen sinks. The pipe connects your sink drain to the rest of your plumbing system. The U shape works as a sort of drain trap that serves several purposes.
First and foremost, the P trap is important for catching debris. A kitchen sink drain has to deal with a lot throughout the day. Everything from food scraps to silverware can find itself falling down the kitchen sink. The P trap stops those items from progressing further into your plumbing system and causing blockages.
P traps also help to keep your home smelling nice by collecting water and stopping odors and sewer gasses from entering your home.
When Is It Time to Replace Your P Trap?
How do you know if it is time to replace your P trap? Here are some of the signs to look out for.
- Leaking Pipes – Leaky pipes are one of the most common reasons that homeowners replace their P Traps. Because they work so hard, P traps are particularly vulnerable to corrosion and problems with the connections as they age.
- Clogs – As we mentioned, P traps exist to help things from clogging up the rest of your plumbing system. However, this means that the P traps themselves can easily become clogged and need to be replaced.
- Bad Odors – When large food items get trapped in the P Trap, they can take days to decompose. This can lead to a bad odor throughout your home. The same problem happens if the P trap is no longer properly sealed. You will likely start noticing sulfurous smells from your sewers.
Can You DIY Your P Trap Replacement?
If you are an avid DIYer, we have good news for you. A P trap replacement is a very doable project for a determined homeowner. That being said, the P trap is a vital part of your sink’s drain system. If you are not feeling 100% confident in your abilities, we always recommend hiring a professional plumber to help you.
Before starting your project, we recommend taking the time to thoroughly research all the steps involved. We find visual aids like the video below to be helpful.
How to Replace Your P Trap in 5 Steps
Ready to get started? Here are the steps you need to follow in order to ensure that your P trap replacement goes smoothly.
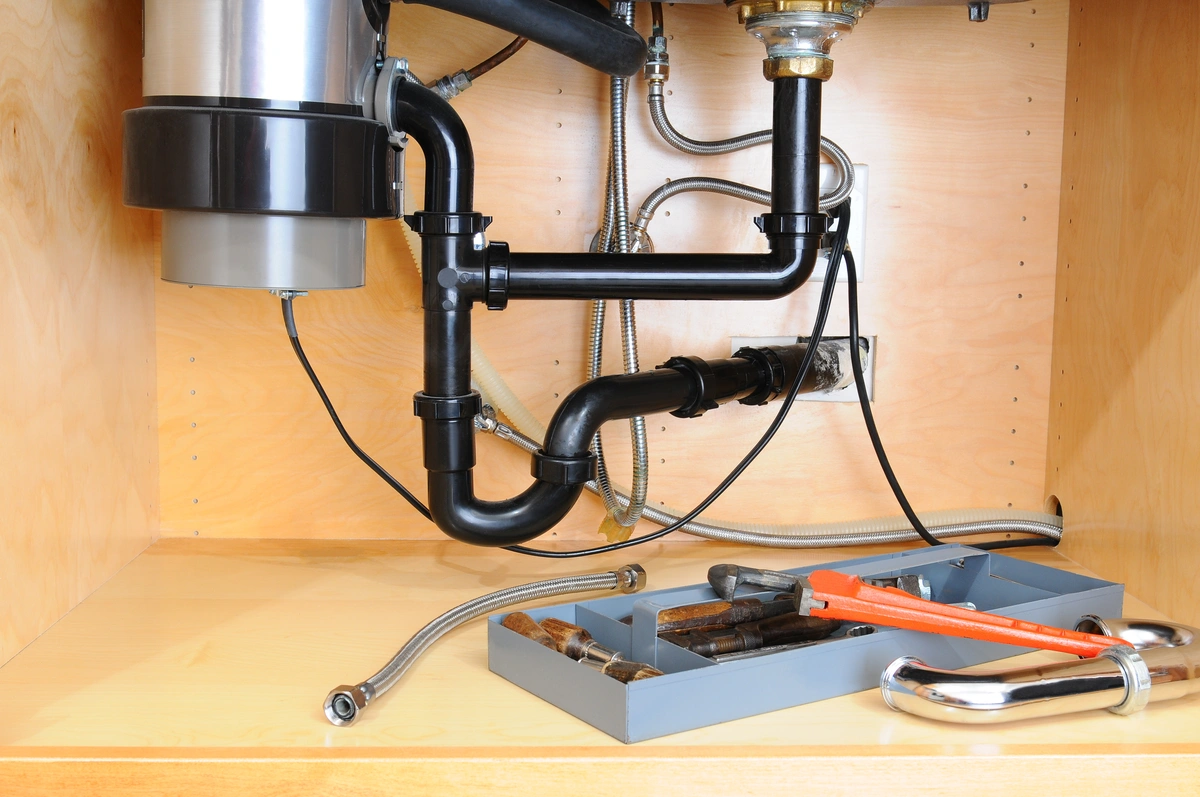
1) Gather Equipment
Before beginning your drain trap replacement, you’ll want to make sure that you have the right tools. You’ll want to start by selecting the material you want your drain trap to be made out of. You can get drain traps in a variety of materials, including PVC, copper, or plastic. Most people opt for a PVC option.
Once you’ve selected your drain trap type, you’ll need to purchase the appropriate drain connections. Worried about getting the right ones? You can often buy drain trap kits from your local hardware stores that will include all the fittings that you need for the replacement.
You’ll also want to make sure that you have the right tools on hand, including:
- Pliers
- Pipe cutter
- Bucket
- Rags
2) Remove Trap Bend
Once you’ve assembled all of your materials, you’ll begin to remove your trap bend. You’ll start by unthreading the slip nut on your old trap bend. You can use your pliers for this but you may find that you can also do it by hand.
Once you have removed all of the slip nuts, you can detach your old trap bend. Be careful when removing it, as it may have food and other debris still trapped in it. You’ll want to empty this into a bucket.
3) Remove Trap Arm
Next, you will begin to remove the trap arm. This is the part that is connected to the wall drain pipe. Similarly to the trap bend, you’ll do this by loosening the slip nut that secures it to the wall.
4) Position the New Trap
Before assembling your new drain trap, you’ll want to start by test-fitting the new trap bend. Occasionally, you may find that it is too long for your sink and may need to be cut using a pipe cutter or a hacksaw.
Once it is cut to size, you will place a slip nut onto the trap arm and one onto the sink tailpiece.
5) Assembly
It’s finally time to put it all together! You’ll start by sliding the trap arm into the drain opening. The trap bend should easily fit onto the end of the trap arm and connect the sink tailpiece. You will secure this with the slip nuts. While a plastic slip nut can be tightened by hand, you will likely need to use pliers with a metal one in order to ensure that they are properly tightened.
Get the Help You Need
Feeling a little out of your depth? We’ve got you covered. At AJ Alberts, we’ve been proudly helping residents of the greater St. Paul area care for their home’s plumbing needs. We have the education and expertise to keep your home’s plumbing flowing smoothly. If you aren’t up for a DIY, contact us instead!