As a homeowner, you have a ton of tasks to track on a daily basis. From mowing the lawn to cleaning the gutters, there’s a lot you have to keep in mind.
While it may not be obvious at first glance, you should also regularly do plumbing maintenance to keep your pipes clean and your water running well.
Keep reading for six steps you should add to your regular plumbing maintenance schedule today.
1. Clean Your Shower heads and Sinks 🚿
Cleaning your faucets and shower heads regularly prevents mineral buildup that can encourage mold and bacteria growth in your pipes. Depending on the hardness of your water, you may need to do this more or less frequently but plan to tackle this project at least a few times per year. Here are some simple steps to follow:
- Fill a bag with a vinegar and water mixture and tie it over the shower head or sink faucet. Leave it to soak for at least half an hour, or for large amounts of mineral buildup, for several hours or overnight.
- After soaking, untie the bag and pour the liquid down the drain. Scrub the fixture with a soft-bristled toothbrush or a light cloth. Do not use harsh cleaners or abrasive sponges or cloths, as these could damage the finish or the function of your faucet.
- Run hot water through the faucet or shower head to remove sediment, mineral deposits, and any other debris you’ve loosened up.
- If your shower head or sink is still clogged after cleaning, you may need to take it apart and clean out the mesh filter on the inside of the device.
- Follow your manufacturer’s instructions to either remove the shower head or remove the filter from the sink tap.
- Soak the mesh filter in a vinegar/water mixture, clean away the remaining debris, and reattach the fixture.
2. Unclog Your Drains 🪠
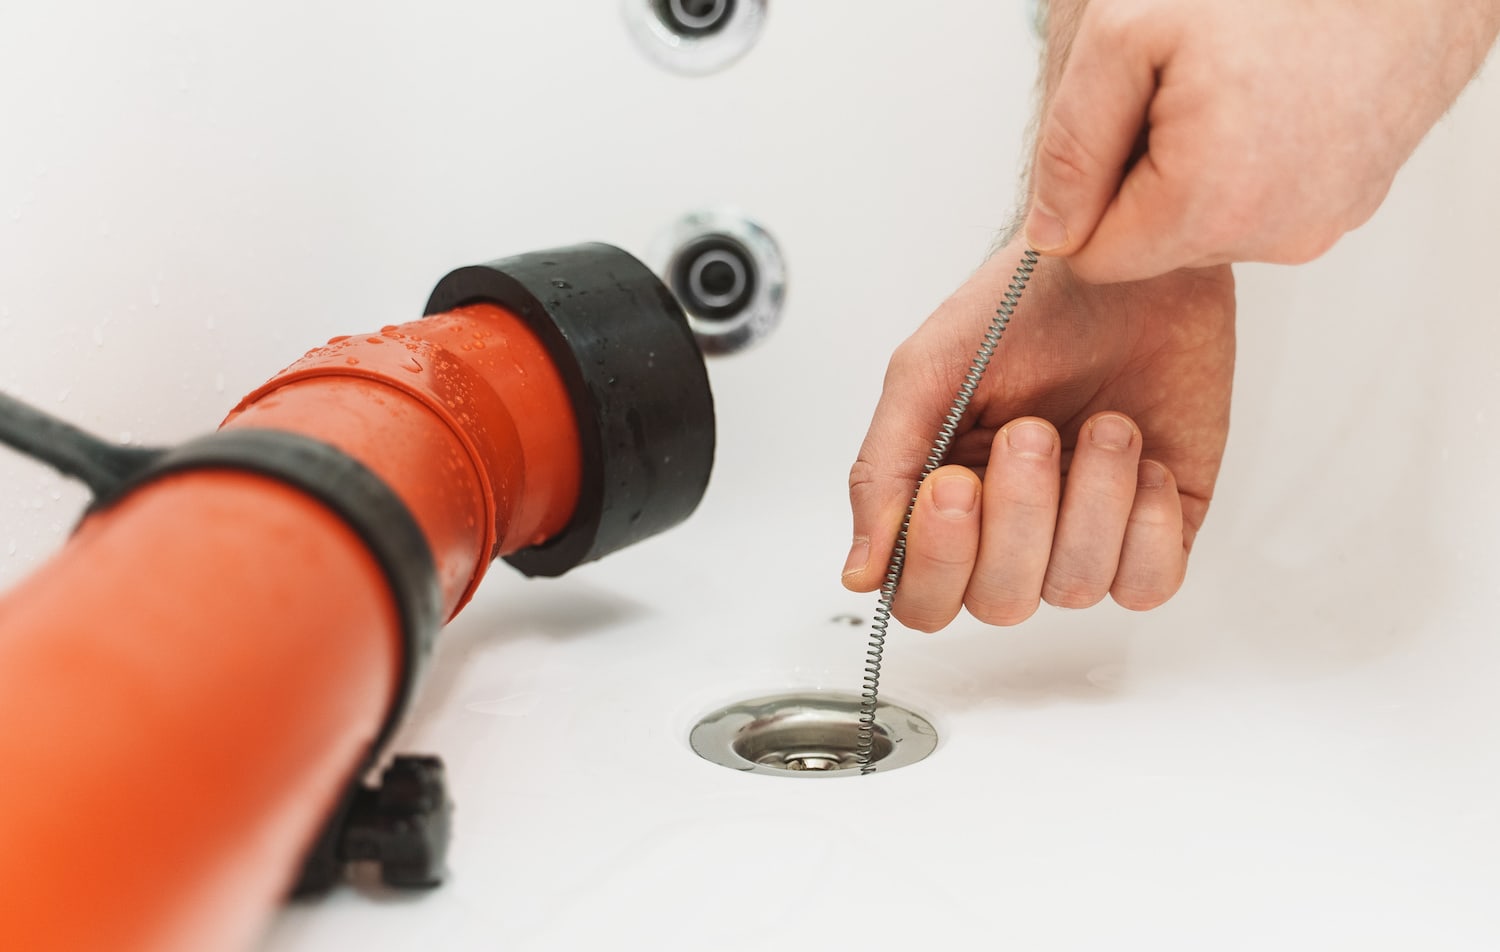
Ideally, drain cleaning is something you do on a regular basis. Pouring a couple of cups of boiling water down your drains every couple of weeks or so should clear any small blockages from your sink drains and further down in the pipes before they cause huge issues.
- For larger blockages, you can pour some salt in the drain before pouring the boiling water in.
- Or, you can put baking soda in the drain, pour in some vinegar, and then wait about 15 minutes before following it up with the hot water.
- If the clog is in a kitchen sink, check whether the blockage is in the garbage disposal; complete any necessary repairs to prevent future blockages within the disposal.
3. Fix Leaking Faucets 🚰
A small leak in a sink or tub is one of the most likely plumbing issues to occur in your home. Thankfully, it’s also one of the easiest to fix, especially if you follow these tips.
Start by turning off the water supply to your sink or tub. Put a stopper or rag into the drain to prevent small parts or tools from falling down the drain while you’re working.
- For a cartridge faucet, remove the handle and the sink cartridge. Place a replacement cartridge coated in silicone grease into the appropriate slot and replace the faucet handle.
- For a compression faucet, remove the handle, valve cover, and valve stem assembly. Remove the washer from inside the stem and replace it with a new washer. Reassemble the valve stem and handle, and you’re good to go!
- For a ball faucet, you’re best off buying a replacement kit and replacing all the pieces in the system. There are many parts to this type of faucet, making it hard to pinpoint the source of the leak. The replacement kit should have all the instructions you need to make the repair.
4. Check the Seal Valve on Your Toilet 🚽
Replacing the seal valve on your toilet may seem complicated at first glance, but it usually doesn’t require the work of professional plumbing services.
- Start by turning off the water supply to your toilet and emptying the toilet tank.
- Then, remove the refill tube and slide the flush valve assembly off of the overflow tube.
- Remove the old flush valve seal and install the new one in its place.
- Finally, reassemble all the pieces, turn the water back on, and flush the toilet a few times to make sure the new seal valve is working properly.
If your toilet has a flapper, the process is very similar. Instead of replacing the flush valve seal, you’ll need to remove the flapper and replace it with a new one. Otherwise, all the steps are the same as those listed above!
5. Keep an Eye on Your Water Pressure 💧
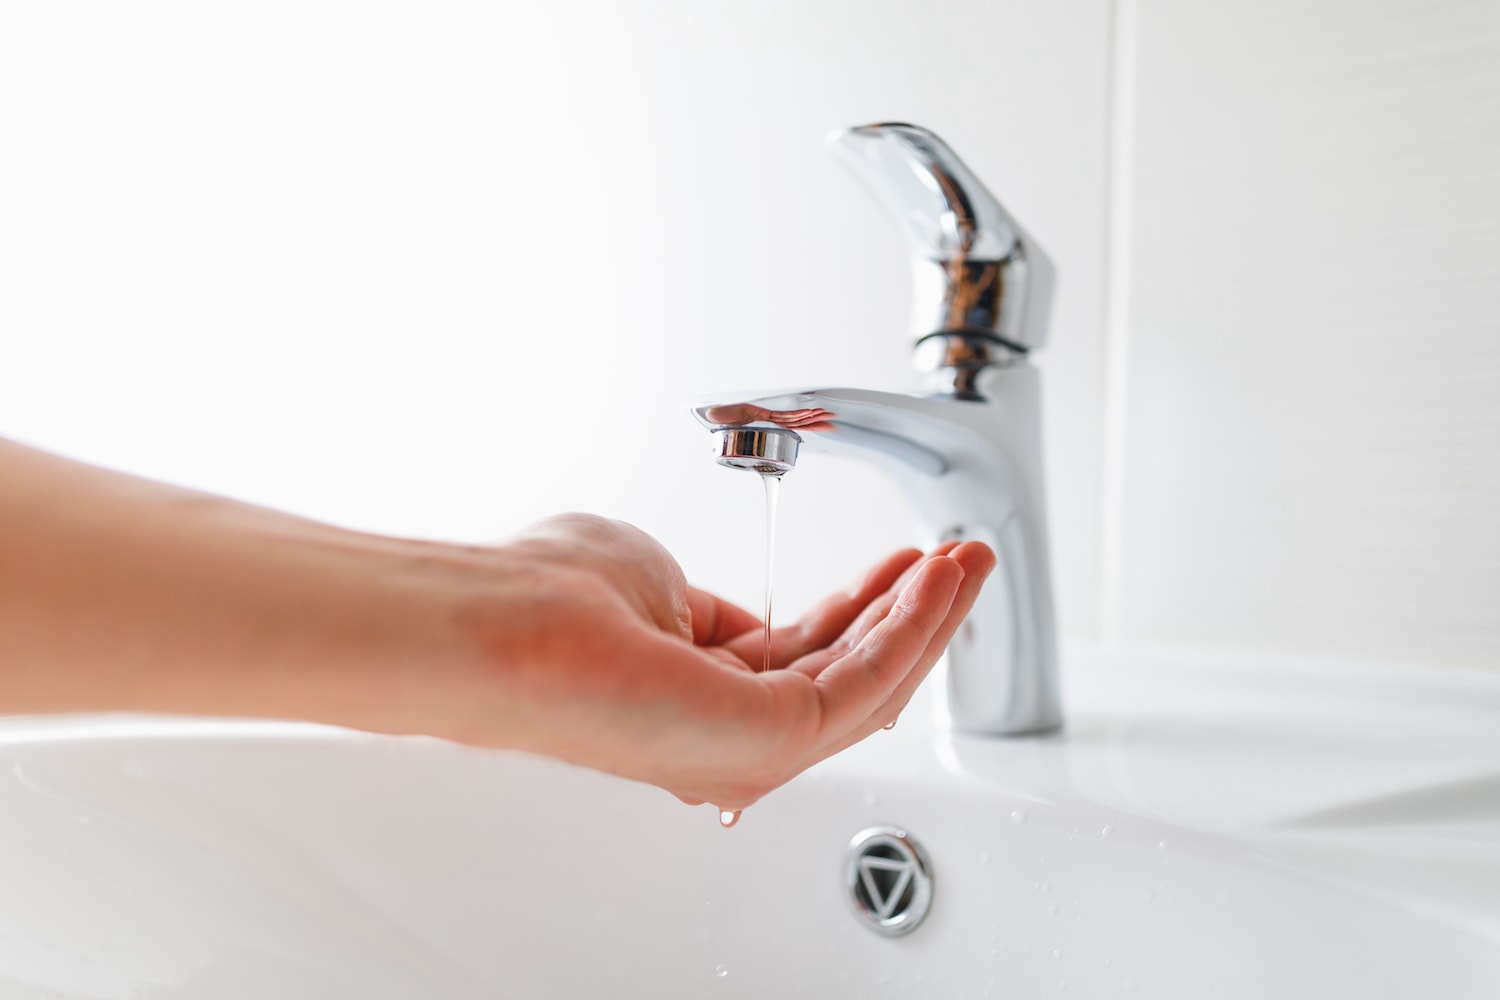
If your toilet starts to fill up more slowly than usual, if you struggle to maintain your shower water pressure when other faucets are running, or if you’re hearing weird sounds from your water pipes, it’s time to measure the water pressure in your home.
Turn off all the faucets and water fixtures in your home. Find an exterior faucet close to your water heater and hook up your water pressure gauge to the faucet. Tighten the seal to ensure that there are no leaks when you turn on the water. Open the faucet as far as you can and take a pressure reading. Anything between 40 and 50 psi is a good pressure level. Any more than that, and you’ll need to decrease the water pressure to avoid plumbing problems and potential burst pipes down the road.
6. Winterize Your Plumbing 🥶
In cold climates, preparing your pipes for the winter is a crucial step in any plumbing maintenance checklist.
To winterize your outdoor faucets, turn off the water supply to these fixtures and leave them open until the water stops flowing. Disconnect hoses from these faucets to prevent ice buildup that can increase pressure in the pipes and lead to potential leaks.
If you have any exposed pipes in indoor locations that aren’t well insulated, wrap them in insulation sleeves, foam, or heat tape. In extremely cold temperatures, open cabinet doors to allow warm air near the pipes, and consider leaving the cold water running or dripping slightly to keep water from freezing inside the pipes.
When you plan to be away from your home for an extended period of time in the winter, you should winterize your indoor plumbing as well.
- Step 1: Turn off the water supply at your main water valve, as well as your water pump and water heater.
- Step 2: Open all the taps in your home to drain as much water out of your plumbing system as possible (and leave the taps open until you return from your trip).
- Step 3: Using an air compressor can help you ensure that you’ve removed all excess water from your pipes.
- Step 4: Flush all your toilets until the toilet bowl stops filling.
- Step 5: In any area of your home’s plumbing system that might have standing water remaining, add a little antifreeze to keep the water from freezing while you’re gone.
Plumbing Maintenance Done Right
Now you know six basic plumbing maintenance tips to keep your home’s plumbing system in good health. From small water leaks to clogged drains, tackling this plumbing work on your own will help you save money and keep your water flowing smoothly for years to come.
Sometimes, even the best homeowner preventative maintenance isn’t enough to keep disaster from striking. That’s where we come in. With over three decades in business, we’re sure to have the experience we need to help you solve your plumbing problems, big or small.
When your next plumbing emergency comes up, give AJ Alberts a call. We’ll be on our way to help in no time!