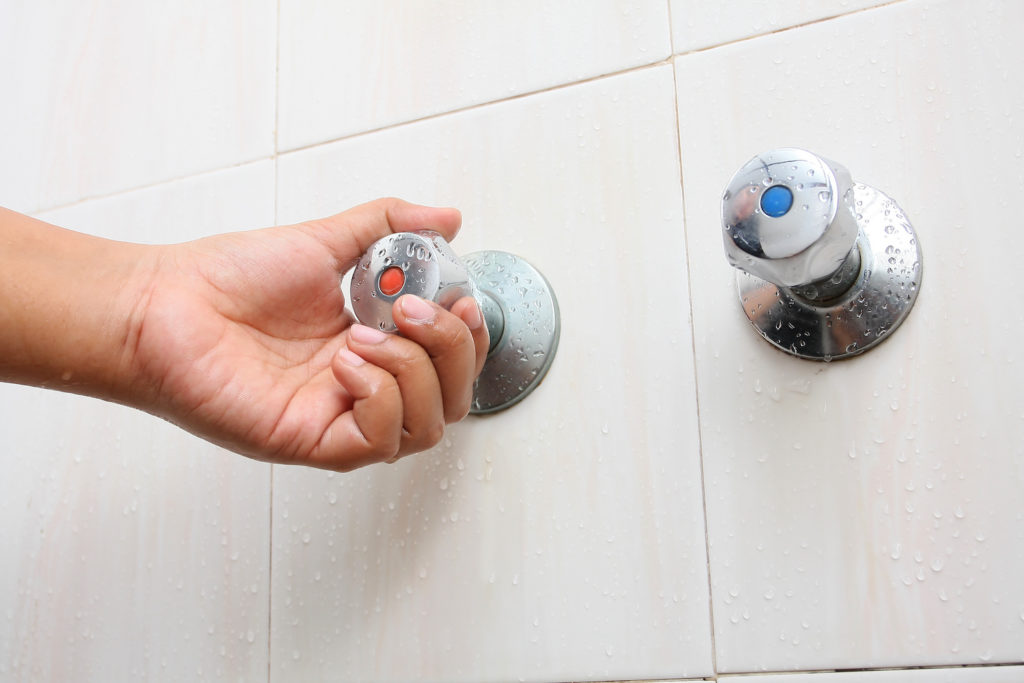
Nothing’s more annoying than the constant drip, drip, drip heard coming from your bathroom night in and night out or the unsightly rust that’s starting to settle along your old tub spout and other fixtures. Fortunately, it’s easy and inexpensive to replace plumbing fixtures, many of which can be completed on your own.
Whether your bathtub spout won’t stop leaking or you simply want to switch up the look of your faucet, you’ll find all the information you need on how to replace a bathtub faucet right here — so keep reading!

Why Do Bathtub Faucets Leak? 💦
Before we get into how to replace your bathtub faucet, let’s take a quick look at some of the most common reasons why these fixtures develop leaks in the first place:
Worn-Out Washers & O-Ring Issues
Over time, the rubber washers and O-rings that create a watertight seal around the faucet’s inner workings can become worn out or damaged. When that happens, water can start to seep through, causing drips and leaks.
Corroded Tub Spout Parts
Another common issue is corrosion, which can cause the pipes and connections inside the faucet to break down over time. This usually happens due to exposure to water with a high mineral content (hard water).
Improper Washer Installation
Last but not least, loose screws and connections can also lead to leaks. If any of the screws holding your faucet together have come loose or were never installed properly, it’s likely only a matter of time before water starts seeping out of the tub faucet or shower head.
Where to Buy Replacement Bathtub Faucet Parts 💰
Now that we’ve gone over some of the most common reasons for bathtub faucet leaks, let’s talk about where you can buy replacement parts for your old faucet fixture.
For washers, o-rings, and other small components, your local hardware store should have everything you need in stock. Places like Lowe’s, Home Depot, or even higher-end retailers like Restoration Hardware typically carry a wide selection of new bathtub faucet fixtures in-store.
However, if you’re looking for larger or specialty parts like specifically-sized spouts or copper handles, you’ll likely need to order them from an online plumbing supplier or directly from the manufacturer instead. Always take your old faucet and handles with you when shopping to ensure they’ll fit your current plumbing setup.
Tools You’ll Need 🧰🛠
In addition to replacement parts, you’ll also need a few basic tools to get the job done. Here’s a quick rundown of what tools you’ll need for these kinds of home improvement projects:
- Adjustable wrench
- Pipe wrench
- Pliers
- Screwdriver (flathead and/or Phillips)
- Plumber’s tape
- Towels or rags
You’ll also need to gather proper materials for your project, including new:
- Nuts and screws
- Stems
- Spouts
- Replacement faucet handles
- Matching shower head or sink faucet
With your tools and materials gathered, this is also a great time to throw down a towel in the bottom of your shower or tub to avoid any scuffing or scratching during the process. A second towel will be used later on to wrap around any open stems and ensure you don’t get sprayed with unexpected water flow.

Breaking Down the Steps to Replace a Bathtub Faucet 🛀🏻
Now that you have all the necessary tools and replacement parts, it’s time to get down to business! Follow our breakdown of the four simple steps required to replace your bathtub faucet in no time:
1.) Taking Out Faucets and Stems
Begin by shutting off the water supply to your bathroom. This will help prevent any accidental flooding while you’re working on installing your new spout and tub faucet handle. You can usually find the water supply shut-off valve behind the same wall as your bathtub faucet, and the wall plumbing will most likely be accessible from an adjacent room.
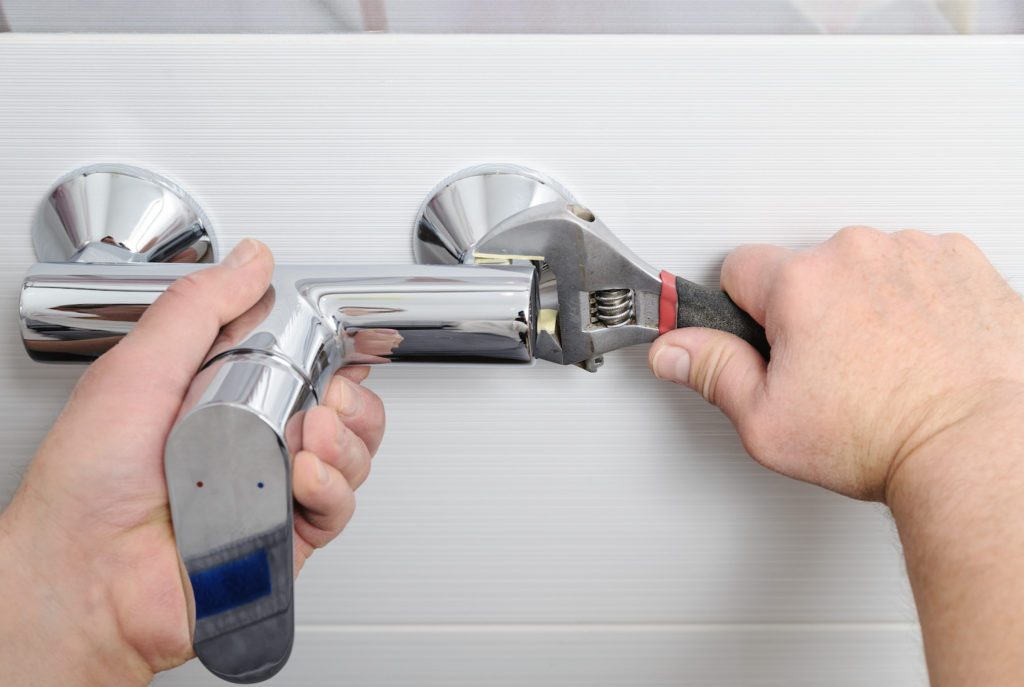
Once you’ve identified an access point and the water is turned off, use an adjustable wrench to remove the nuts that hold the faucet handles in place. With the handles removed, you should be able to see the stems in the wall— the part of the faucet that actually controls the flow of water out of the bathtub spout.
Use a pipe wrench to loosen and remove the packing nuts from each stem. With the packing nuts gone, you can now pull the stems out of their sockets, leaving behind a space to install the new faucet handles. If they’re stuck, you may need to use small pliers or a screwdriver to help pry them loose.
2.) Removing the Spout
As with the hardware and handles, you’ll remove the tub faucet itself in a similar way. There are two types of tub spouts that might be installed in your home:
- Slip-on spout
- Screw-on spout
To remove a screw-on spout, otherwise known as a threaded spout, simply turn the spout clockwise, a la the “righty tighty, lefty loosey” method. Then, you’ll twist the new spout counterclockwise when installing it back in place.
For a slip-on spout, you should be able to pull it away from the wall with little difficulty, but if any caulk was used to seal the fixture to the tiles, scoring it with a putty knife or Exact-o should do the trick to get it loose. Once you score the sealant, you can more easily pull the tub faucet from the walls.
Regardless of the type of tub spout you have, you’ll likely need to remove the escutcheon plate as well to pull the spout out. Use your flathead screwdriver to take out the spout screws holding this smooth, circular piece in place.
With your tub spout removed, you’re ready to move on to the most important parts of replacing a leaky bathtub faucet and faucet handle: actually putting the new hardware and fixtures in your shower space.
3.) Installing a New Handle and Stems
If your leak is coming from around the faucet handle instead of the spout, you’ll likely see damage to the handle stems. They could be rusty and corroded or just not installed correctly. Whatever the reason— they clearly need replacing.
You should already have the old stems pulled out of their sockets, so installing the new ones will be a breeze. Screw in a new stem clockwise for each replacement handle until it’s hand tight, then give it a final spin with a socket wrench.
Don’t over-tighten the stems in this step, as it can damage your pipes. With the stems in place, you can now screw in multiple handles and use caulk to make sure they’re watertight.
4.) Attaching a New Spout
After all the behind-the-scenes hardware, plumbing, and handles are in place, you can install the new spout. Essentially, you can work backward from the steps taken to pull out your old spout.
Like we said above, you’ll want to insert the threaded end of your screw on the spout and screw counterclockwise to install the threaded design onto the pipe that’s exposed. Wrap the threaded spout end with plumber’s tape to avoid stripping it when screwing the fixture on.
In addition, with their slightly different configurations, installing a slip-on spout is even simpler. You can just push the fixture over the new stem and seal things off.
Use one or more screws to attach the escutcheon or cover plate. Remember to use a new screw underneath and seal up the area with caulk to ensure excess water won’t drip inside the walls or start leaking again.
Get Help Fixing Your Leaky Faucet Today 🤝
If you’re still having trouble fixing your leaky faucet, or you’re afraid that you don’t know what you’re doing after reading this step by step guide, don’t hesitate to reach out to a professional plumber like AJ Alberts to get the assistance you need.
With decades of experience, we’ll be able to diagnose the problem easily and make any necessary repairs so you can get back to enjoying your bathroom worry-free!
Contact our team today to schedule your plumbing services and have a new bathtub faucet that’s in perfect working order in no time.
