If you have a leaky or wobbly toilet, it’s likely time for a toilet flange replacement. A toilet flange is a basic yet crucial component of your bathroom plumbing. Swapping out a broken toilet flange is also a basic yet common plumbing repair that handy homeowners can conquer themselves.
In this article, we’ll walk you through the steps of replacing toilet flanges so you can decide for yourself if you want to tackle the job or call in a professional.
- Level of Difficulty: Fairly Simple
- Time to complete: Roughly three hours
- Total cost: $20-$50
The Signs You Need a New Toilet Flange
If you don’t know exactly what a toilet flange is, you are not alone. A toilet flange is the circular pipe fitting that connects your toilet to your home’s sewage pipe. When it’s functioning properly, you won’t even notice that your toilet flange exists. Conversely, when it’s worn down or broken, you’ll notice the following:
- A wobbly toilet bowl
- Small pools of water at the toilet base
- A bad, lingering odor
- Wastewater leakage
Aside from potentially damaging your bathroom floor and becoming a breeding ground for mold, a broken toilet flange can cause health issues for everyone who uses the bathroom.
How to Replace a Toilet Flange
As mentioned, replacing a broken or old toilet flange is a fairly simple process. You just need the right tools for the job, time, and patience.
The Tools and Supplies You’ll Need to Install Your New Toilet Flange:
- Measuring tape
- Putty knife or paint scraper
- Screwdriver
- Adjustable wrench
- Toilet flange kit
- Toilet wax ring
- Rags
- Pluner (optional)
- Tarp (optional)
Once you have everything you need, you can get started using the following steps:
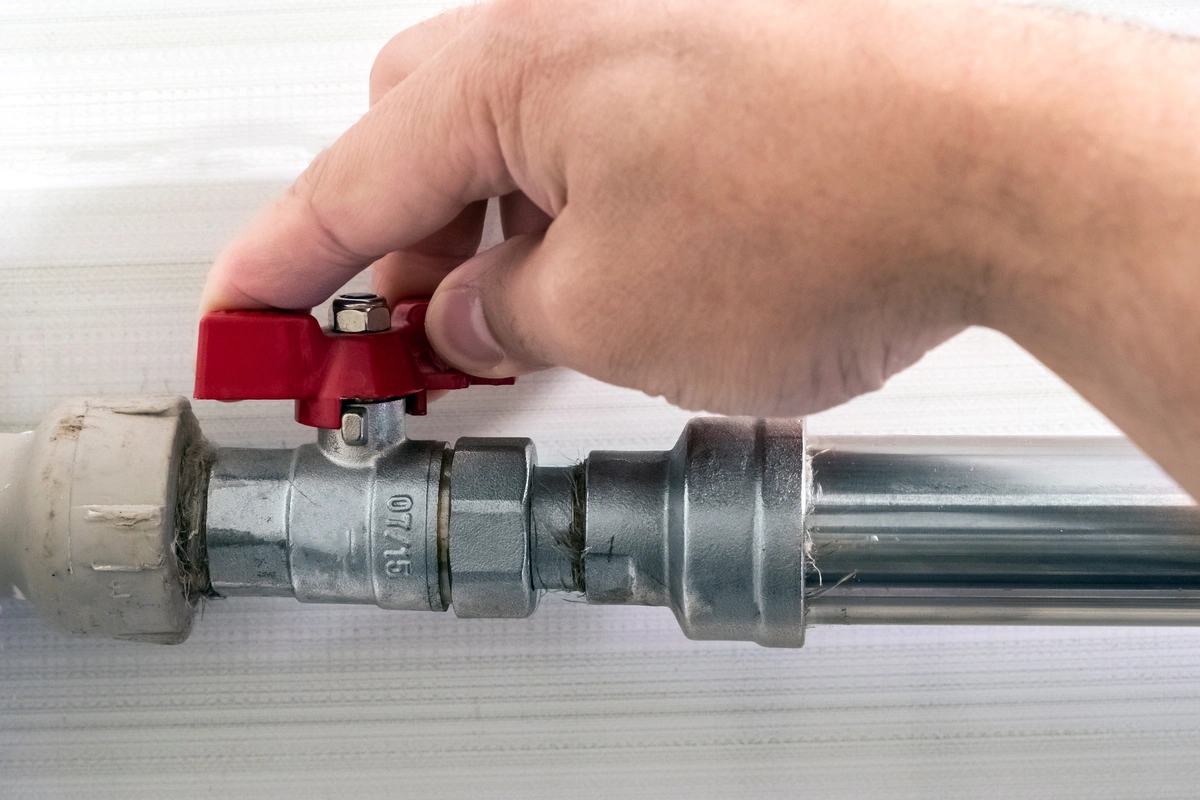
1) Turn Off Your Water Supply
This is typically the first step of most plumbing repairs. Turn off the water supply to your toilet to avoid leaks. Just locate the shut-off valve behind the toilet (near the bottom) and turn it completely clockwise.
2) Empty Out the Toilet Bowl and Tank
Next, you need to drain the remaining water in your toilet bowl and tank to ensure the supply line is closed by:
- Flushing the toilet until the bowl stops filling back up with water
- Using your plunger to drain any lingering water
If the tank continues to fill back up, you’ll need to go back to the shut-off valve to check that you’ve turned it all the way clockwise.
3) Disconnect the Water Supply
Once your bowl and tank are empty and the water supply is completely off, you’ll want to lay down your tarp or a towel around the base of your toilet for any water runoff.
Now look for the hose — it’s usually made of braided metal — that runs from the tank to the joint along with the shut-off valve. With your hand or adjustable wrench, start loosening it at the end where it’s attached to the fill valve.
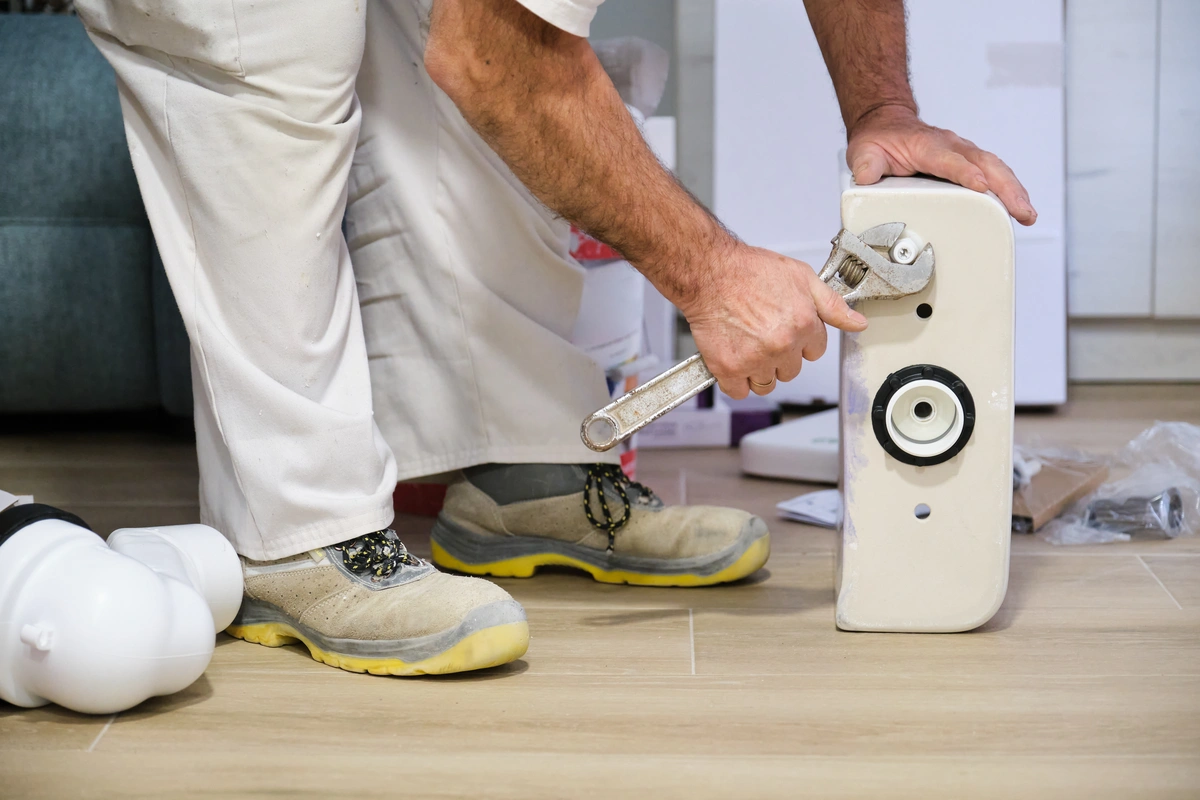
4) Remove the Toilet Tank
Now locate the mounting bolts on the bottom of the tank that connect it to the bowl on each side. There should be two or three depending on the toilet you have, and you’ll need to use your wrench to take them off.
Once you’ve taken off the bolts, set them aside somewhere safe and easily accessible. Then, carefully lift the tank from the bowl and set it aside.
Before moving on to the next steps, make sure you familiarize yourself with the different parts of your toilet to make life easier.
5) Remove the Toilet Bowl
This will be the most difficult part of replacing your toilet flange as toilet bowls typically weigh between 70 and 120 pounds. Therefore, you may need an extra set of hands to safely lift and remove the toilet bowl.
First, you’ll need to remove the caps from the bolts that secure the base of the toilet to the floor. There are usually two of them, and you’ll likely need to use your screwdriver to pry off the caps. Then, use your wrench to loosen and remove the bolt nuts and set them aside.
When removing the toilet bowl, you’ll want to gently rock it back and forth to loosen it up and break the wax ring that’s beneath it. Then, lift the bowl up from the bolts and set it aside.
6) Scrape Up the Wax Ring
Now that the toilet bowl is set aside, the outflow mouth of the drainpipe that’s surrounded by the toilet flange should be exposed. It’ll also still be slightly or mostly covered with the remaining pieces of the wax ring, so you’ll need to scrap those remaining pieces away.
Be sure to plug up the drain hole with rags to avoid foul odors from escaping the drainpipe and to avoid anything from falling in. Using your putty knife or paint scraper, scrape away the rest of the wax.
7) Unscrew the Mounting Bolts
There are typically four screws that mount the toilet flange to the floor. Use your screwdriver to turn each screw counterclockwise to remove and set them aside to reuse later.
8) Remove the Old Flange
The toilet flange is a circular fitting that’s 2-3 inches in diameter. Most toilets today use a PVC flange that’s sealed with a gasket. If this is what your toilet has, you’ll be able to list it up from the drainpipe with ease.
If your existing toilet flange is made of metal — which is either glued in place or attached via a deep-seal fitting — you’ll need to call a professional to finish the job. Otherwise, you’ll run the risk of damaging your drainpipe, which is substantially more expensive and complicated to replace.
You’ll also want to take this opportunity to look over the subfloor around your toilet. If there are soft or spongy patches, it’ll need to be replaced by a professional as well.
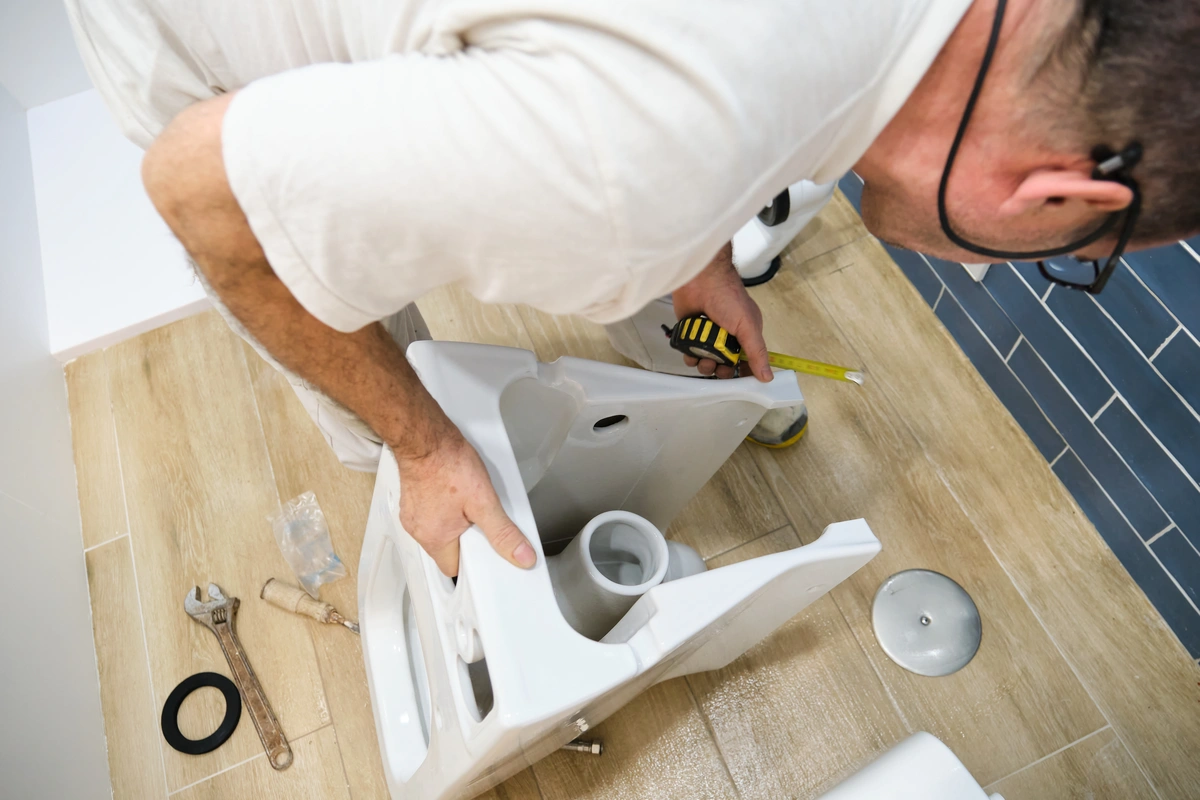
9) Measure Your Outflow Pipe
Before you can install your new toilet flange, you’ll need to make sure you have the right size. Your first option is to bring your old flange to the hardware store and your second is to take measurements to determine the diameter of your old and new flange.
10) Install the New Toilet Flange
Once you’ve determined that you have the right size toilet flange, you can go ahead and install the new one. Start by removing the towels from the outflow pipe and fit the new flange onto it while creating a seal by pushing the gasket and outer lip flush to the floor.
Using the hardware included in your toilet flange kit, secure the flange to the subfloor and slide on the toilet flange bolts. Tighten the nuts (or washers) completely to the bolts to secure it.
11) Add the New Wax Ring
You can install the new wax ring in two ways:
- Secure it to the flange
- Secure it to the toilet base while you have the bowl laying on its side
If you choose to attach it to the toilet, make sure it’s placed directly around the hole at the bottom and fitted correctly.
12) Reassemble the Toilet
Once the replacement flange is in place, all you have to do is put your toilet back together. Be sure to carefully place it directly over the top of the new flange and line it up with the holes at the base where the flange bolts are located.
Once the bowl is in place, you’ll want to apply steady, downward pressure to seal the wax. Now, put the rest of the hardware back in and secure it in place. Be sure not to over-tighten any nuts or washers to avoid cracking the porcelain.
Do the same with the toilet tank — minus the steady, downward pressure — and reattach the supply hose to the toilet tank.
Once the entire toilet is reassembled, you’ll want to slowly turn the valve counterclockwise, checking for leaks as water flows back into the tank. Once the tank is full, flush the toilet a few times to check for leakage around the base of the toilet.
DIY or Hire a Professional?
Replacing a toilet flange isn’t too difficult if you’re generally handy. However, it does require some heavy lifting, which you may not want to deal with on your own. Plus, fixing one plumbing issue often reveals others.
The professionals at AJ Alberts Plumbing are here to make plumbing easy for you. Give us a call today to schedule a consultation or learn about the plumbing services we offer.