Thinking about getting an undermount bathroom sink for your home?
An undermount sink is a great way to have a functional sink that allows the beautiful countertop to stand out while hiding the pipes. Plus, it gives a seamless look and a smooth surface in your kitchen or bathroom. Undermount sinks are very often used in modern kitchens because they can allow you to install an extra-large, deep sink without taking up any more counter space. But undermount bathroom sinks continue to grow in popularity.
The Benefits of Installing an Undermount Bathroom Sink
There are many benefits to installing an undermount sink in your home. When compared to other types like basin or floor mounted, we typically find undermount bathroom sinks winning by a landslide. Let’s get started with the benefits!
Space-Saving Design
Vessel sinks rest atop your counter, so they visually take up a lot of space and can also make it difficult to keep your counter nice and neat. Some drop-in sinks will have a large ridge or fatter edge that takes away from the clean look of an undermounted sink. With this design, you get a nice smooth countertop.
Easy to Install
These types of sinks are straightforward to install, even for the amateur DIY homeowner. Because the edge of the counter will hang over your sink, measurements don’t need to be 100% exact. Plus, all of the unsightly pipes will be hiding underneath your countertop. It’s also very easy to swap out a sink if you want by removing the old one underneath and installing the new one up under your counter surface.
Easy to Clean the Bathroom
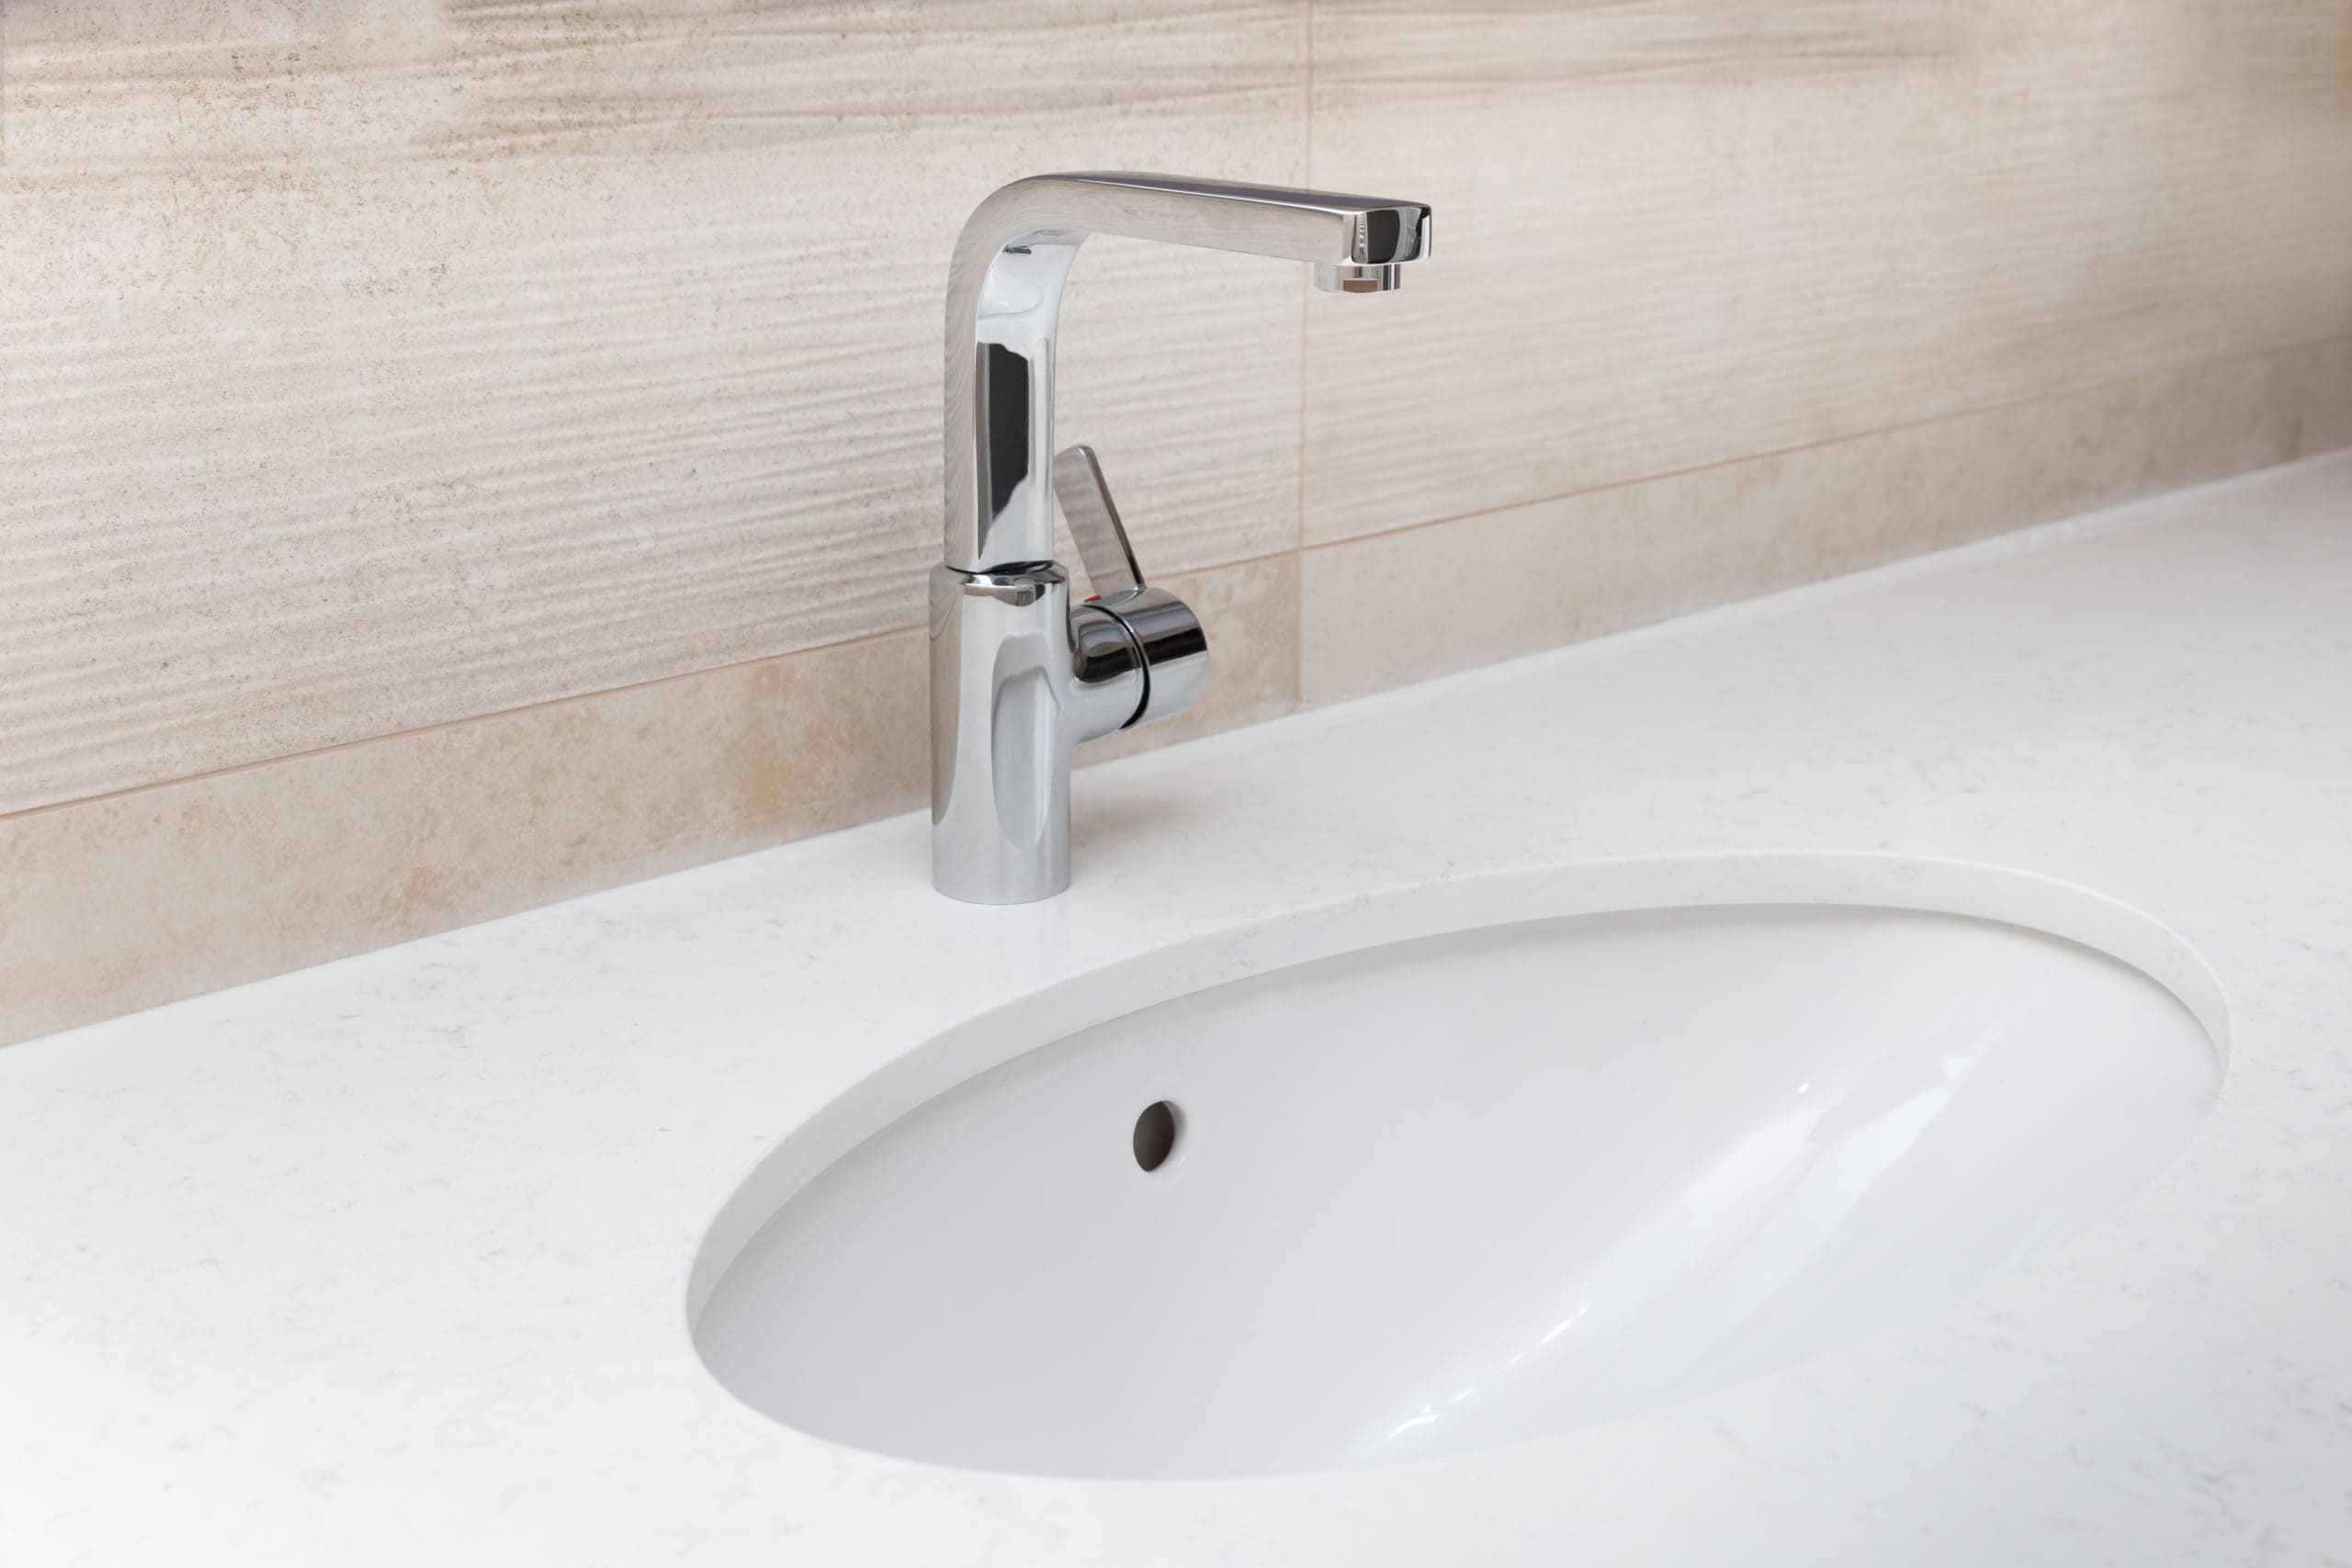
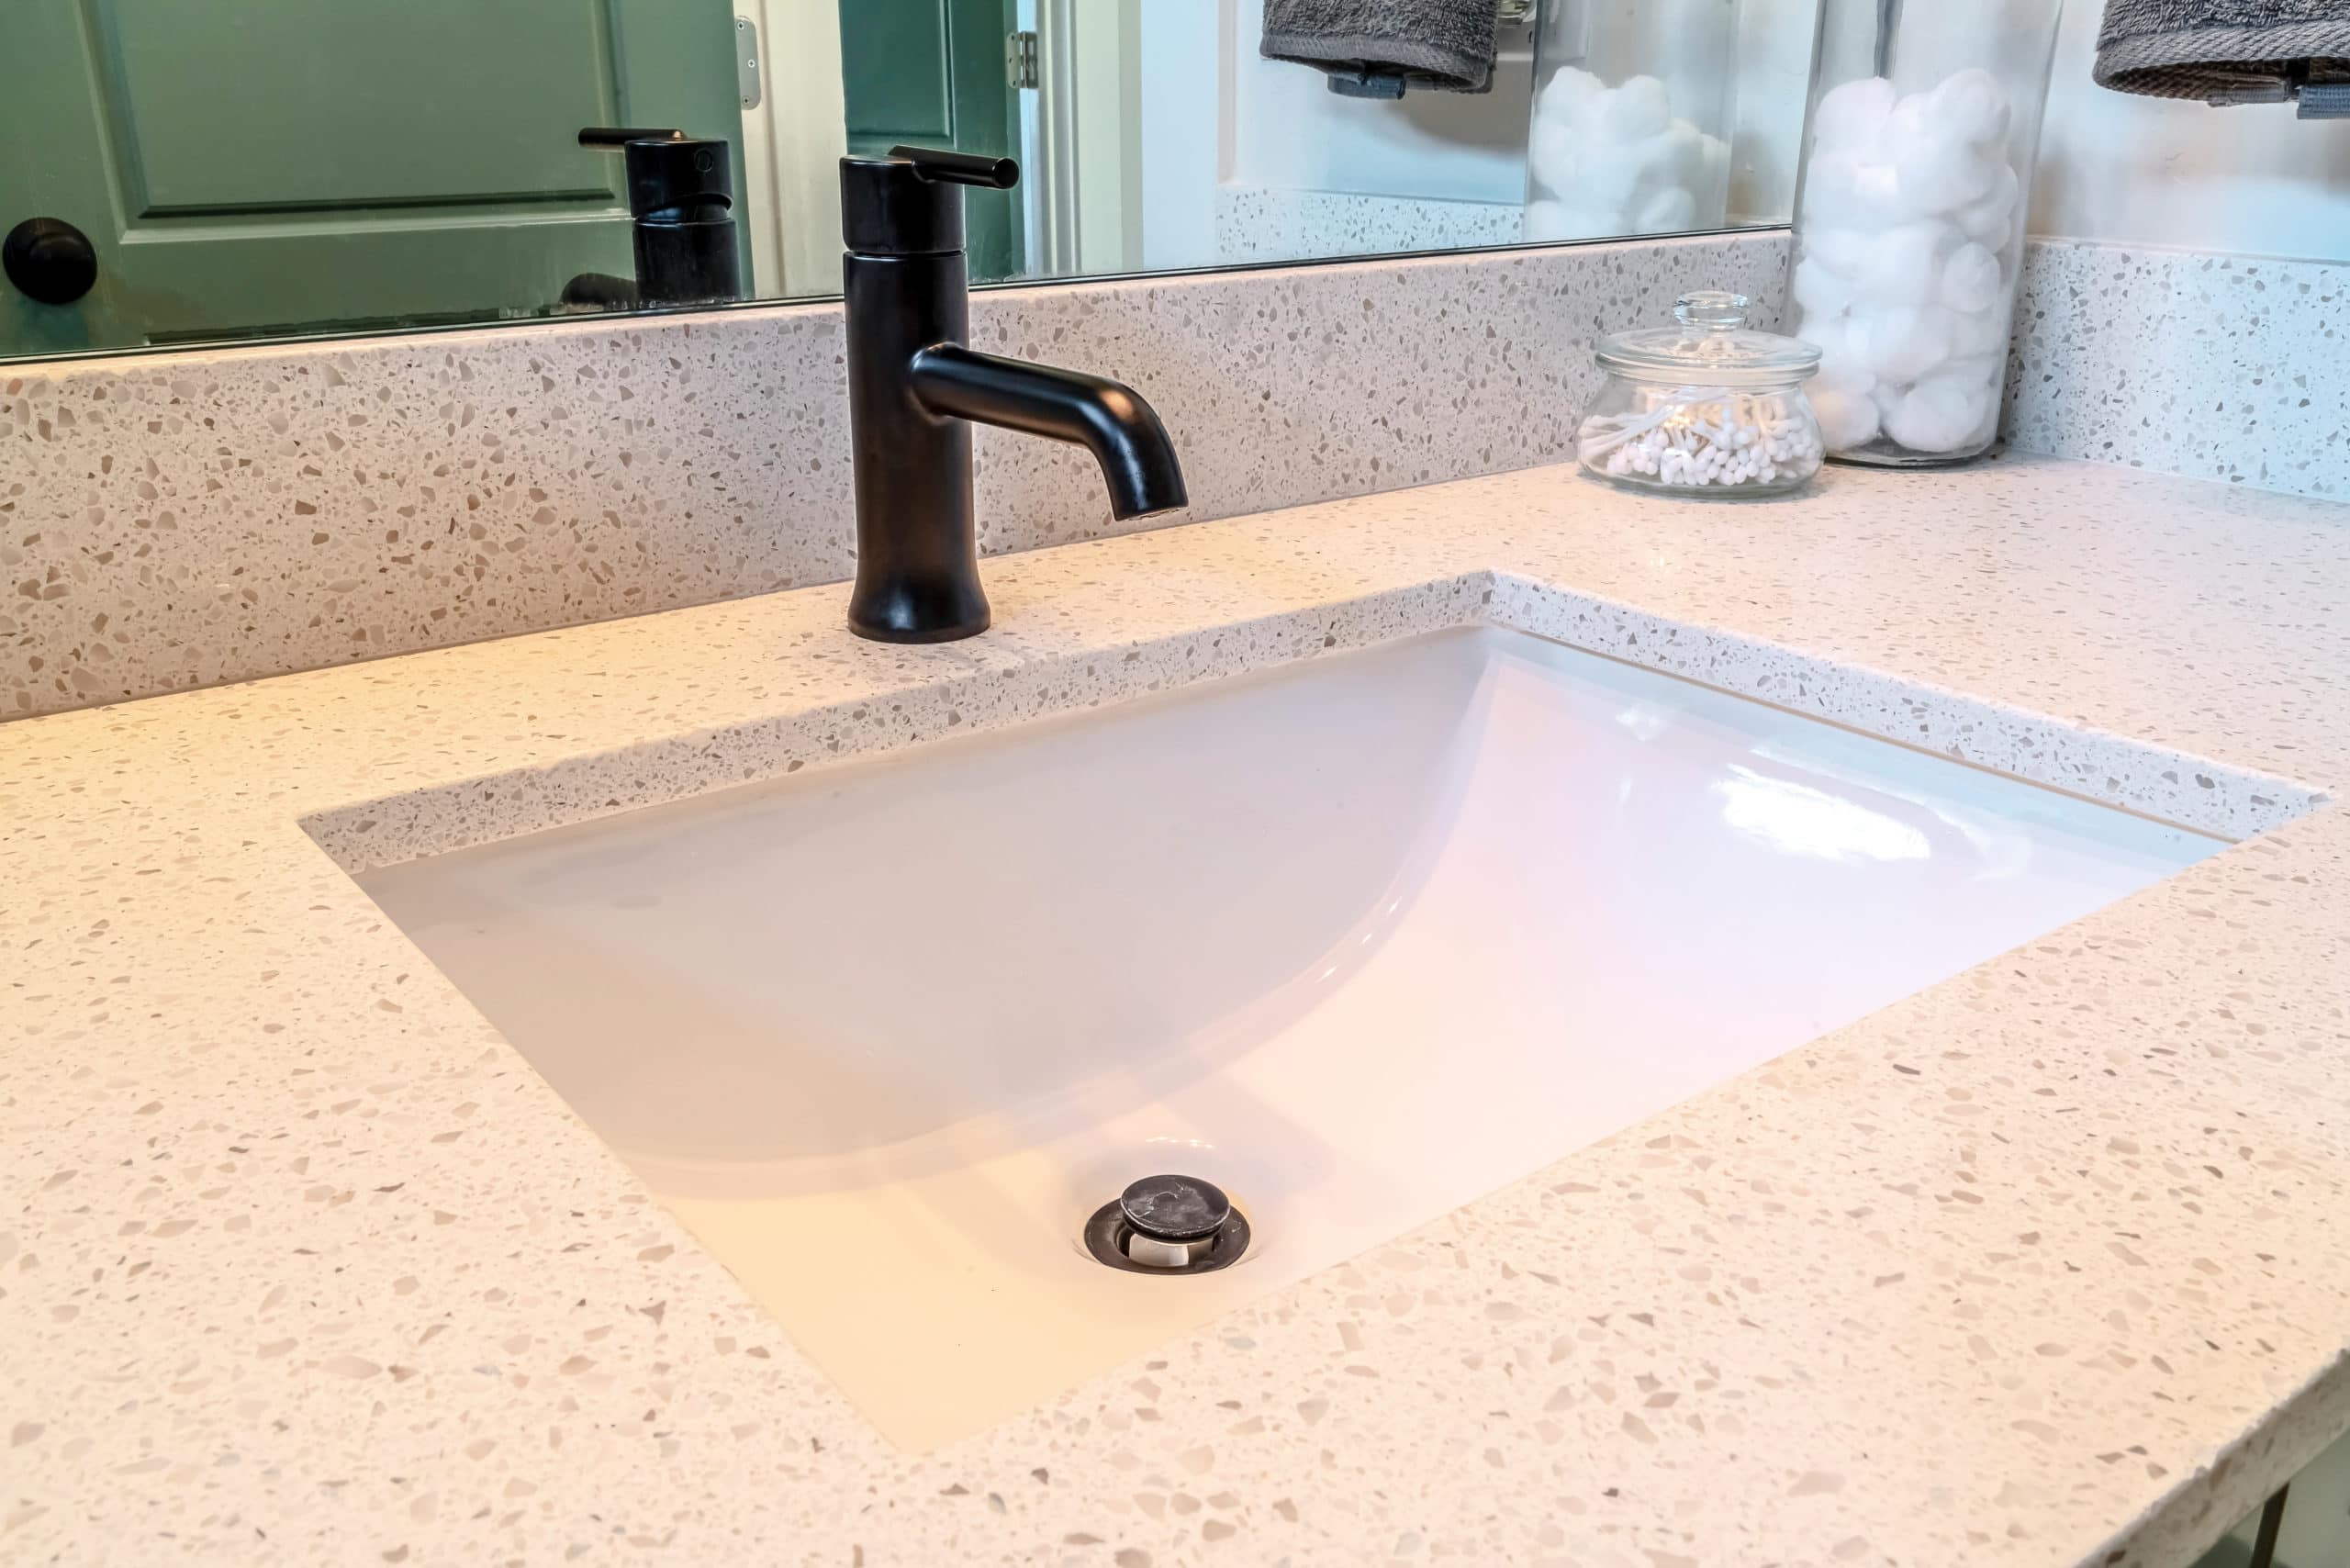
With no edges or sinks sitting atop your surfaces, all you need to do is wipe down the counter for an easy clean. The faucet fixtures will often be installed on the counter rather than the sink’s ceramic, which makes cleaning around those even easier—no more hard-to-reach crevasses around your fixtures.
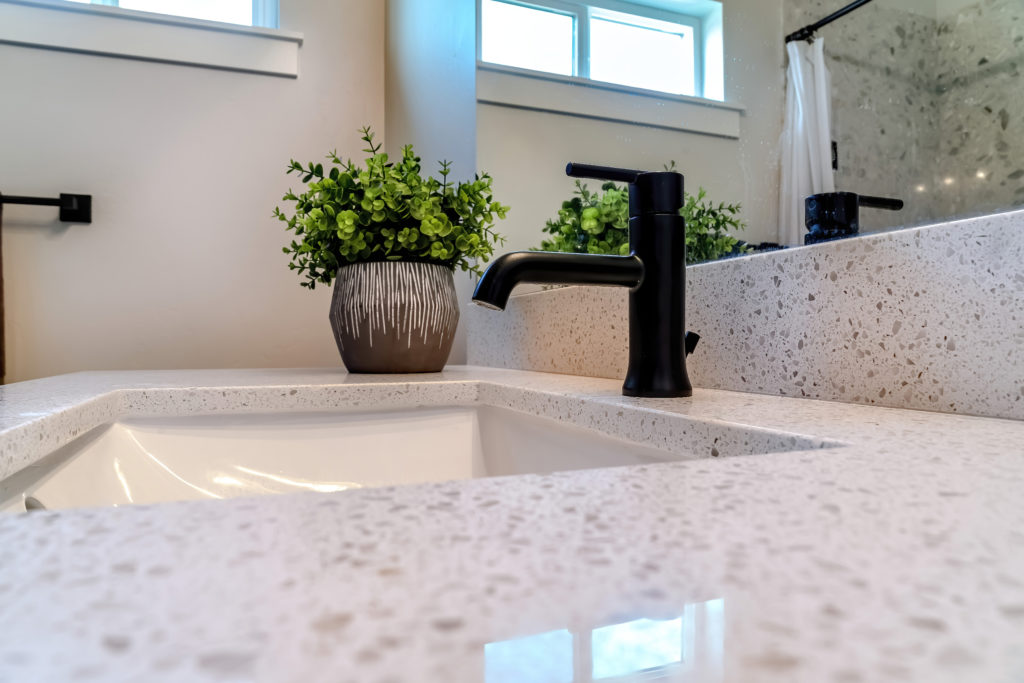
Sleek Look
An undermount sink will allow you to put the focus on your countertop. You can install a nice marble or stone counter in your bathroom, and no sink will take away from that. You will have a smooth surface that gives your entire bathroom a sleek look and makes your counter surface and decor the focal point of the room if you wish.
Hides Plumbing
Unlike a wall-mounted or console bathroom sink, you can hide every bit of plumbing within your cabinets by installing an undermount sink. It will be hidden but easily accessible for easy repairs and installs.
Swap Out Fixtures
By cutting a standard-sized hole in your countertop for your faucet fixtures, you should continually be able to swap out fixtures to match the latest trends. Whether you want a change of pace, you need to replace a broken faucet, or just want a modern upgrade, switching them out on your undermount sink couldn’t be easier. Unscrew underneath the counter, and pull out the old fixtures—disconnect and reconnect the plumbing with ease.
Space for a Deep Sink
Installing your sink under the counter allows for far more options to go deeper, like having a large basin sink. This may be more applicable for undermount sinks in the kitchen, but if you desire to have a deeper sink in your bathroom, you have that option. Doing so may take away some under-counter space, but if it’s already open, then your options are endless. Sometimes people will even renovate their bathroom circulating around an amazing deep basin sink they found and use it for inspiration. That same aesthetic won’t work as well for any other type of bathroom sink.
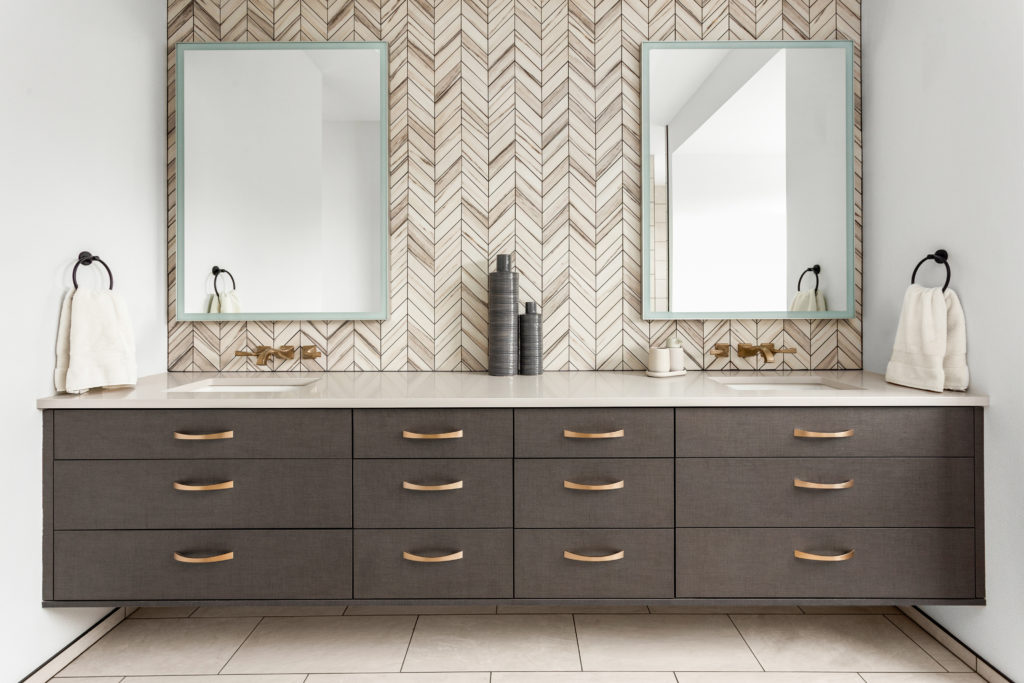
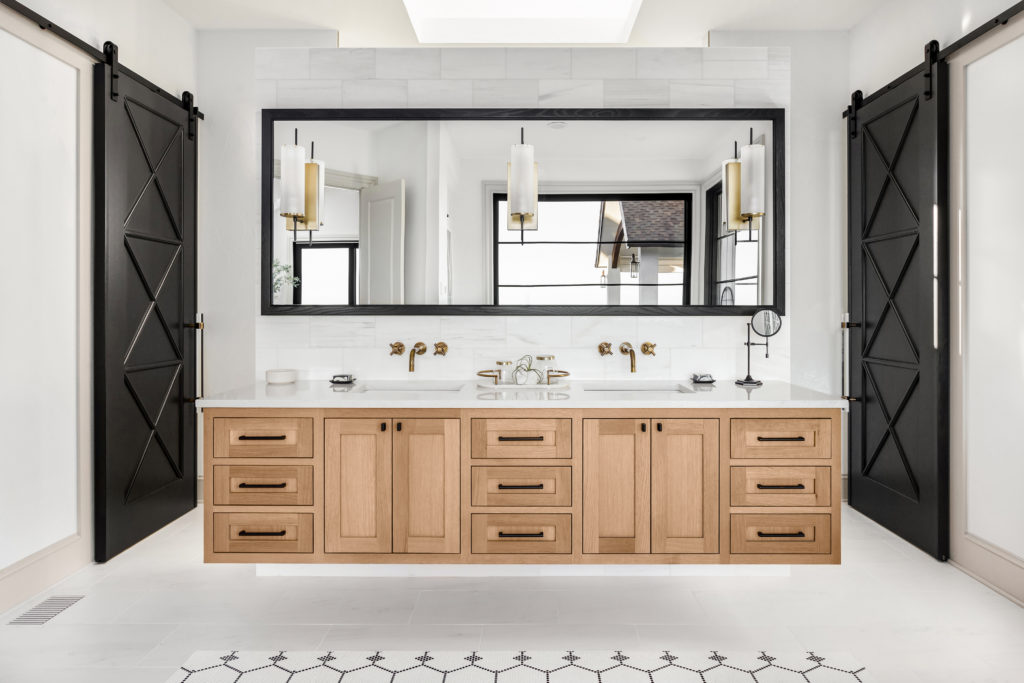
Different Styles of Undermount Bathroom Sinks
Just because your sink is somewhat hidden doesn’t mean you don’t want it to be stylish and go with the rest of your bathroom! In fact, there are tons of options to choose from for your undermount sink. You can get different shapes like rectangle, oval, round, etc. You can also get different materials and finishes that aren’t just a ceramic sink. Some of the most popular styles of undermount sinks include:
- Stainless Steel
- Cast Iron
- Copper
- Composite
- Fireclay
- Stone
- Ceramic
A Step-by-Step Installation of Undermount Sinks
There are a few critical materials you’ll need for installing your new undermount sink. Some may not be required if you are replacing an existing sink, but have these on hand.
- Sawhorses
- 2×4 (1 or 2) long enough to fit across the size of your sink’s hole
- Silicone caulk & caulking gun
- Construction adhesive
- Pliers
- Wrench (plumber or pipe)
- Plumber’s putty
- Bar clamp
- Drain assembly and tailpiece
- P-trap assembly
- Faucet + 2 faucet supply hoses (for hot and cold)
- Rag and denatured alcohol
Step 1. Sink Hole
You first want to do one of two things. First, make sure your new sink will fit into your pre-cut sink hole if you replace an existing vanity. Or, get the proper sink hole cut into your new countertop at the hardware store. Frequently the sink and countertop will be purchased together. This is definitely recommended to ensure a perfect fit.
Step 2. Clean Surface
You will want to clean the underside of your countertop. Set it on two sawhorses for easy access. But you can’t use just any surface cleaner; you will want to use a rag and denatured alcohol. This ensures a spotless surface that your adhesive will stick to.
Step 3. Apply Adhesive
With the countertop still on the sawhorse, apply your adhesive and caulk if needed for heavier, bigger sinks. You will want to apply a thin line of adhesive around the sink opening, but not too close so that it overflows the edges when the sink is placed in there. Another line of caulk outside of the adhesive can create an airtight seal.
Step 4. Clamp and Wait
After you’ve set the sink onto the adhesive on the underside of the countertop, you will want to clamp it tightly while it dries. This is where the 2×4 will come in to play and the drain hole in the bottom of the sink. You will run the rod of the clamp through the drain hole. Using one or two 2×4 boards, you can clamp each end to secure the sink against the adhesive/caulk. Clean off any that oozes out before it dries.
Step 5. Caulk Edges
Once the adhesive is dry, you will want to seal the edges with caulk on the sink/countertop’s underside. Allow it to dry according to the directions and suggested drying time.
Step 6. Install Faucet and Drain
Although you can install the faucet and drain after you’ve installed the countertop, you will probably find it much easier with it still on the sawhorse. So using your putty, pliers, and wrench, install all of your assemblies as directed.
Step 7. Hook Up Water Supply
Once everything is dried, secure, and properly installed, it’s time to install your countertop! With your water shut-off, install the P-valve and all remaining assembly. Tighten every connection and turn the water back on. Run some water through and check for any leaks. Adjust as necessary. And there you have it: your beautiful new vanity!
Getting the Job Done Right
Many homeowners like to attempt to DIY their home projects, but with breakable materials like ceramic sinks and marble countertops, it is critical to hire professionals. Luckily, AJ Alberts has the team and experience to handle any new or existing bathroom installation and repair. We believe you deserve the bathroom vanity of your dreams, and we want to help you achieve it! So give us a call to get started!