So, you’ve decided to bid farewell to hard water and invest in a water softener—great choice! Soft water can make a significant difference in your daily life, from softer skin and hair to increased appliance lifespan. Wondering whether you can install a water softener yourself or hire a professional? In this guide to water softener installation, we’ll explain what you need to know and help you make the best choice for you.
If you’re ready to call the pros, contact A.J. Alberts! Our experienced technicians specialize in water quality, and we’ll ensure your system is installed quickly and efficiently.
Water Softener Types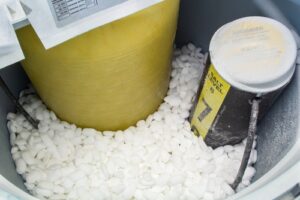
Before we get into the nitty-gritty of installation, let’s briefly touch on the two primary types of water softener systems:
Salt-Based Water Softeners
These systems use salt to regenerate and remove minerals from the resin tank. They’re highly effective but require salt replenishment about every month. Salt-based water softeners are by far the most popular option for most homeowners.
Salt-Free Water Conditioners
Salt-free conditioners change the structure of minerals rather than removing them. They’re maintenance-free but may not be as effective for extremely hard water, making them a less popular choice.
The water softener type and size that best suits your home depends on its water hardness level, space, and maintenance preferences.
Preparing for Water Softener Installation
Start with these essential considerations before lifting a wrench:
- Water Hardness Test: Conduct a water hardness test to determine the hardness level of your water. This will help you choose the right water softener for your needs. A.J. Alberts offers free water inspections to help narrow down the best choices for your home.
- Selecting a Location: Choose a suitable location for your water softener. It should be close to your home’s water source and a power outlet, with enough space for the unit and proper drainage.
- Gather Necessary Tools and Materials: Ensure you have all the tools and materials required for installation, including pipes, fittings, and a drain line.
How to Install a Water Softener in 11 Steps
Now, let’s break down the installation process into easy-to-follow steps:
- Shut Off the Water Supply: Locate the main water supply valve and turn it off. Open a faucet to relieve pressure and drain any remaining water.
- Drain the Pipes: Open all faucets and flush toilets to drain the plumbing system. This will prevent water spillage during installation.
- Select Installation Location: As mentioned earlier, choose an appropriate location for your water softener near the water source and power outlet.
- Position the Bypass Valve: If your system includes a bypass valve, attach it to the control valve head. This valve allows you to bypass the softener if needed.
- Cut and Attach Pipes: Use a pipe cutter to cut into the water supply line, and then attach the inlet and outlet pipes to the water softener control valve.
- Connect the Drain Line: Connect the drain line to the water softener and ensure it reaches a suitable drain or utility sink.
- Install Overflow Line: If necessary, install an overflow line to divert excess water in case of a malfunction or overflow.
- Electrical Connection: Plug the water softener into the power outlet. Follow the manufacturer’s instructions and ensure it’s properly grounded.
- Water and Salt Setup: Follow the manufacturer’s guidelines to add water and salt to the system. Some units may require manual regeneration to initiate the softening process.
- Start Up: Turn on the water supply and check for leaks or unusual sounds. Allow the system to go through a full cycle.
- Program the Control Panel: Program the control panel based on your water hardness level, regeneration frequency, and other settings. Refer to the user manual for instructions.
4 Tips for Regular Maintenance
Your water softener is now up and running, but it’s not a set-and-forget appliance. Regular maintenance ensures optimal performance and extends its lifespan.
Salt Refill
Monitor salt levels and replenish them as needed. Most systems have a brine tank that requires periodic refilling.
Resin Bed Cleaning
Clean the resin bed occasionally to remove accumulated minerals and prevent resin fouling. Use a resin bed cleaner following the manufacturer’s instructions.
Inspect and Lubricate Valves
Check valves, seals, and gaskets for wear and tear. Lubricate them as recommended to prevent leaks.
Monitor Water Quality
Regularly test your water’s quality to ensure the softener is effectively reducing hardness. Adjust settings if necessary.
Troubleshooting 4 Common Issues
Sometimes, your water softener may encounter problems, especially if you’ve installed it yourself. Here are some common issues and troubleshooting tips:
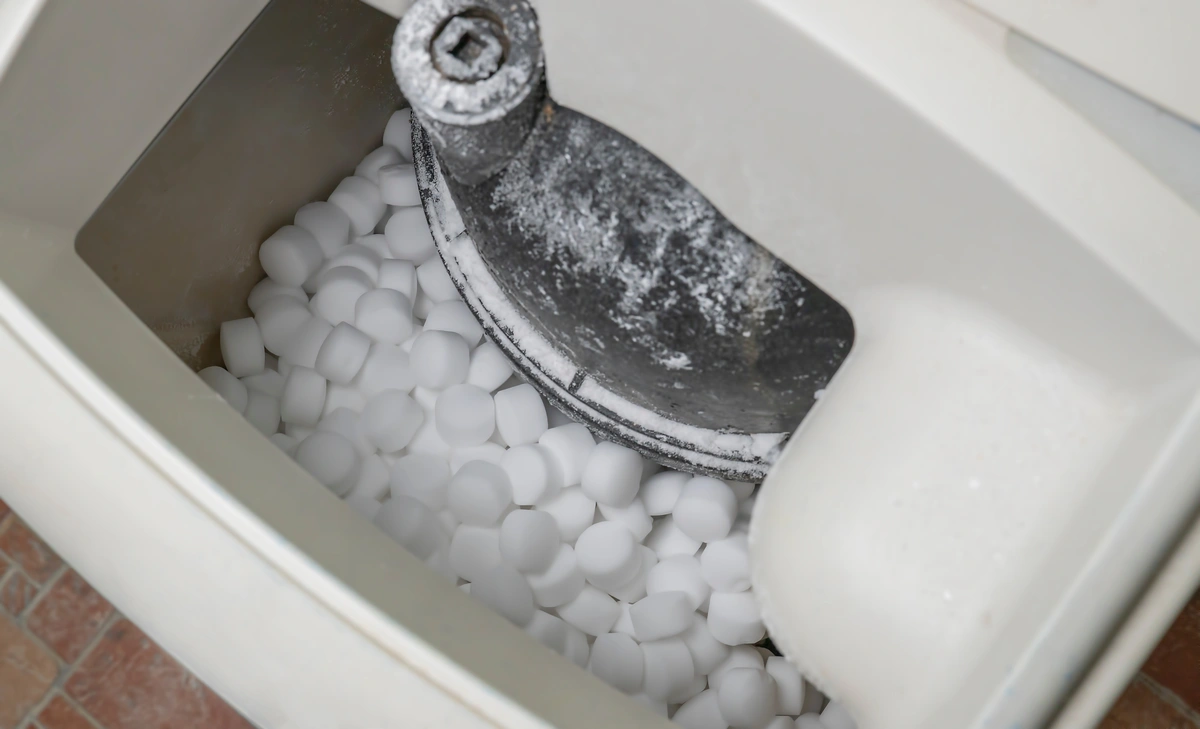
Salt Bridges
If a hardened salt layer forms in the brine tank, break it up to allow proper salt dissolution.
Low Water Pressure
Check for clogs in the resin tank or pipes. Clean or replace as needed.
Resin Beads in Water
If resin beads appear in your water, the resin bed may be damaged. Contact a professional, like A.J. Alberts, for repair or replacement.
No Softened Water
Ensure the control valve is functioning correctly and the system is regenerating as scheduled.
Professional Installation vs. DIY
Deciding whether to install your water softener yourself or hire a professional depends on your plumbing skills and comfort level. Here are some factors to consider:
DIY Installation
Pros:
- Cost-effective
Allows you to learn about your system
Can be a satisfying DIY project
Cons:
- Risk of errors and creating additional plumbing issues
- Potential warranty issues if not installed correctly
Professional Installation
Pros:
- Expertise
- Guaranteed installation
- Peace of mind
Cons:
- Higher cost
While you can save on water softener installation costs by installing your water softener yourself, many homeowners find the security provided by professional installation well worth the cost. The right choice for you depends on your budget, handiness, and preferences!
Install a Water Softener Like a Pro
By following this ultimate guide to water softener setup, you can enjoy the benefits of soft water in your home. Remember to maintain your system regularly and address any issues promptly to ensure it continues to provide you with high-quality, softened water. Say goodbye to the hassles of hard water and hello to more comfortable, efficient, and enjoyable water!
Contact our plumbing experts at A.J. Alberts today and experience top-notch work from reliable plumbers. We’re locally owned and operated, so we have deep experience with water issues in the Twin Cities area. Let’s make the water in your home safer, cleaner, and tastier!