Dealing with a leaking toilet? It may not seem like a huge problem at the time, but leaving a leak untreated can lead to
- Water damage to your floor and surrounding surfaces
- Wasted water and higher bills
- Further damage to the supply line
If you’ve noticed leaking water when you flush the toilet, the culprit may be the toilet supply line. Since finding a leak on the water supply line and fixing it can be tricky, it’s usually easier to call a professional to handle the job for you – but it is possible to do it on your own too.
Keep in mind that repairing a leaking toilet supply line is often about the process of elimination. It’s not always easy to tell where the leak is coming from, so repairing the leak can be about eliminating problem areas on the toilet supply line – such as bad washers, the fittings, or even the line itself.
For an in-depth guide on how to go about repairing a leak in the line, here’s everything you need to know.
What is a Toilet Supply Line?
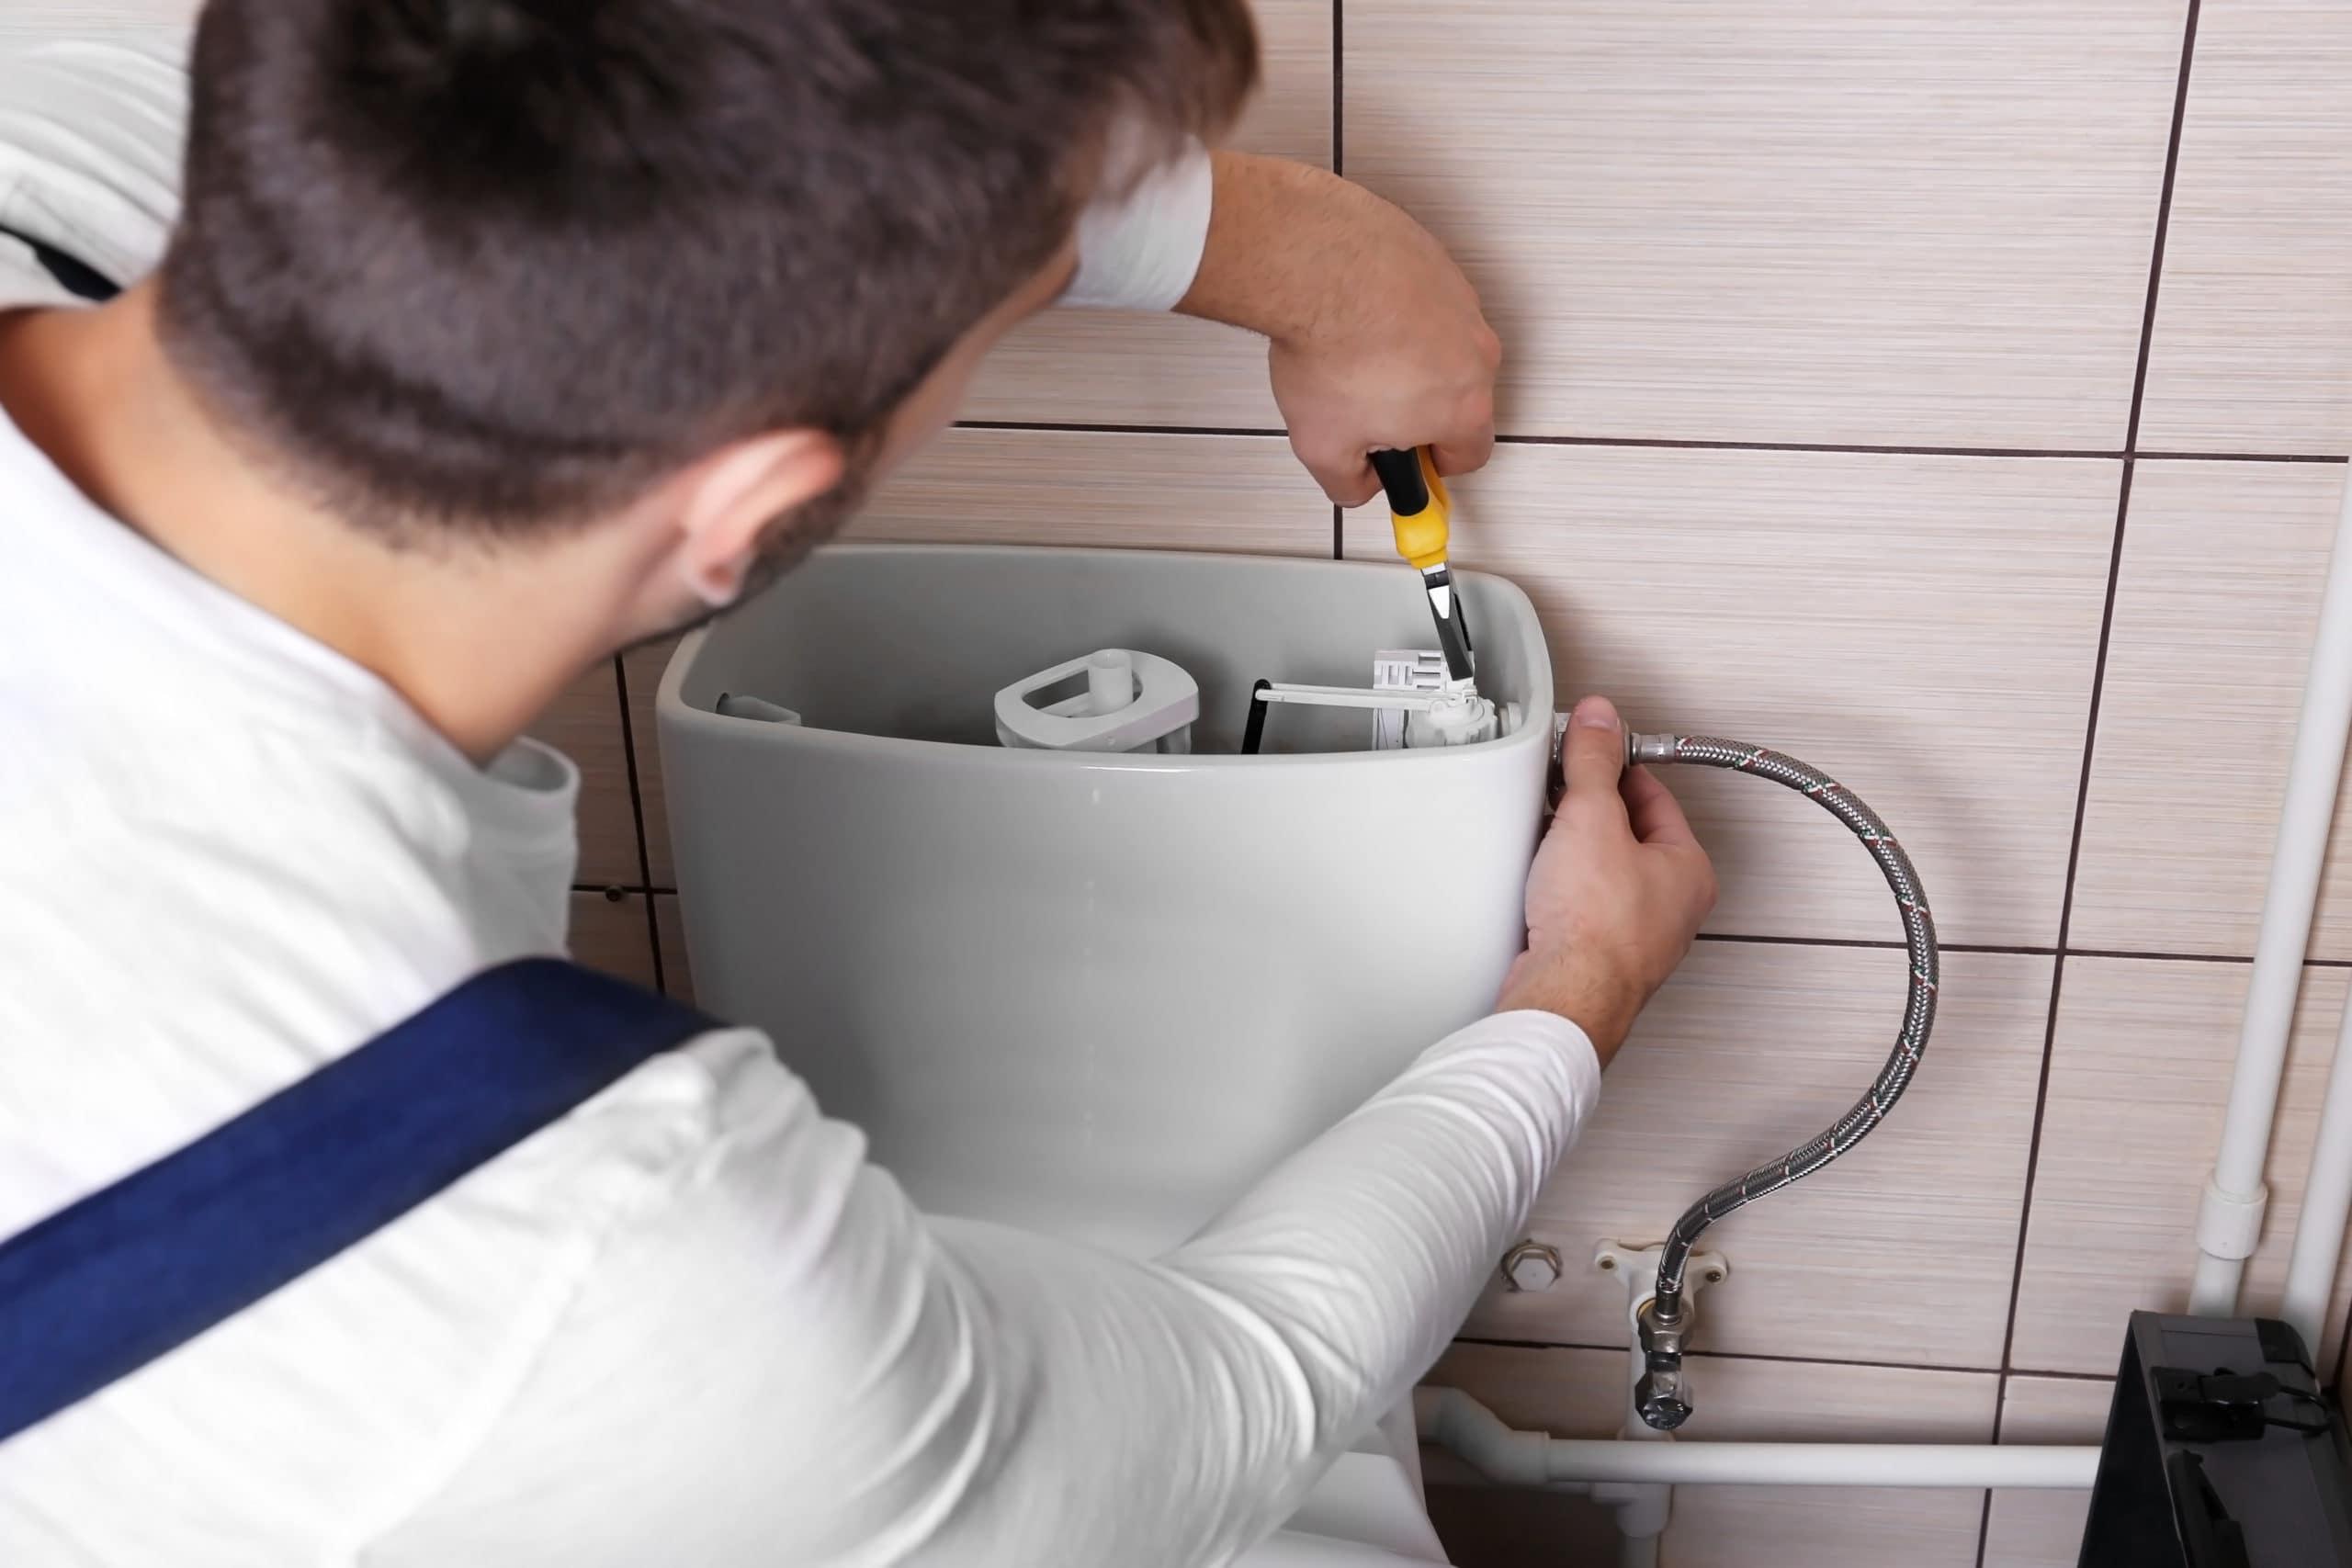
Before you even begin the repair process, it’s essential to know what the toilet supply line is and where it’s located. These supply lines carry water from a nearby cold water source to the tank of your toilet.
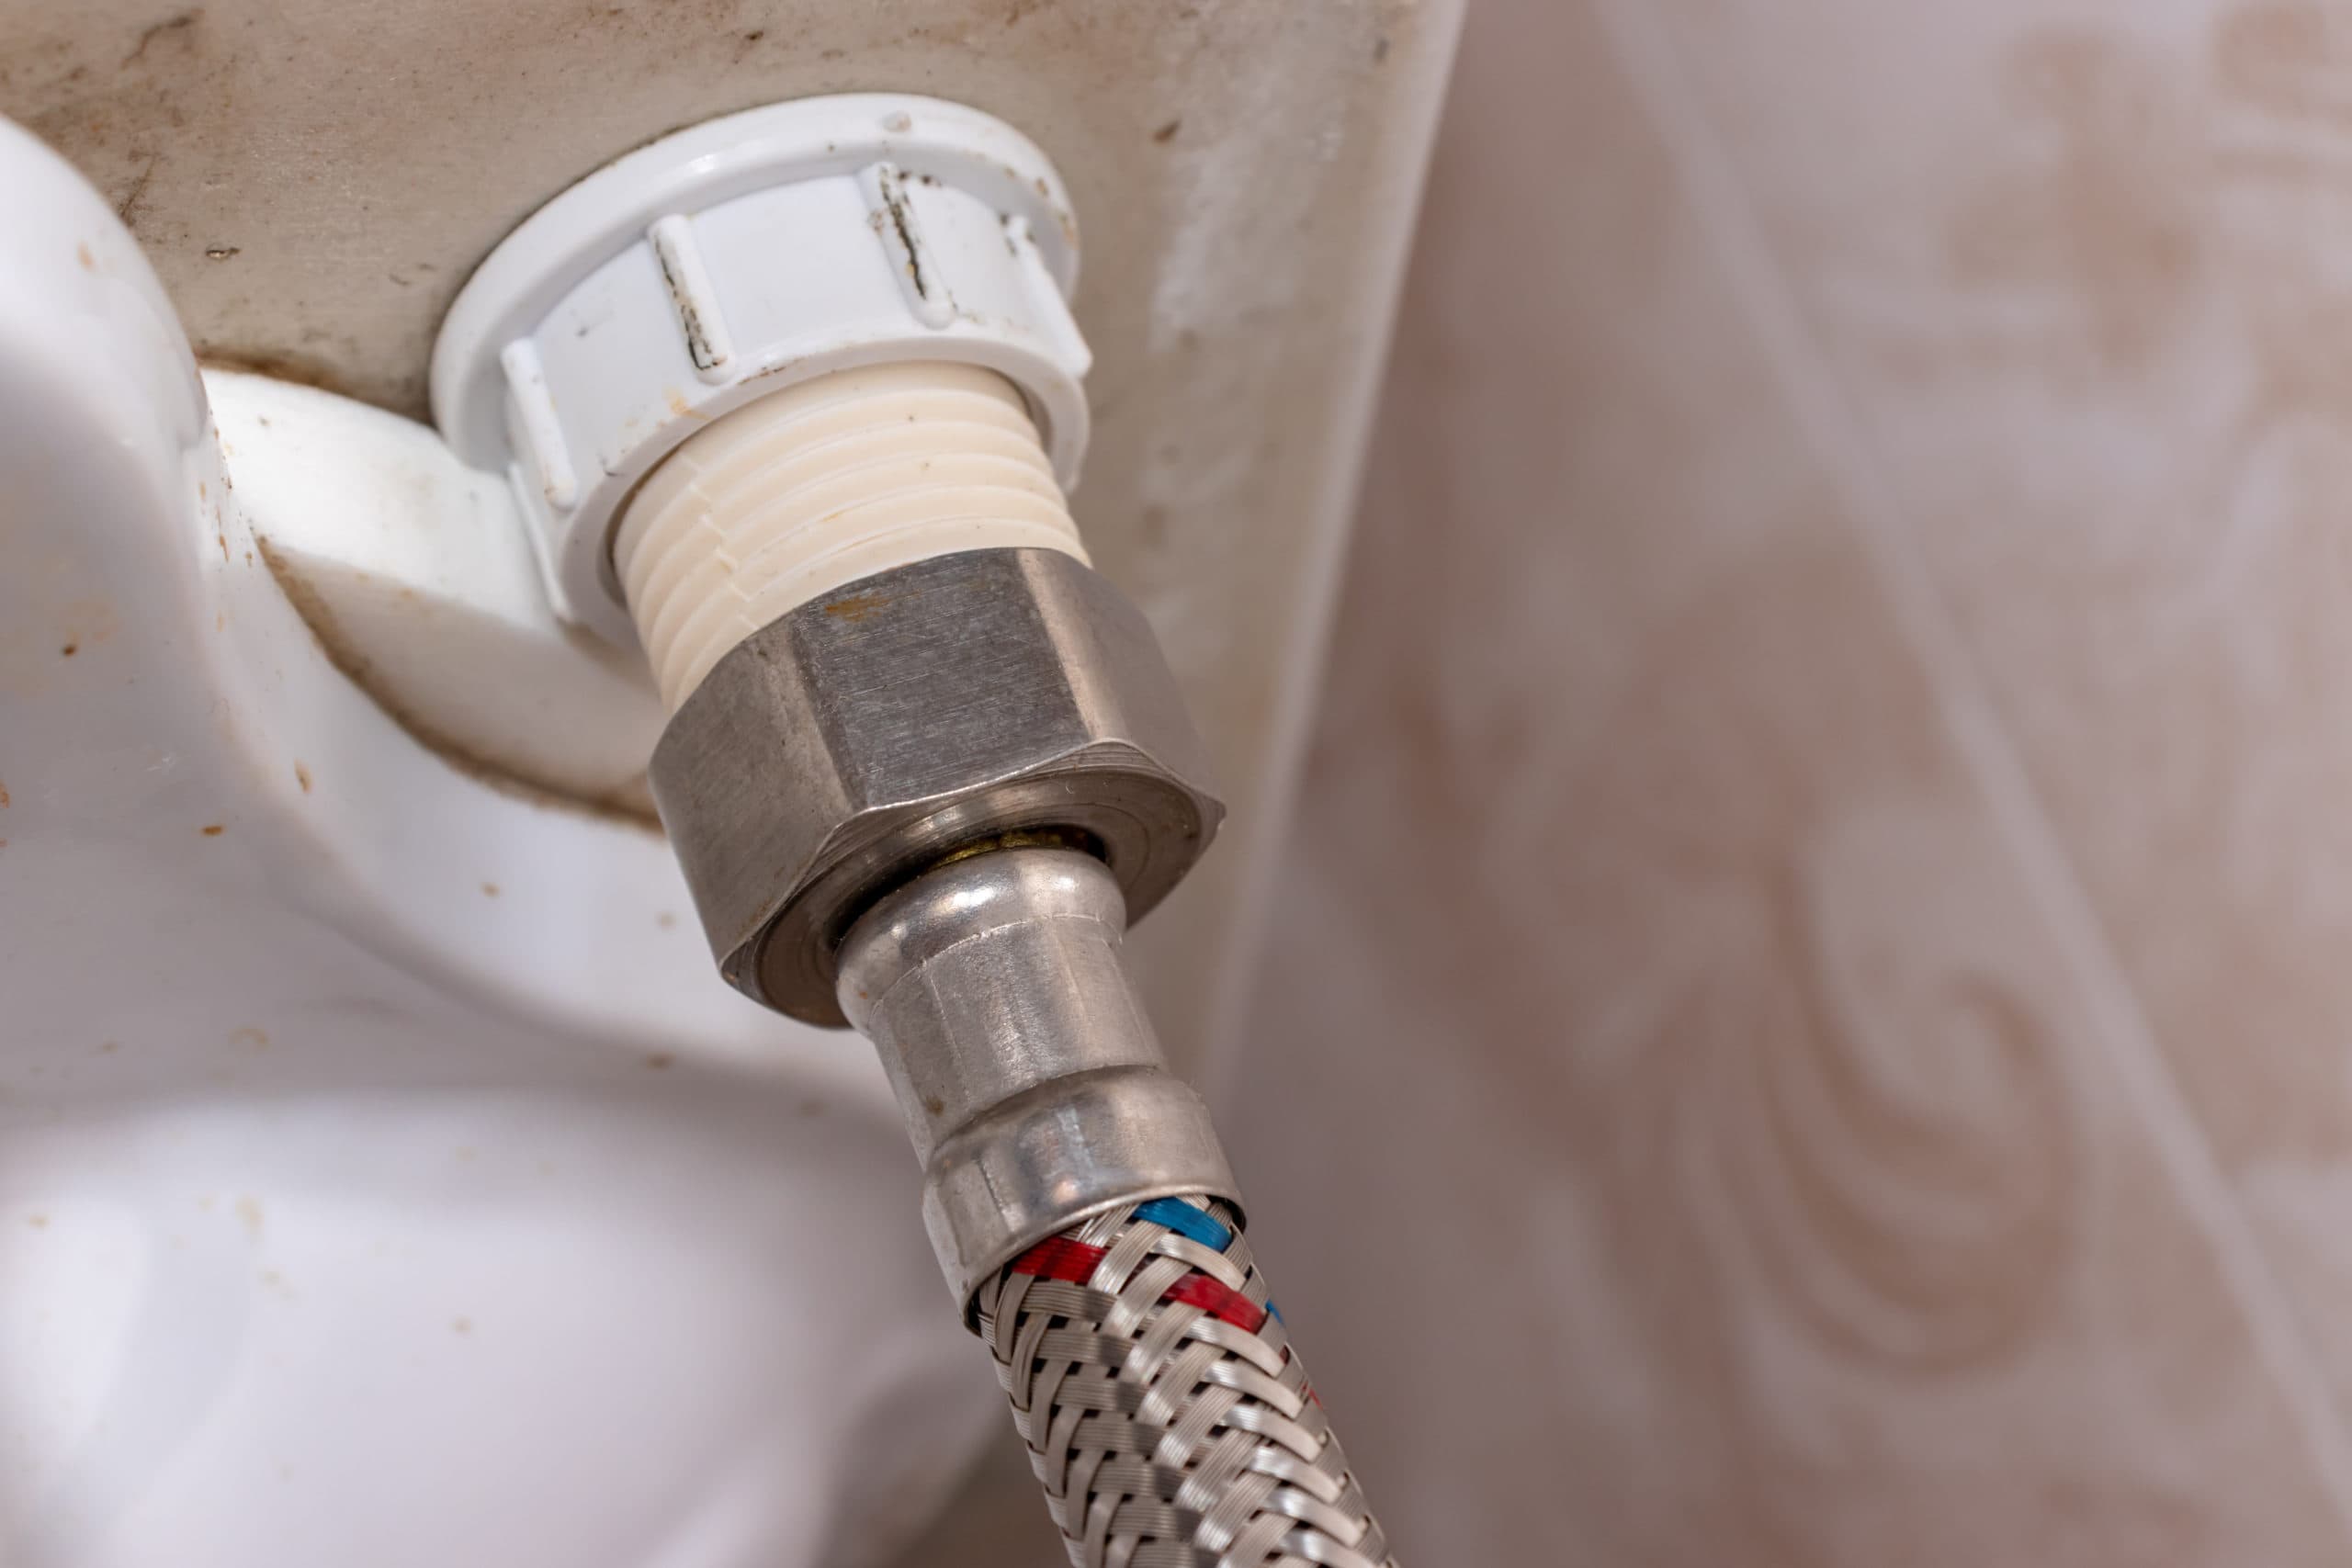
If you look closely at the bottom of your tank, you should see a short line, usually chrome or white, that runs from the tank into the wall – this is the supply line.
How to Repair a Leaking Toilet Supply Line
Now that you know where the supply line is, and you’re ready to start repairing, here’s what you’ll need to get the job done:
- A small pipe wrench
- A dry rag
- Plumber’s tape
- Shut off valve/supply valve (if you don’t already have one)
- Rubber washer (depending on where the leak is at, this may not be necessary)
Step 1: Identify the Leak 🔍
The first step is to determine where the leak is coming from. Once you know where the origin is, you’ll be able to determine whether you can just repair it or if you’ll need to go through the hassle of buying a new toilet supply line.
To check for leaks, start at the top of the line near the toilet, and run a dry rag slowly across the line. This should do a pretty good job of helping you determine exactly where the leak is, but if you’re still having trouble, you can always swap out the dry rag for your finger.
If the leak is located between the fittings, there’s no use finishing the repair process – you’ll most likely need to buy a new toilet supply line. However, if the leak is coming from around the fittings, you should be able to patch up the leak without taking out the whole line.
Step 2: Tighten the Fittings 🔧
If you notice that it’s around the fittings, the first thing to try is tightening the fitting. To do so, use your small pipe wrench, place it around the fitting, and slowly (and gently) tighten the nut. Tightening your fittings can be a little tricky, as too much pressure on the fitting can do more harm than good.
Once you’ve tightened it, you’ll want to wait a few minutes and then use your rag or finger to check if it’s still leaking.
Step 3: Check Out the Rubber Washers ✔️
If the leak still hasn’t stopped, the next culprit you’ll want to check out are the rubber washers. In some cases, bad or damaged washers can cause a leak in your toilet supply line. Before you check out the washers, it’s important to cut off your water at your shut-off valve.
Quick tip: Even if you shut off the water, there will still be water in the hose, so you should keep a small container or bucket underneath the line to prevent water from spilling on the floor.
After you’ve done this, you’ll need to use your small pipe wrench to loosen the fittings and remove the line from your toilet and water supply. Inside each fitting, you should find a rubber washer, which you should be able to pull out (either with your fingers or a pair of pliers if you need them).
Depending on the damage, you may be able to tell if the washers are the source of the problem just by looking at them. Bad washers may be cracked or just look worn down. However, even if they look fine, you should still replace them and then reattach your line back to the toilet and water supply.
Next, turn your water back on, wait a few moments, and then check again for leaks.
Step 4: Use Plumber’s Tape 🪠
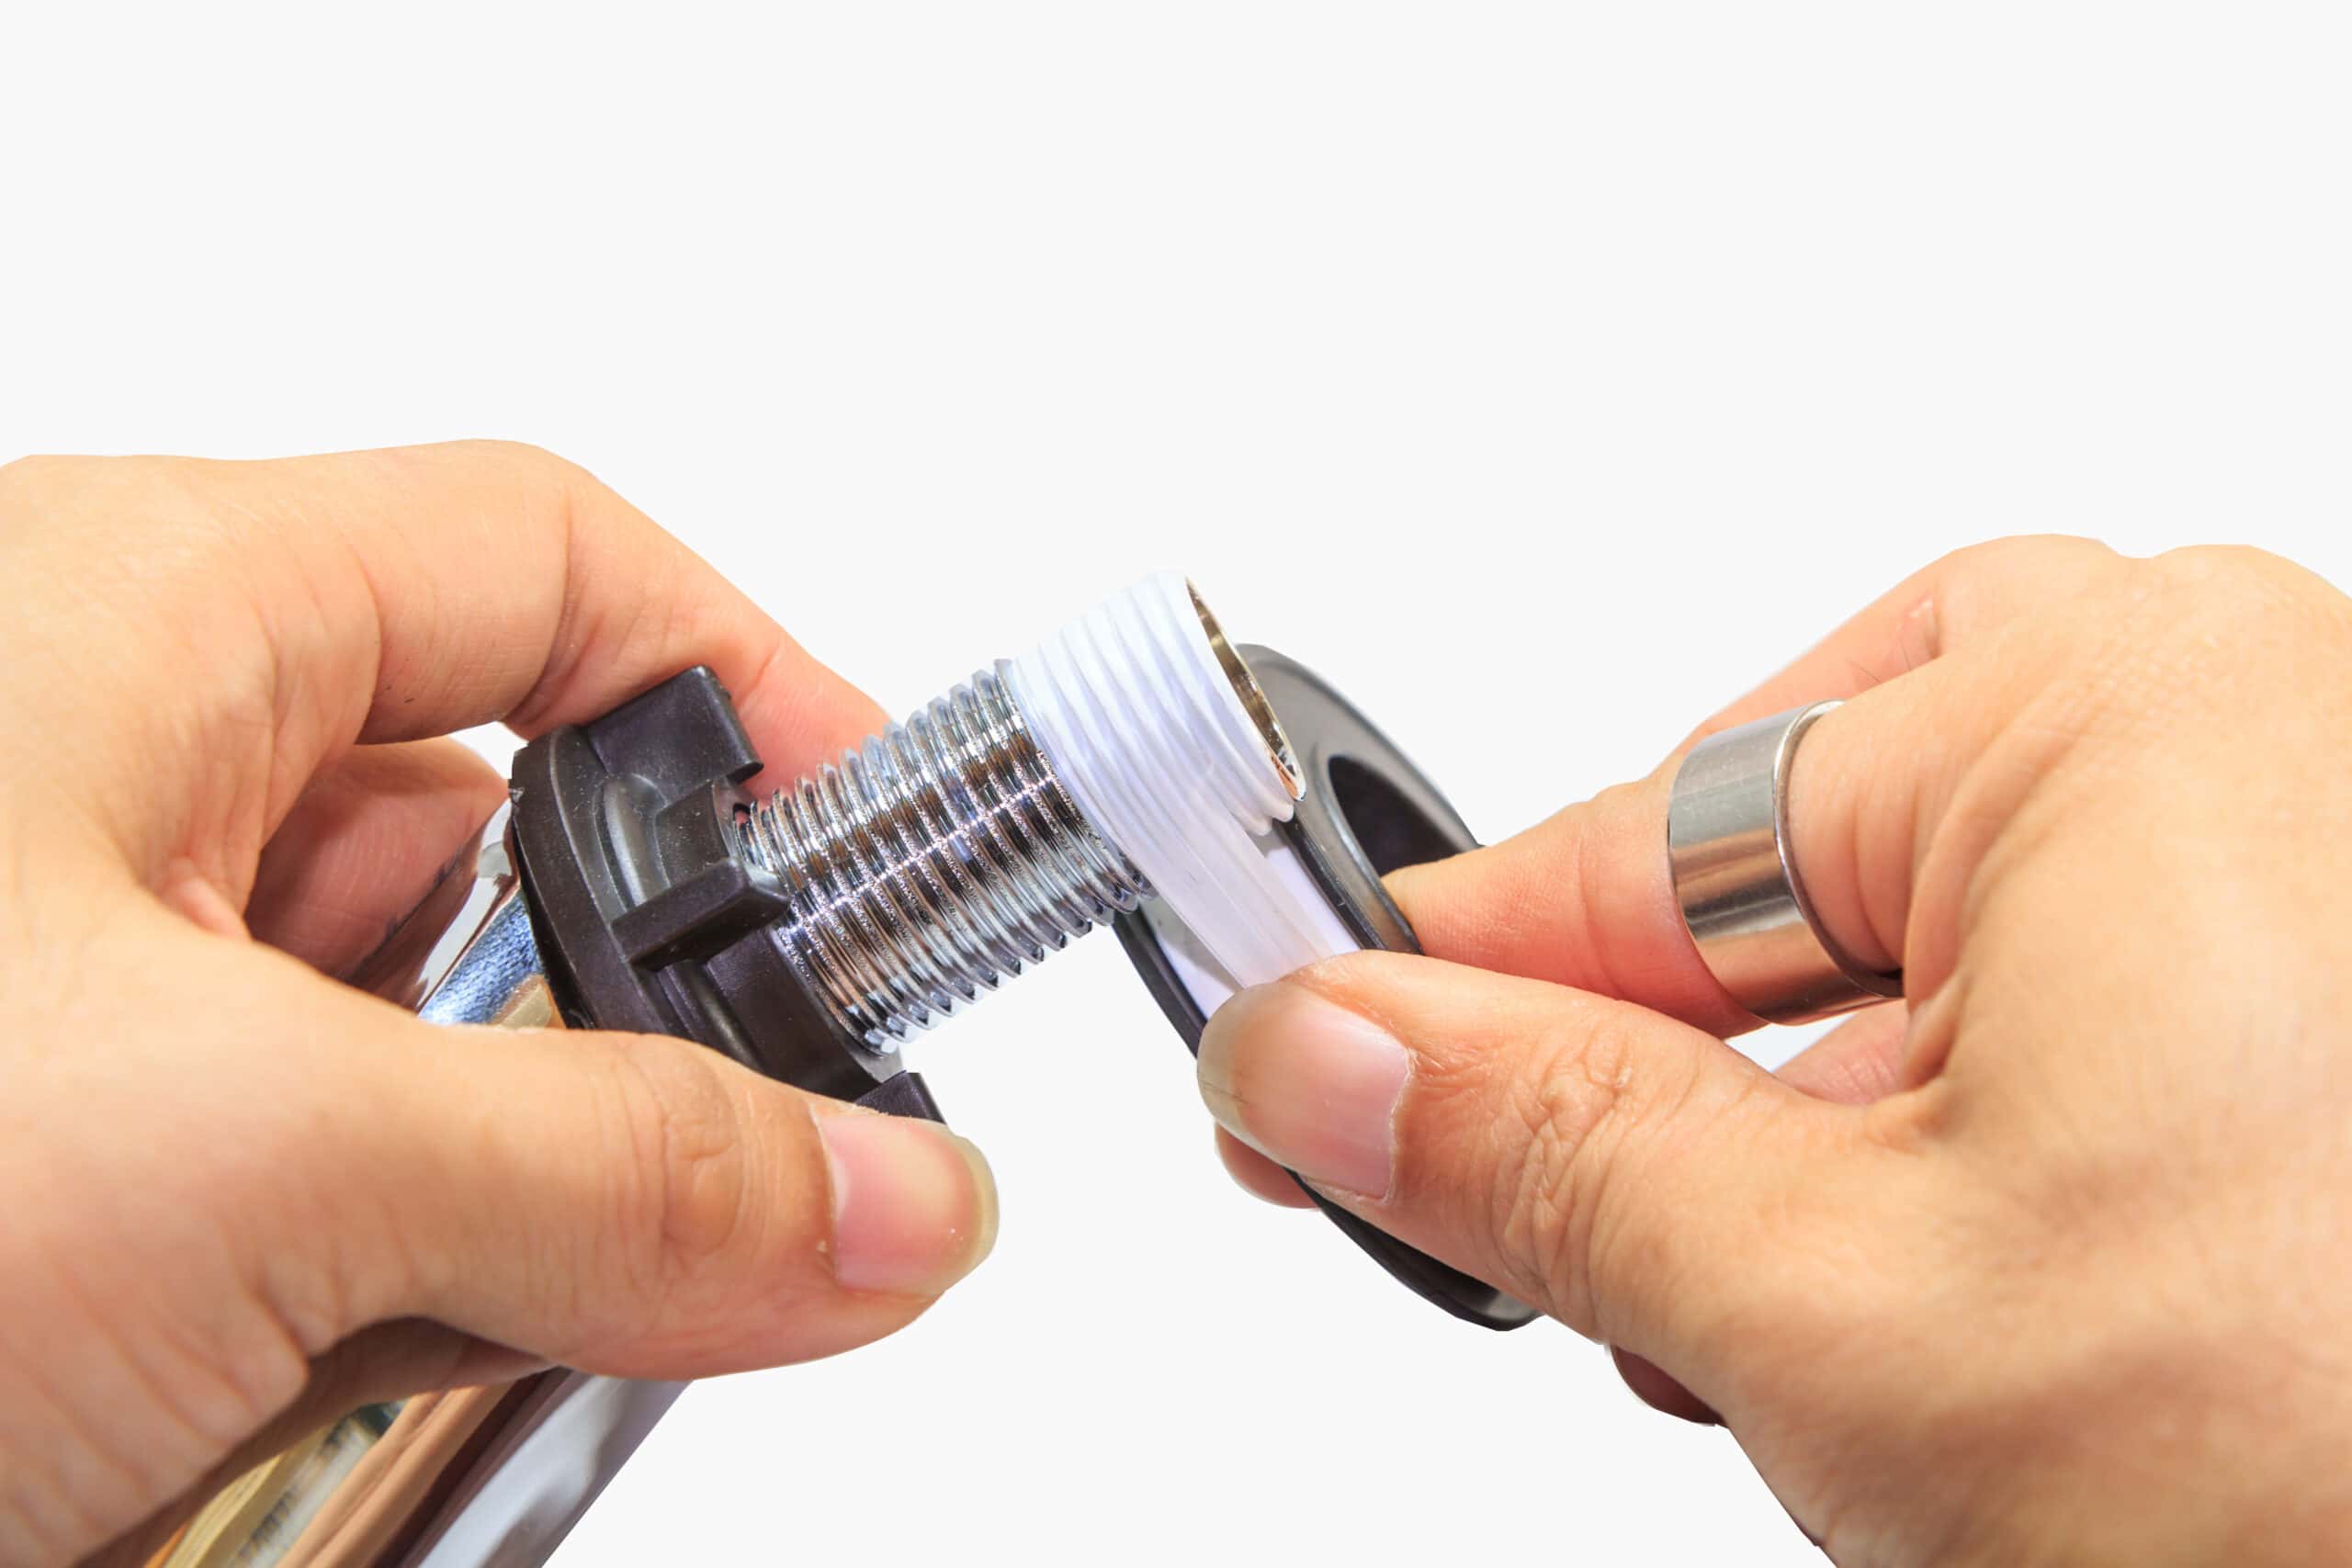
If you’ve still got a leak with tightened fittings and new washers, the final step is to use plumber’s tape on the threads of your fittings. If they haven’t been replaced in a while, threads can become so worn down that they’re actually stripped and cause a leak.
Like step three, you’ll need to turn the water off and remove the entire line. This time, wrap your plumber’s tape around the threads, so you create a seal that prevents water from leaking out.
Once you’ve done that, you can use turn the water back on and check to see if it’s still leaking. If it is, the problem may be more serious than a little cosmetic damage, and it may be time to call a professional.

Time to Call a Plumber
Repairing a leaking toilet supply line isn’t always as straightforward as it should be. Not only do you need to identify where the leak is at, but you may have to pull out the entire line to fix the issue.
If you’re unfamiliar with plumbing issues, tampering with your toilet supply line can leave a lot of room for error – and you may want to leave the job up to a professional plumbing service.
At A.J. Alberts Plumbing, we’re well-versed in handling anything and everything that is bathroom plumbing repair – not only can we identify where the leak is coming from, but if need be, we can also replace the entire line too. Call us today!


