Trying to learn how to remove a toilet?
It may seem like dirty work, but removing a toilet is easier than you may think! Whether you’re adding new flooring to your bathroom or completely replacing your toilet, you’ll need to make room by removing the original one.
Whether you’re a seasoned DIY homeowner or just getting started, you can learn how to remove a toilet yourself by following the 5 simple steps outlined here. Like many things in life, this project is best done with the help of another person, but it’s still possible alone. You’ll just need to remember to lift with your legs (not your back) to avoid injury!
Getting Started: What You’ll Need 🧰
The task of removing a toilet can take anywhere from 30 to 45 minutes on average. So, you won’t need to set aside your entire day for this project.
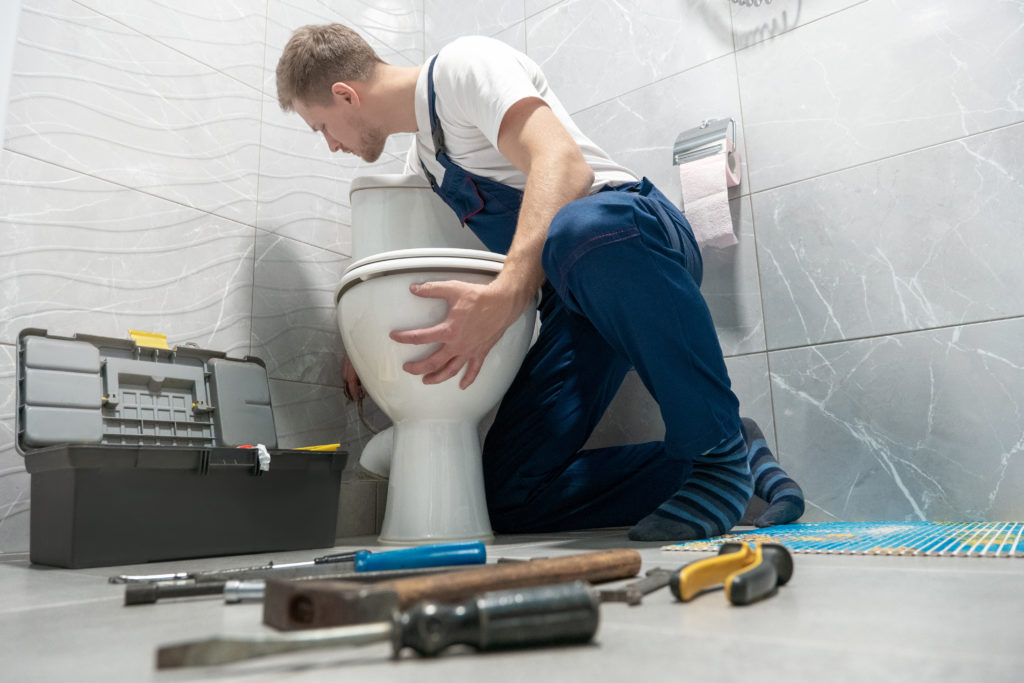
Before you get started, you’ll want to make sure you have the proper tools on hand so that everything goes smoothly. You don’t want to be halfway through only to realize you need to run to the store to pick up a tool. Make sure you have the following tools and materials before you begin:
- Rubber or latex gloves
- Sponge & bucket
- Flathead screwdriver
- Putty knife
- Utility knife
- Wrench
- Stiff wire brush
- Rags
Once you’ve got your supplies, you can get started with the removal.
Step 1: Turn Off the Water & Empty the Bowl 🚱
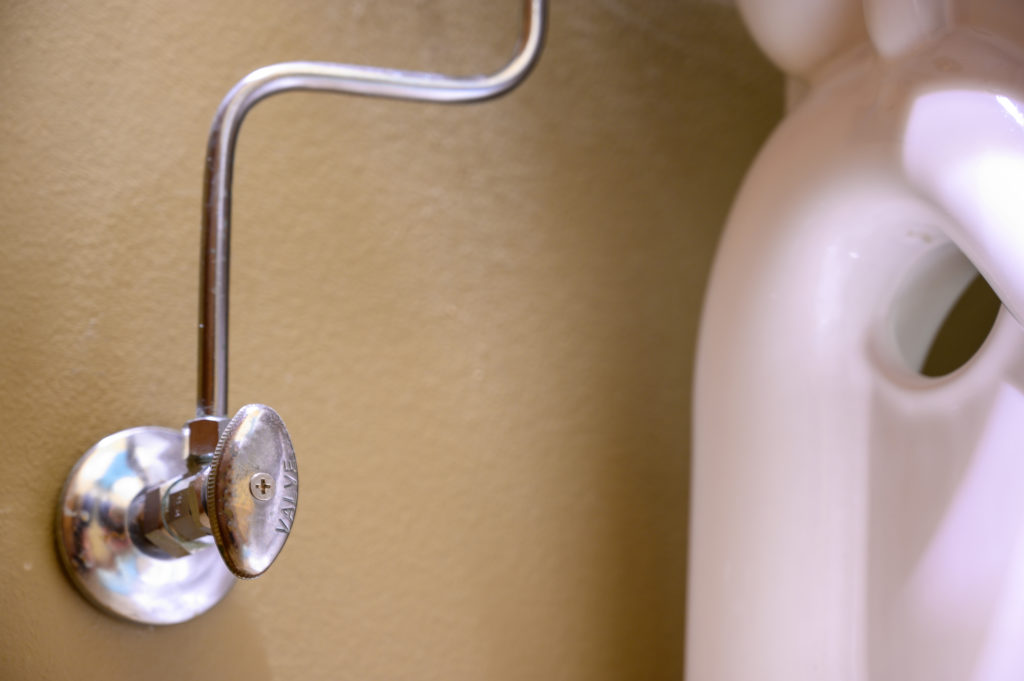
Missing this first step can result in a huge, inconvenient mess of water all over your bathroom. Before you do anything else, turn off the water supply. You’ll do this by turning the handle on the water shut-off valve clockwise until it can’t turn anymore. The valve is typically located on the wall behind the toilet. If you don’t see it there, check the floor instead.

When you’ve turned off the water with a simple twist, flush the toilet as many times as needed to completely empty the bowl and tank. When it looks as empty as possible, grab your gloves, sponge, and bucket to sponge away all the excess water.
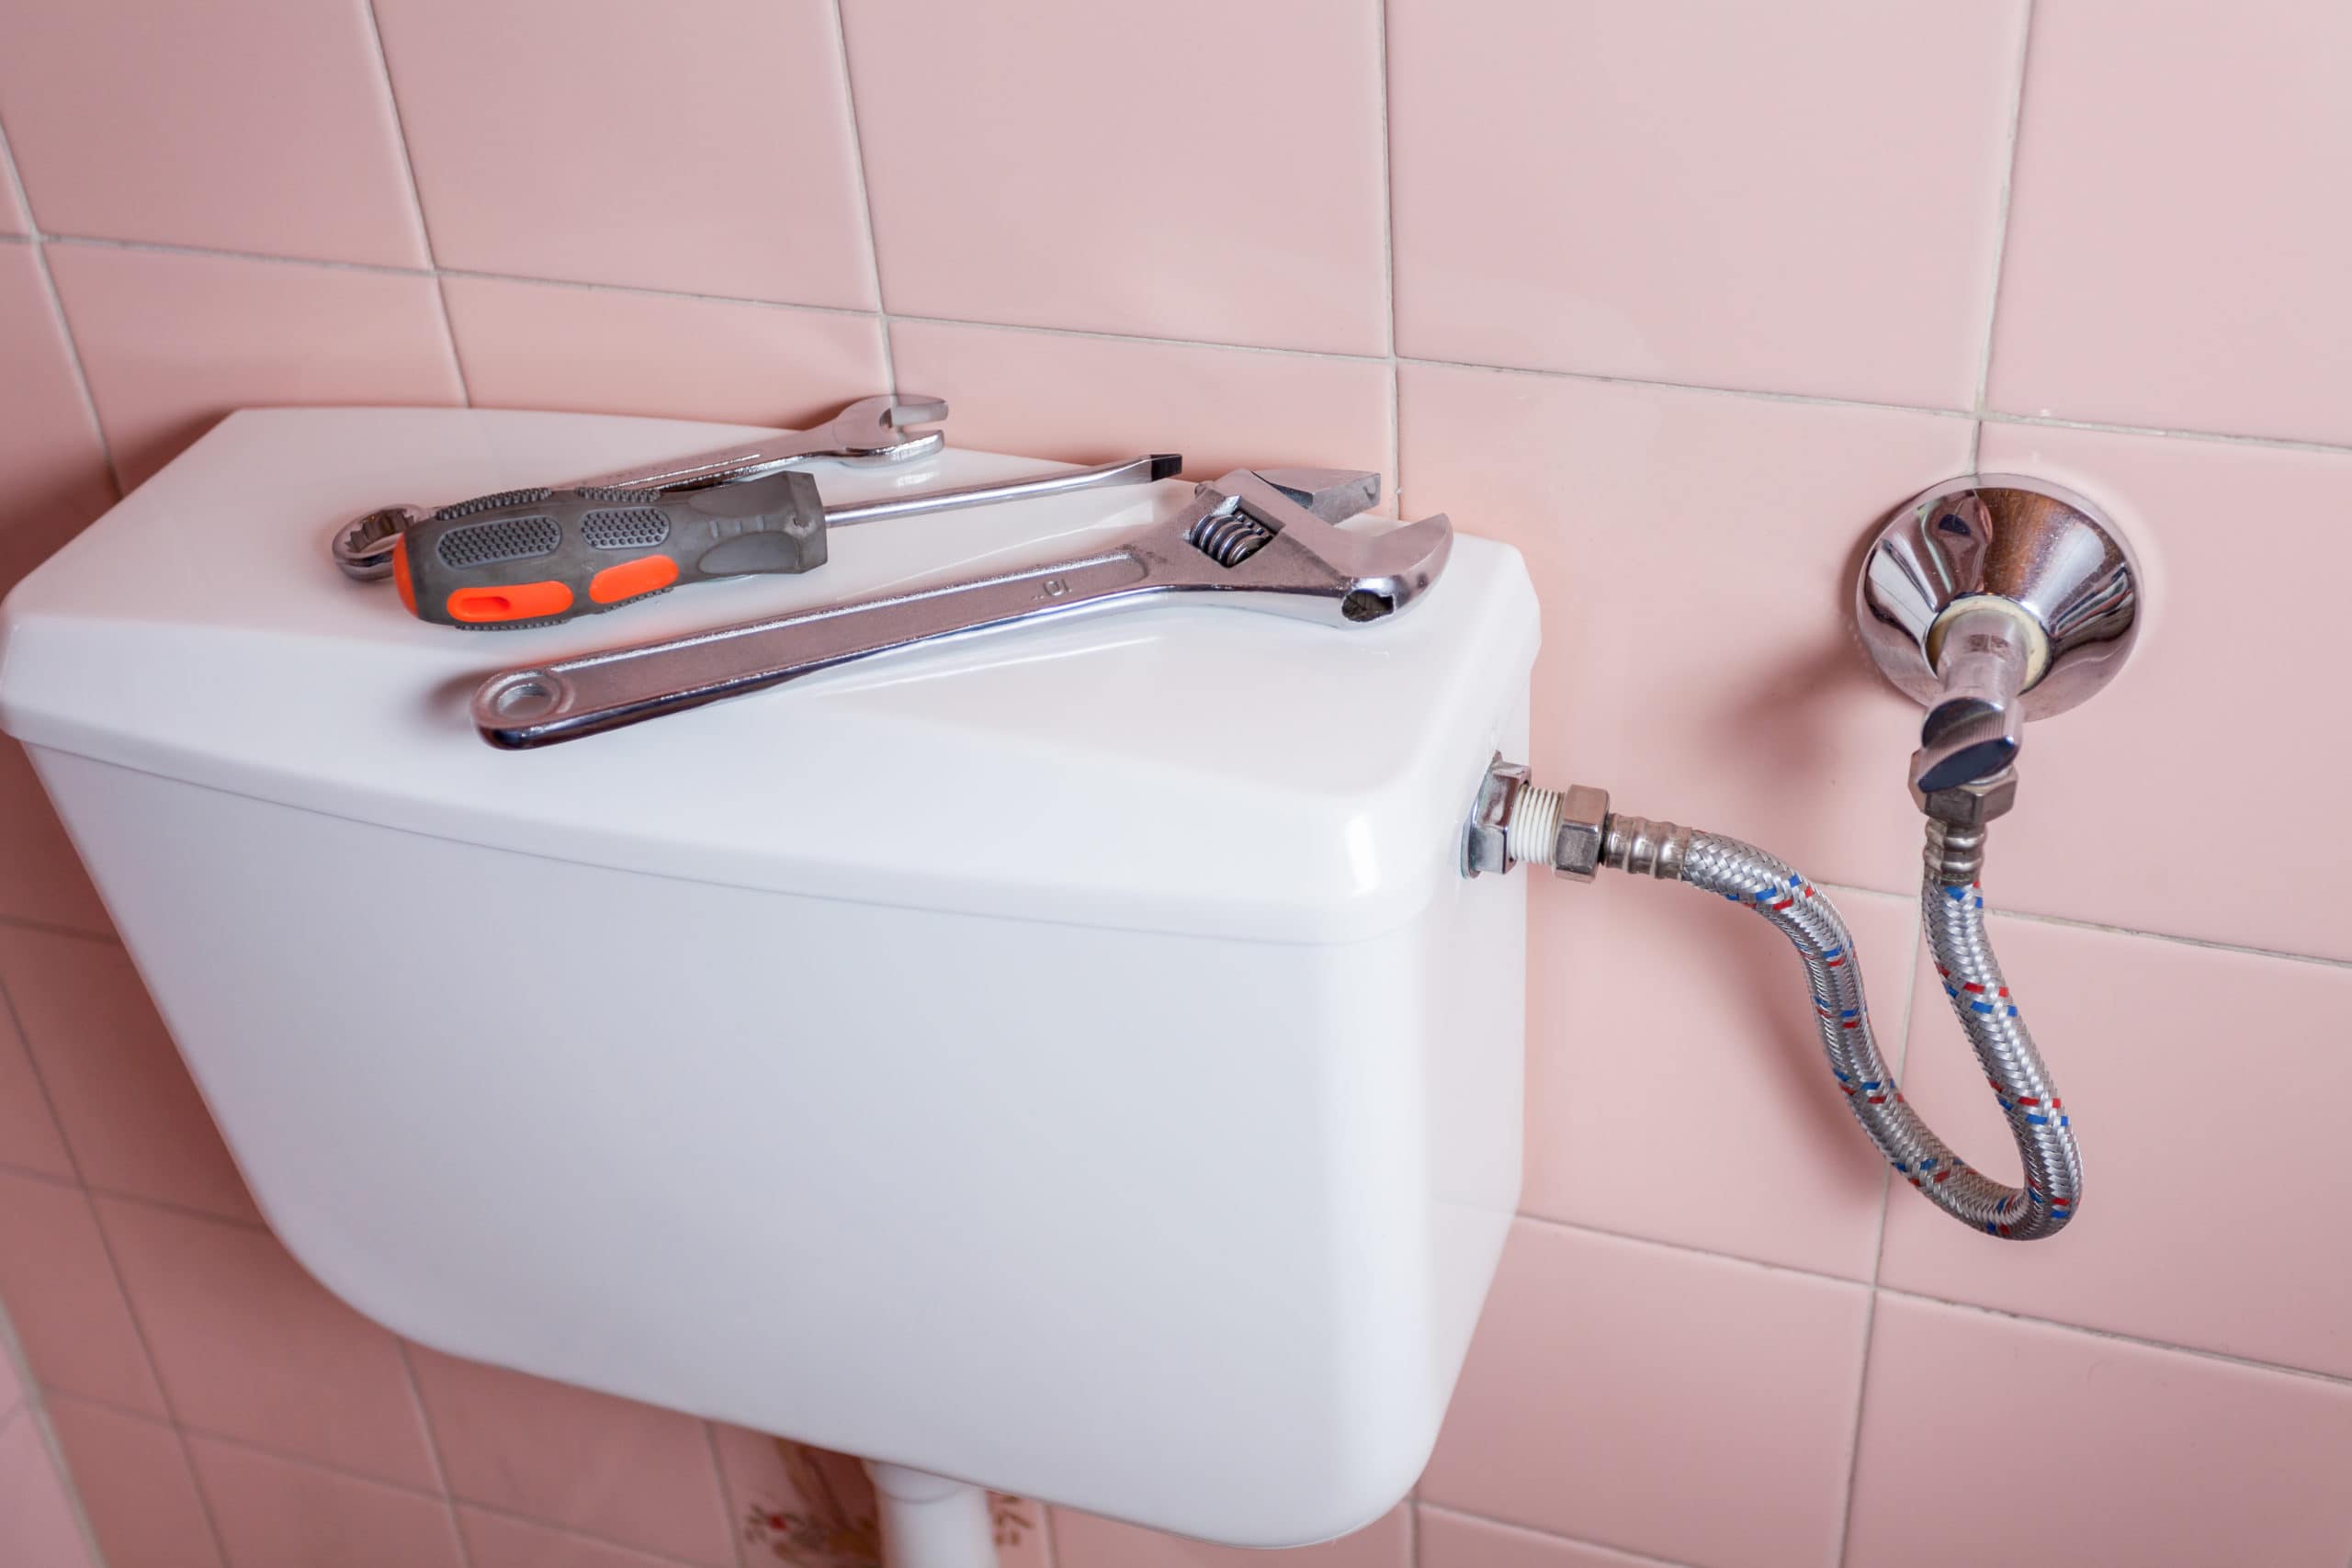
There’s one more component on the shut-off valve: the toilet connector tube. This is the tube that connects the water supply line to the toilet. Unscrew the toilet connector tube at the top of the water supply line that’s attached to the underside of the toilet tank. Have a bucket or towel nearby to catch any remaining water that may drain from the supply line.
Step 2: Remove the Tank
Many toilets are made of two pieces: the tank and the bowl. If you have a one-piece toilet, you can skip this step.
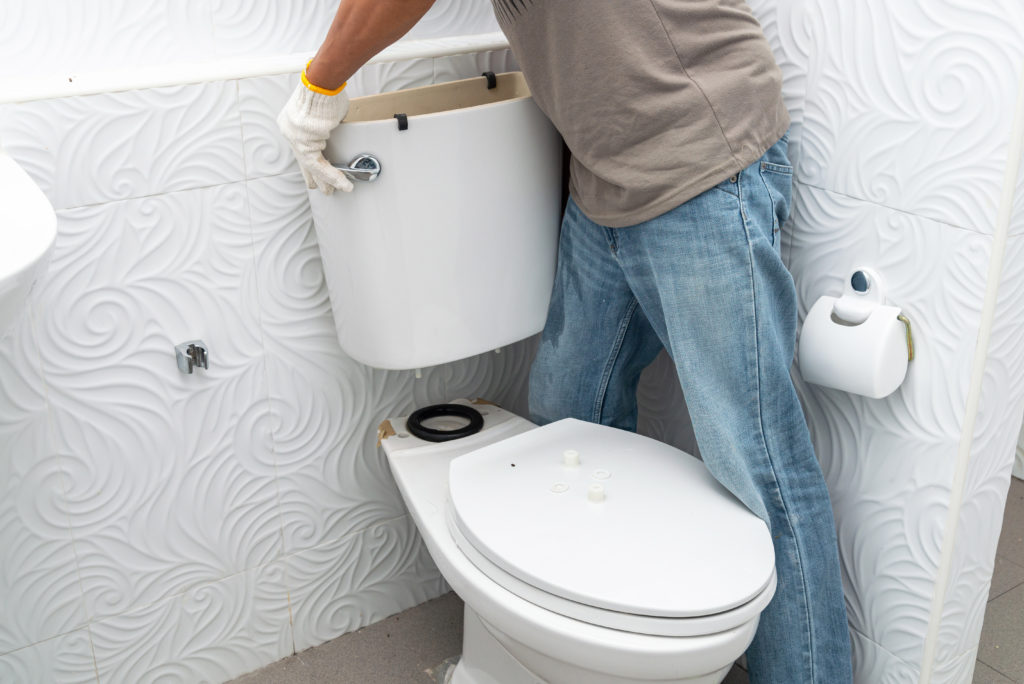
There are typically two or three mounting bolts that secure the tank to the bowl. Use an adjustable wrench to remove the nuts around the mounting bolts. When the nuts and bolts are loose, you can remove the tank from the bowl.
Before you remove the tank, lay down a towel so that you have something to set it on. Then, carefully lift the tank off the bowl. It may be heavier than it looks so don’t be afraid to ask for help to make sure you don’t drop it.

Step 3: Remove the Floor Bolts 🔩
Next, you’ll prepare to loosen the bowl from the floor. Most bolts holding the toilet to the floor are covered with little caps that match the color of your toilet. Lift these caps off, or use a screwdriver to pry them off if they’re firmly attached.
Then, use your adjustable wrench to loosen the nuts from the floor bolts. Once you’ve used your wrench to loosen the nuts, you can typically finish this step by unscrewing them with your hands.
If the nuts are firmly stuck in the bolts, you can use a penetrating oil like WD-40 to help loosen them. Be sure to store the nuts and bolts in a safe place if you plan to re-install your toilet later.
Step 4: Cut the Caulk to Loosen the Toilet
The next step is probably the most delicate step in this project. Your toilet isn’t just held in place by nuts and bolts, but also by a strong caulk ring. In order to remove the toilet from the room, you’ll need to break this strong seal.
Grab your utility knife and carefully cut through the layer of caulk around the base of the toilet. Be gentle so that you don’t damage your flooring. (Unless you’re planning to redo your flooring, too. In which case, go nuts.)
You may need to go over the caulk more than once to ensure everything is detached.
Step 5: Pull the Toilet Up to Remove 🚽
Once you’ve cut through the caulk, gently wiggle the toilet side to side to help break it free from the floor. This step is best done with the help of a buddy. Before moving the toilet out of the room, lay down a durable trash bag or towel to set it on. This will help ensure no remaining water will drip onto your floor.
When you can tell that the toilet is no longer attached to the floor, use your legs to lift the toilet bowl straight up and off of the floor bolts. Move it to your desired location.
Final Step: Clean Up the Area 🧽🧹
See, that was pretty easy! You’ve just removed a toilet in five super-simple steps. But, there’s one very important step left in this project: cleaning up! You’ll need to:
- Remove the remaining caulk
- Clean the wax off the flange
- Cover the drainpipe
Grab your trusty putty knife, and gently remove the remaining caulk ring from the floor. Once again, be careful to not damage your flooring (if you care about it). You may be wondering why it’s important to remove this caulk if you’re just planning to install a new toilet over the top.
Well, not all toilets are designed the same. The base of your new toilet could be smaller, leaving you with an unsightly outline of your old toilet. It’s far easier to remove the old residue when the toilet is removed, rather than working around the new toilet.
There’s another thing you’ll see when you’ve removed the toilet: the flange. The flange is what secures the toilet to the floor and connects it to the drain pipe. It is usually made of PVC plastic or metal, is circular in shape, and is screwed in place with a few bolts.
You don’t need to worry about removing or handling the flange, however, you will notice a round layer of wax on top of the flange. This wax was simply helping the toilet stay put. Use your same putty knife to scrape away this old wax. You can dispose of the wax in any trash bin that’s lined with a plastic bag.
When the wax is removed, use a stiff wire brush to clean the flange as best you can. A clean flange ensures you’re ready to install a new toilet.
You may be staring at the drain hole wondering if you need to do anything about it. The answer is yes. Stuff a rag into the drain hole to keep sewer gas from releasing into your home. Then, cover the rag with a bucket until the new toilet is installed.
What to Do With the Old Toilet

If you’re like most people, you probably don’t want an old toilet just sitting around in your house. The good news is, there are a few options for getting rid of your old one. You can:
- Call your city’s local trash services to see if/how they provide large item disposal. They may be able to pick up the old toilet right from your curb.
- Drop off the old toilet at a recycling center that recycles porcelain. Your local water authority may be able to point you in the right direction.
- If the toilet is still in good working order, do a quick internet search to see if a local charity accepts and uses donated building materials. They may even accommodate the pickup for you.
- Transport the toilet yourself and drop it off at your city’s landfill.
Once your old toilet is disposed of, you’re all ready to get started with installing your new one! While you can save some money by installing your new toilet yourself, we highly recommend hiring a professional for this. Sure, it’s not rocket science, you will want to make sure everything is installed correctly so you won’t be trying to fix it later. Not to mention, now is the best time to make sure your plumbing is meeting all of the latest code requirements.
How to Save on Your Local Toilet Replacement
If you happen to be located in Woodbury, MN, you can get $100 off with their Toilet Replacement Rebate Program. This allows Woodbury residents to save money on their new toilet if it meets the EPA’s WaterSense Criteria. Not only will this save money right away, but it will help lower monthly water bills (and be better for the environment).
If you’re located outside of Woodbury, there may be other rebates and incentives available with your city or state to encourage the use of WaterSense and low flow toilets. Make sure to ask your local plumber to see if there are any opportunities near you!
Call a Trusted Plumber for the Rest!
When it comes time to re-doing your bathroom, or if you’ve read these steps and decided that this DIY project isn’t for you, call an experienced plumber to take care of everything for you. Handing the work off to an expert is the only way to ensure that everything goes smoothly and you aren’t left with more expensive and time-consuming damage.
Minnesota residents have trusted the friendly team at AJ Alberts Plumbing for years! Contact us anytime, and we’ll make toilet removal and replacement as easy as pie.


