Looking for a straight forward breakdown of the plumbing code?
Building codes are one of the many reasons we don’t recommend homeowners do any large DIY plumbing projects. Plumbers will always know what codes and state regulations need to be met for the new plumbing installation to meet those standards. This is especially important for commercial buildings or for people looking to sell their homes.
If you venture into doing some of your own plumbing projects at home, make sure you know what codes are required nationally as well as locally before you start installation. You can request these codes from your local building department. You should get a plan that includes drawings, lists of materials, what size pipes you need to use, etc., and get that approved before you begin. Not only does this mean your project will be 100% compliant, but you can also avoid risking messing up any of the plumbing by doing it incorrectly.
What is Plumbing Code Compliance?
Federal and state governments will set rules and regulations for builders to follow to ensure buildings, restaurants, homes, etc., are built safely and functionally. These minimum standards that buildings or companies must abide by help to maintain health and safety standards across the board.
These codes can change over time, so it’s important to get older buildings inspected to ensure they are up to code. Otherwise, they can violate current plumbing codes, make them non-compliant, and prevent any new projects from happening or even listing them as uninhabitable. Keep in mind, the plumbing code is there for a reason. If you are in a situation where you have non-compliant, or uninhabitable plumbing code violations, you should probably call a professional as there must be a major issue at hand.
Another consideration is that incorrectly installed plumbing or plumbing installed before certain regulations were put in place must be repaired or replaced in order to become compliant. This is why it’s important to always check plumbing codes on both state and federal levels every time you work on a property.
Basic Plumbing Codes
Many codes are going to be used across the board, no matter where or what. Most of them include properly venting your pipes because failing to do so can lead to damage, slow-flowing water, and noxious fumes being released into your home. Here are some critical plumbing codes to follow to stay compliant.
- Don’t cut corners by using a pipe size close to what you need. Always use the exact size required.
- Use the correct pipe materials: Copper for supply lines and PVC for drain lines.
- Install the proper pumps or valves to ensure adequate water pressure. If it is too high, you will want to lessen it with a valve. If it is too low, you will want to boost its power with a pump.
- If any structural elements have been trimmed or cut to accommodate pipe installation, any weight-bearing joists must be reinforced.
- Fixtures must be placed at least 15 to 30 inches apart in any bathroom, depending on the fixture.
More Plumbing Codes
As you tackle your DIY plumbing project, these codes are essential to ensure the safe, secure installation of new pipes or repairing old ones. These especially apply to any bathroom or kitchen plumbing systems that require both common and complex plumbing systems.
Always use the right fittings.
Different plumbing fixtures require different fittings, and if you cut corners on those, you put your pipes at risk of leaking and blocking the flow of water. Please detail your fittings in your plumbing plan and get the proper ones compliant with the pipes and fixtures you are installing. Couplings, elbows, valves, crosses, caps—all these fittings serve different purposes, so do your research first, or call a professional for help.
Install access panels.
You cannot cover any plumbing like valves, pipe fittings, or other controls with a wall or flooring if you need to access them. Commonly, bathtubs and showers will have access panels installed behind them because of the complex piping system that requires access. You will not want to have to damage a wall to access a shut-off valve in the moment.
Replace old valves.
Valves can corrode over time and if you are ever doing a plumbing repair or replacement, check those valves. It can be a good idea to replace them often to ensure they are in working order.
Install shutoff valves.
Plumbing codes require shutoff valves to be installed in addition to the valve for the entire house. These shutoff valves can stop only a portion of the plumbing. Specifically, toilets and faucets should always have their own shutoff valve.
Slope your drain pipes.
Most codes are going to require drainpipes to slope at least 1/4 inch per foot of length. Some jurisdictions may require 1/8 inch. Regardless, it’s imperative to accurately measure these lengths and utilize levels and math to ensure the proper slope is maintained throughout your system. This will keep water flowing properly in all of your drains and toilets. And most importantly, make sure not to slope the wrong way!
Use primer on pvc pipes.
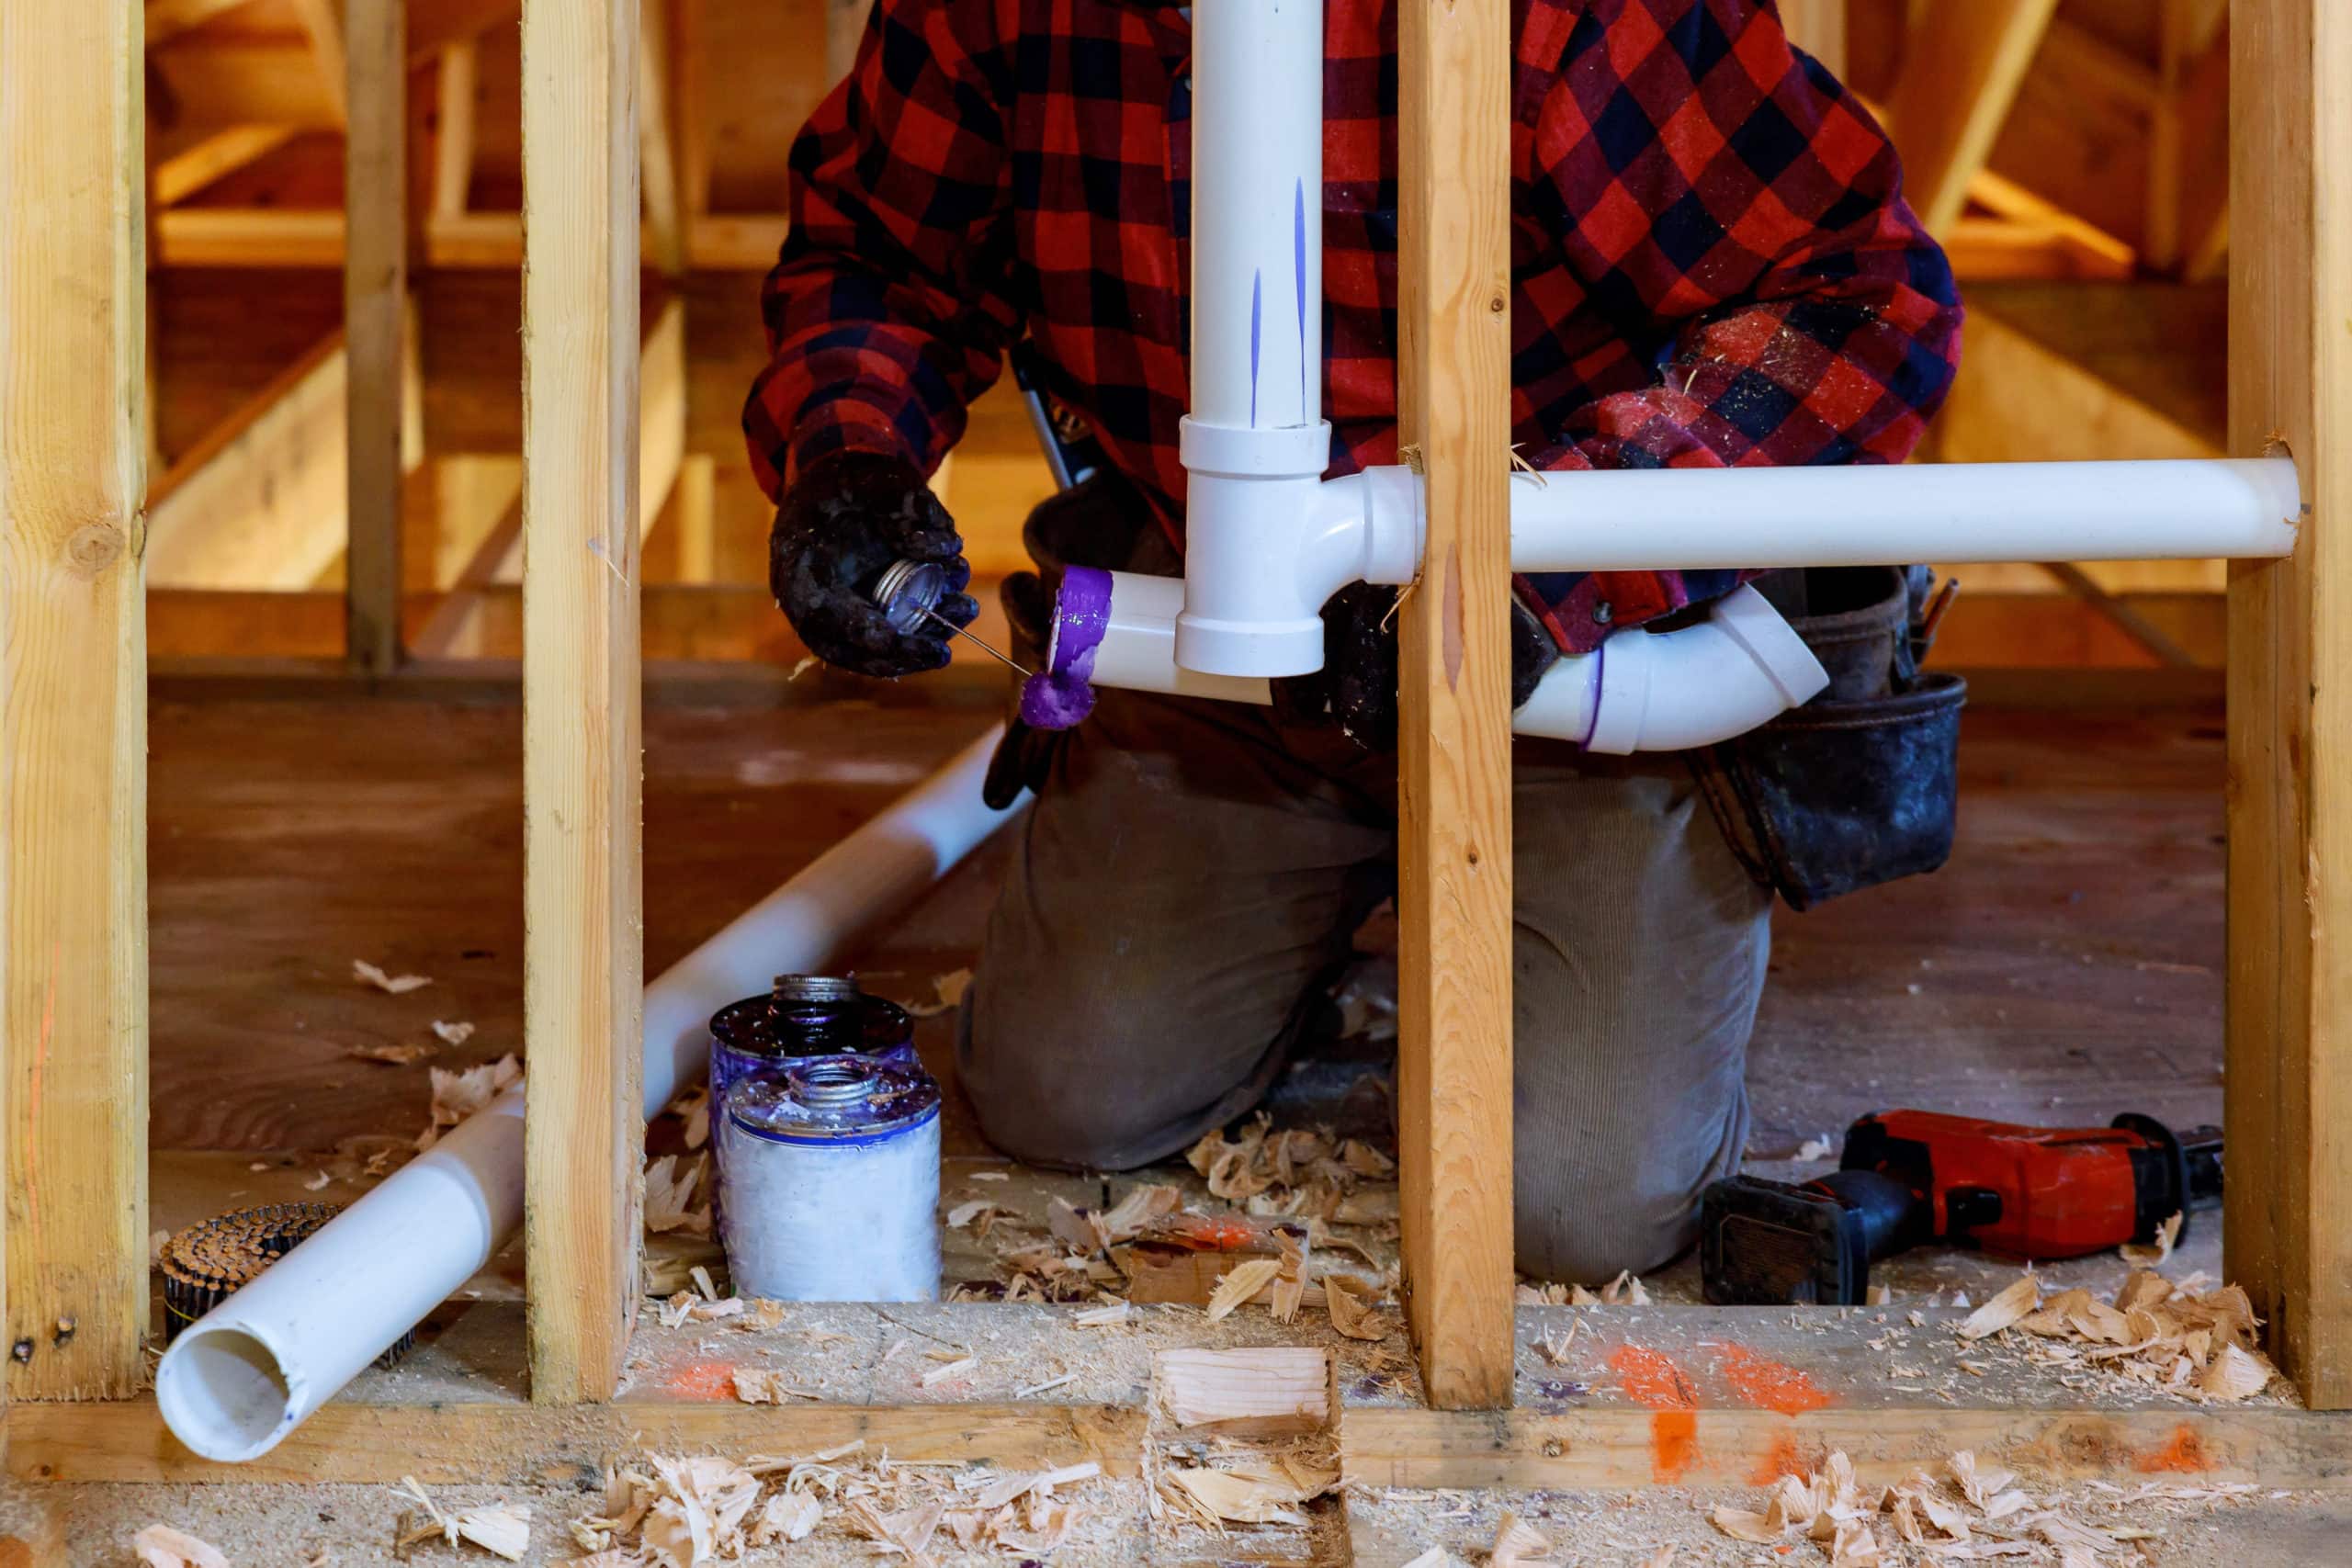
Always use a purple primer when connecting your PVC pipes. When you connect PVC piping, they get glued together, and without being properly primed, they risk loosening their connection over time and causing leaks. This purple primer actually triggers a chemical reaction that softens the PVC and allows it to fit snuggly and more tightly when it cements to the connection. Make sure to push the two pipes together with a twisting motion, then hold for the required time (typically around 30 seconds).
Boreholes through joists.
Pipes may need to be installed in or around joists, and people will want to just cut a notch into it to fit the pipe. This damages the integrity of that joist and would need to be reinforced to meet compliance. Using boreholes through the joist instead actually upholds the joist’s strength and would make your pipe installation compliant without needing to reinforce the wood beams.
Always install cleanouts.
Cleanouts are critical to ensuring plumbing code compliance. Cleanouts are installed downstream from drainpipes, usually at a connection, and it gives easy access to the pipes in case of a clog. It is simply a little off-shoot of the pipe with a cap that can be opened so you can easily auger the pipes and de-clog them.
Use plumber-approved clamps.
Pipes are secured using clamps or straps, usually made of copper, steel, or plastic. Depending on the pipes’ size and length, they must be secured using approved clamps in the following distances; copper must be supported every 6 feet, steel pipe must be supported every 12 feet, and PVC every 4 feet.
Check for leaks.
This one is pretty straight forward, but always check for leaks at every fixture, drain, and connection. A plumbing inspector will absolutely check for leaks when they come to inspect for compliance. This is either done by running water through the drain lines or plugging one end and letting it fill with water. Either way, if you DIY your plumbing install, definitely check for leaks before an inspection. Failure to do this can result in failing your inspection and worse, water damage.
What Happens When You Don’t Follow Local Plumbing Codes?
When people skip plumbing codes when repairing or installing any plumbing system, it can cause a lot of problems. For one, plumbing codes exist to ensure proper working plumbing systems. These codes are meant to keep homes and businesses free from any future plumbing problems and help to prolong your systems as well. When these codes are ignored, you risk having to repair it again as well as getting ticketed for coding violations during a building or home inspection.
Some common plumbing code violations we see from DIYers include:
Using the Wrong Materials
There are some materials that, although they work, may not always be up to code. One, in particular, is rubber fittings. These will almost always be against plumbing code and more often you’ll need to use copper or PVC fittings, depending on what kind of pipe you are using. Always read the fine print regarding which materials are proper code before purchasing materials. Keep in mind that going cheaper in the beginning may actually cost you a lot more money in the long run if your improper plumbing fails down the road.
Wrong Sized Drainage Piping
Not every drain is the same! If a plumbing violation is found for a drain, it’s likely because it’s too small for the purpose of the drain. For example, a drain for your washing machine vs. a drain for your garage floor is going to be so much different. One has to handle so much more forceable water than one that catches just snowmelt and small amounts of water. Drains that are too small put you at a major risk of flooding and backups.
Not Enough Space Around Toilet
There are often codes that specify a minimum clearance for the space around the toilet. You can’t just squeeze one in between the tub and a cabinet without adequate space. This can vary greatly depending on the building, and whether it’s commercial or residential so make sure to find these clearance details before installing your toilet.
Improperly Installed Pressure Relief Valves
Every water heater has a safety feature called the T and P valve which is a temperature and pressure relief valve. If the temperature or the pressure inside your water heater gets too high, it can actually explode causing catastrophic damage to your home and risking severe injury. Not only does the T and P valve need to be installed and used properly, but it also needs to be repaired immediately if it ever drips or leaks. Homeowners have actually plugged the T and P valve when they notice is dripping water, which is a big NO-NO.
Missing or Improper Shut Off Valves
Plumbing codes require shut-off valves to be installed every x amount of feet, depending on where and what is installed. It also required that they WORK. A shut-off valve that is installed but doesn’t actually shut off the water is a very common occurrence when it comes to DIY plumbing code violations. So always double-check these!
Improper Venting
To keep a separation between sewage and your home’s plumbing, you must vent all pipes properly. Improperly venting your bathroom drains can lead to noxious fumes seeping into your home, and lead to getting a major plumbing code violation.
Incorrect Drainage Pipe Slope
Like we stated before, you must ensure that your drainage pipes from your sinks, shower, toilet, wherever water is flowing down the drain need to be at the right slope. An improperly sloped drainage pipe can cause leaks and backups and you’ll have a lot of issues on your hands.
Plumbing Code for Drains and Pipes
There are some basic guidelines for pipes and drains that should be followed to ensure proper drainage, water flow, and of course, to meet state plumbing code guidelines. You first need to determine a lot of measurements and units before determining how many and what size pipes and drains you need, among other things. Determining these numbers and measurements before you begin will help ensure everything is installed correctly and in a way that will allow the most efficient plumbing possible in your home or building.
Water Supply Fixture Units
Water supply fixture units are used to determine how much water supply will go to each fixture, essentially. One fixture unit equals one cubic foot of water draining through a 1.25″ pipe per minute. It’s vital to choose the right amount of units to ensure proper flow rate and water pressure, plus avoid too much water going through a pipe at any given moment. Below is the recommended amount of units for each fixture in your home. You can use this to determine the total number of fixture units in your home, then calculate how far you think the pipes travel inside your home.
Bathroom Sink = 1 unit
Dishwasher = 2 units
Kitchen Sink = 2 units
Shower + Tub = 2 units
Washing Machine = 2 units
Spigot (outdoor) = 3 units
Toilet = 3 units
As you can see, your bathroom sink is going to use see far less water flowing through its pipes than your toilet flushing or outdoor hose. These numbers are essential for the next step, determining the demands of the water supply for your home.
Water Supply Size
Your home is supplied with water from the underground system, of course, and distribution pipes and branch pipes guide that water from the pipes from the street to the fixtures throughout your home. But there are minimum requirements to both the size and amount of distribution pipes you need for adequate supply and water flow. Below are the minimum requirements for sizing your distribution pipes based on the length of the pipe, the number of fixture units, and the distance it travels from the street.
Branch Pipes
Branch pipes run from those distribution pipes to send the water to each of your home’s fixtures. Our chart above displays the demand rating of supply based on how many units your home has. These numbers can help determine whether you use a 1/2″ or 3/4″ branch pipe. But generally, you can use 1/2″ branch pipes for most fixtures in your home, but for higher demand fixtures like your hose spigot or water heater, you should use at least a 3/4″ branch pipe.
Supply Tubes
Similar to branch pipes, supply tubes connect to every fixture in your home. They are the last piece of the puzzle connecting a flexible tube/line from the stop valve to the fixture itself. Again, generally, you can get by with a 1/2″ supply line on most if not all of your fixtures. However, your bathroom sink and toilet don’t need that much so to meet plumbing code, you must use only 3/8″ supply tubes.
Drain Fixture Units
Of course, sizing your pipes appropriately is very important, but using the correct drainpipe size is also critical to ensure pipes and drains don’t overflow and can manage the supply running through them. Again, you will want to determine the number of fixture units in your home as they pertain to the minimum requirement for drainpipe sizing.
Drain Fixture Units:
Bathroom Sink = 1 unit
Floor Drain = 2 units
Kitchen Sink = 2 units
Laundry Sink = 2 units
Tub + Shower = 2 units
Washing Machine = 2 units
Kitchen Sink + Disposal = 3 units
Toilet = 3 units
These numbers are vital to determining drainpipe size based on the number of fixture units, whether the drain is horizontal or vertical, and the size of the pipe.
Drain Pipe Size
The chart below lays out how many fixture units will be connected to the drain line, thus determining the minimum drainpipe size. Always check your local plumbing and building codes to ensure the proper drainpipe sizes are installed. One rule of thumb that’s pretty standard across the board is that if a toilet connects to a drainpipe, it must be at least 3 inches long.
Fixture Trap Size
A fixture trap is attached to the drainpipe and ensures no gases escape. You may know of u-shaped or s-shaped traps that create a bend in the drainpipe, preventing the backflow of sewer gases or other noxious fumes from escaping back up and out of the drain. If you ever notice a sewer smell coming from your sink, it could be a sign of a clog or an issue with your fixture trap. Below are the required sizes for fixture traps to promise that seal against gases.
Bathroom Sink: 1 1/4″ trap
Shower Drain: 2″ trap
Floor drain: 2″ trap
All Other Fixtures: 1 1/2″ trap
Following these simple rules and requirements for your pipe sizing is essential to ensuring you not only meet your local plumbing codes but keeps your entire plumbing system in check. Without the proper sizing, you can face leaks, cracks in the pipes, or overflowing drains. And that’s the last thing you want to happen! If you are in the market for some pipe or other plumbing replacements, please call AJ Alberts today. We can get you where you need to be, all while following state plumbing codes.
How Do I Find Local Plumbing Codes?
You can find your local Minnesota plumbing codes on the Department of Labor and Industry website. They will list all current codes and regulations and be a place where you can apply for a permit or license. This applies to contractors mostly who need to renew licenses as well. If you find yourself stuck with finding the proper codes or are in the middle of your project and are stumped on what to do, the FAQ page is super helpful and can give you exactly what you’re looking for.
When to Call a Professional
Now, even though some plumbing projects can definitely be DIY-friendly, we always recommend you call a professional. This can easily save you time and money in the long run by getting it taken care of by a licensed plumber. AJ Alberts can do your kitchen or bathroom plumbing while meeting all code compliance. So you don’t have to worry about a thing! Get started with us today.


