Your toilet is a component in the home that gets a ton of daily use, which means wear and tear will happen over time — and frequently.
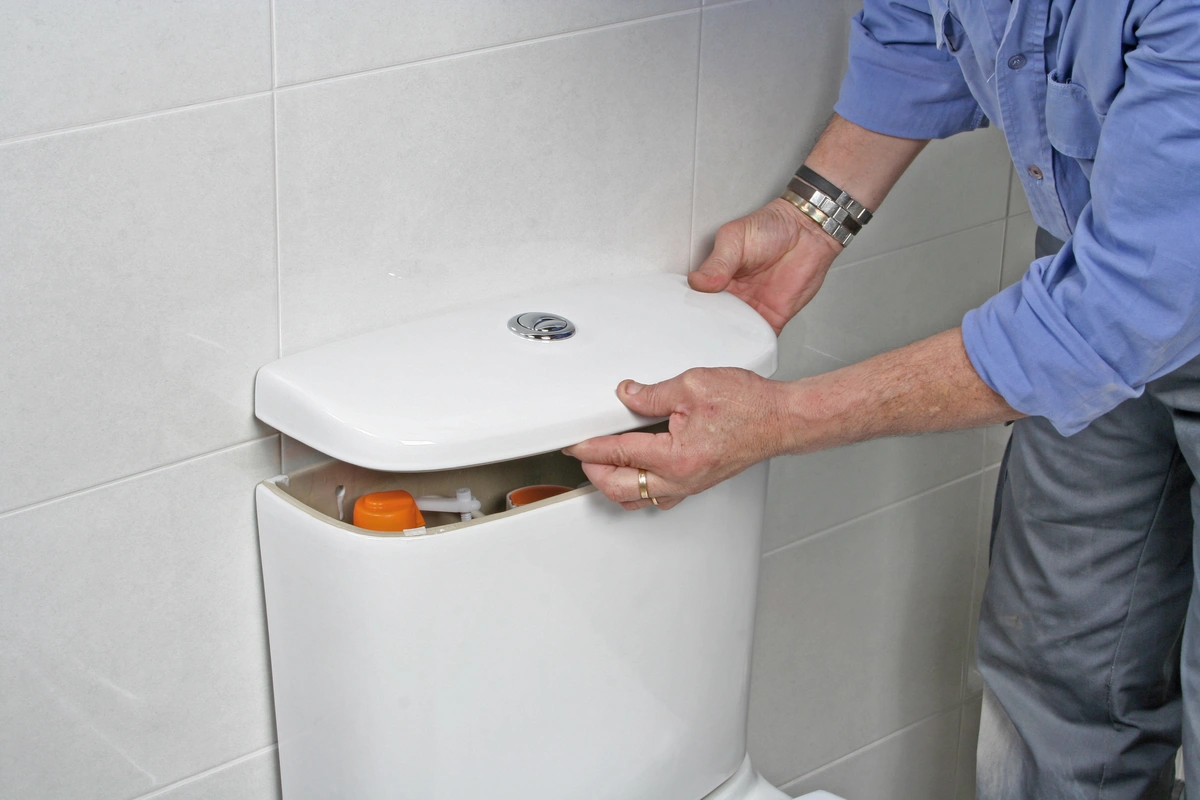
When things do go wrong, the most likely culprit will be your toilet tank. Your toilet tank is where all the intricate valves and pipes are located, so it’s the most common area where leaks and other types of damage occur.
When you have a toilet leaking from tank issue at hand, identifying the cause as soon as possible is in your best interest. That way, you’ll know whether you can fix it yourself or need the help of an experienced plumber.
Below we’ll cover the main causes of a leaky toilet tank as well as how to fix them. Keep reading to learn more!
How to Determine If Your Toilet Tank Has a Leak

One of the first things you want to do when you suspect that your toilet tank is leaking is to ensure that it is, in fact, leaking.
There are two quick tips to go about this:
- Grab a towel and a flashlight, and lie down under your toilet so you can get a good look around the base of the tank to see if there are any visible leaks, such as dripping water. Using your towel, wipe any moisture away and use your flashlight to get more visibility to see where water begins to develop again.
- Add food coloring to the water in your toilet tank. Take a white rag or paper towel and place it beneath the tank bolts. Come back after an hour or two to see if any colored water drips onto the towels. If it does, you’ll know the toilet tank is leaking.
Once you’ve confirmed that your toilet is leaking from the tank and not the toilet base, you’ll want to turn off the water supply valve underneath your toilet, flush it, and try the inside of the tank.
Below is a list of the following tools and materials you’ll need (although certain materials will depend on the actual cause of the leak):
- Paper towels or rags
- A tailpiece gasket
- Two toilet tank bolts and gaskets
- A flashlight
- Adjustable wrench
- A screwdriver
4 Causes of Leaking Toilet Tanks and How to Fix Them
Below are the most common toilet leaking from tank causes and their solutions:
1) Toilet Fill Valve
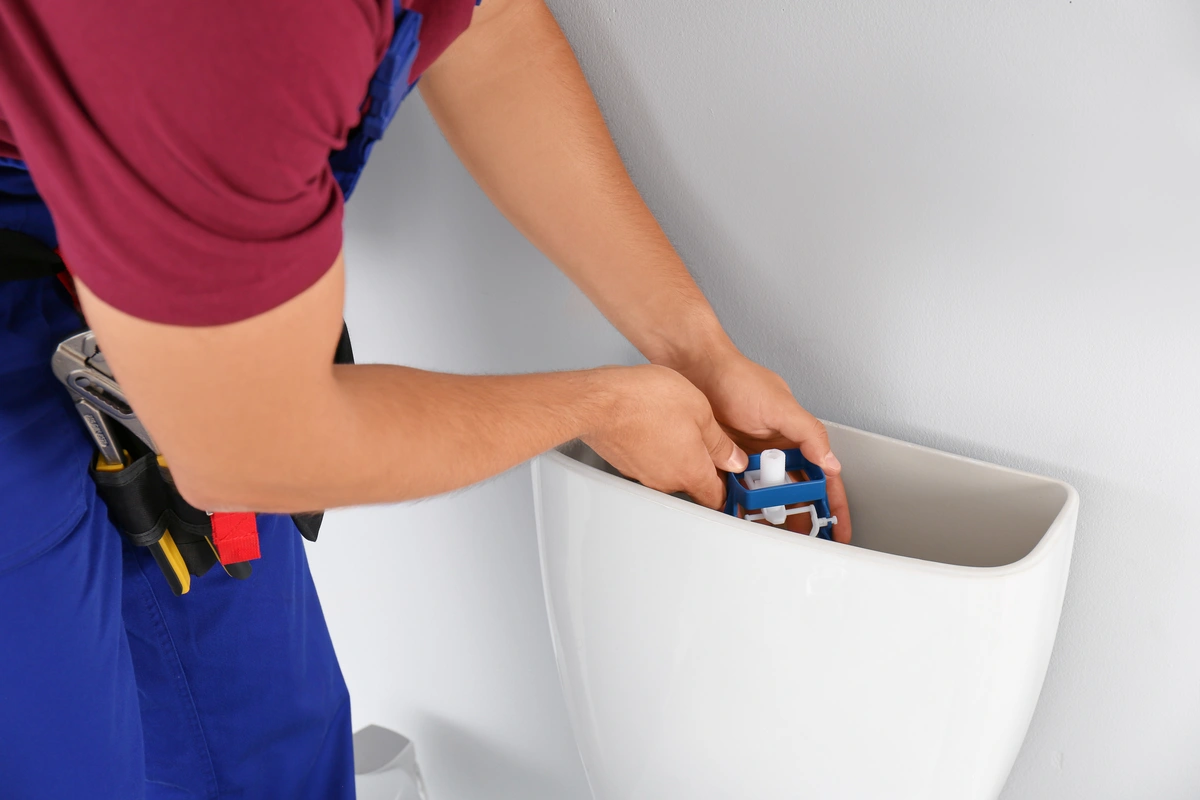
When your toilet fill valve needs to be replaced, it’ll let you know by leaking. This valve is kept in place by a piece called the supply locknut, which connects the tank to the water supply line to let fresh water in.
In most instances, all you need to do is tighten the bolt. In this instance, here’s what you need to do:
- Empty the water in the tank
- Hold the fill valve pipe steady and use your wrench to tighten the plastic bolt that connects it to the water supply line — be sure not to overtighten; otherwise, it’ll crack.
- Turn the water back on to fill the toilet. Flush a few times to make sure the leaks have stopped
If the leaks continue, you may need an entirely new valve. In this case, you’ll want to call an expert to have it fixed.
2) One or Both Tank Bolts
If your tank bolts are the source of the leak, it’s because they’ve either become corroded or their gaskets are worn out.
This is an easy fix, requiring the following:
- Turn off your water supply
- Using your adjustable wrench and screwdriver, remove the affected tank bolt and its gasket (or both, if necessary)
- Keeping the old gaskets handy, go to your local hardware store to find the right replacement gaskets and bolts
- Reinstall the gaskets and bolts
- Turn your water supply back on and flush the toilet a few times to see if the leaks return. You may need to tighten your bolts a bit more before the leaks stop completely
3) The Flush Valve
The flush valve’s job is to move water into the toilet bowl with each flush. This valve sits inside the hole at the bottom of the toilet tank, and usually has a rubber flapper that creates a water-tight seal to keep water in the tank when the toilet is not in use.
If this piece goes bad, you’ll need to remove the tank to fix the issue. It’s easy to locate as it’s locked in by the largest nut beneath your toilet tank.
Here’s what you’ll need to do:
- Shut off your water supply.
- Remove the top supply slip nut and the two tank bolts underneath. From there, you’ll want to carefully lift the tank straight up and set it down somewhere safe
- Now, remove the spud washer by hand and take it with you to the hardware store to find the correct replacement
- Place the new spud washer over the flush valve tailpiece and lower the tank back onto the base. Make sure the tank bolts go right through their designated holes
- Attach the nuts and tighten them until their snug with your adjustable wrench
- Reinstall the supply slip nut and turn the water supply valve back on
- Flush your toilet a few times to see if more leaks occur, and tighten the tank bolts another quarter turn if necessary
4) Condensation

In some cases, condensation may be to blame for excess moisture accumulating and dripping — which can appear as a leak. This type of condensation typically occurs when cold water makes its way to the outside of the tank and reacts with the warm, damp bathroom air.
This is most common during humid seasons, depending on where you live. It can be resolved by doing the following:
- Put a tray or bowl at the base to catch the water
- Upgrade your bathroom ventilation and fans to mitigate the moisture accumulation
- Take more mild showers rather than hot showers
- Keep your bathroom windows shut on hot and humid days
- Be sure to keep your air conditioning on during or after showering during hot and humid seasons
When to Call the Experts
Replacing nuts and bolts is simple. However, some tank leaks are a symptom of a much larger issue. If you notice that any part of your toilet is springing a leak, it’s a good idea to have a professional come by and inspect your plumbing to make sure there’s no extensive damage.
When you’re having plumbing issues, call the experts at AJ Alberts Plumbing. We’ll ensure your plumbing is taken care of and that you receive the best possible customer care throughout the entire process.


