Thinking about putting in a console sink in your bathroom?
Remodeling your bathroom is an exciting task to take on to improve your home, but searching for the ideal bathroom sink can be challenging, even more so in smaller bathrooms. At some point, you may have to sacrifice something important to you to make it work. That’s where a console sink comes in!
Console sinks or vanities are a mash-up between a pedestal sink and a sink that is mounted to the wall. With a console sink, the countertop and sink mount to the wall with the support of either two or four legs (or freestanding). This leaves the space that lies between the floor and the counter completely open.

Pros of Bathroom Console Sinks
Console sinks are generally more open than pedestal sinks. The open layout is great for storage and accessibility. They also look modern and interesting because they have exposed plumbing, giving it that modern industrial look. Console sinks also offer more countertop space than a pedestal sink.
Counter Space
Console sinks offer much more in the way of counter space than a typical pedestal sink does. You can place more items on the sink without it getting too cluttered.
ADA Compliant
Console bathroom sinks are much more wheelchair accessible than other sinks. As long as the legs are wide enough, someone with disabilities could bring their wheelchair right up to the faucet.
Storage Space
The space below the sink is perfect for adding a decorative storage basket, opening up more space in your bathroom without too much clutter.
Stylish and Modern
The appearance of console sinks is open, making them appealing in terms of style. They add a decorative flair to any bathroom.

Cons of Bathroom Console Sinks
As with anything, there are always a couple of things to consider before deciding on whether a console sink is ideal for you.
Wide
Console sinks are wider than the others, so they tend to take up more wall space as a result. If you do not need a lot of exposed wall space, this issue is simply appearance-based.
Storage
Though they offer room beneath for some storage, console sinks do not have as much storage space as a typical vanity does.
Installation
If you choose a console sink that needs to be mounted to the wall, the installation process is a little more complicated.
Console Sink Styles
Console bathroom sinks typically have a more traditional style, but if your heart desires, you can find more contemporary ones as well. Some of the more attractive options feature exposed piping in brass tones. Another more modern style is a countertop that flaunts a beautiful quartz composite sink finish. Usually, the countertop and the sink are one piece, but you can find some styles with a sink above the counter. Regardless of the type or style of sink you decide on, make sure to check out the reviews to make sure you’re getting exactly what you want.

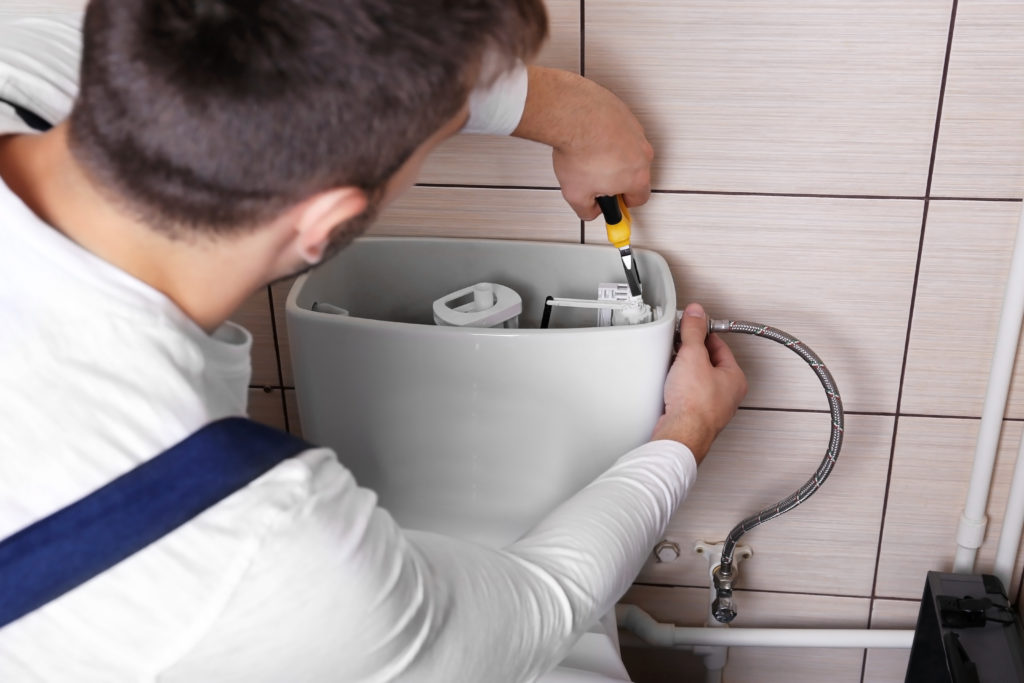
How To Install a Console Sink
Before you begin, there are a few tools you will need to install a console sink. You will need:
- A towel
- A damp cloth or rag
- A pencil
- A level
- A screwdriver
- A drill
- Silicon sealant
Once you have acquired all of the tools you need, you can begin the steps to the installation process.

4 Easy Steps to Install a Console Sink
Installing a console sink in your bathroom isn’t too difficult. With the right tools, some guidance, and some hard work, you’ll have your new console sink up and running in no time!
Step 1: Assemble the Sink Stand
The first thing you need to do is put the sink stand together and gently place it against the wall. You need to make sure that it is level when doing this, so it does not get installed lopsided.
Step 2: Attach the Sink to the Wall
Next, you need to attach one of the sides to the wall. Once again, check to ensure that the stand is level before tightening or moving on. Once you are sure, go ahead and attach the other side to the wall as well.
Step 3: Install the Countertop
Place the countertop on a towel upside down to prepare it. Place the sink basin onto the countertop and, with your pencil, outline where you want it to go. Once you have determined where the basin goes, line the lip of the sink basin with silicon sealant and place it onto the counter.
Step 4: Fasten, Secure, and Let Dry
Finally, you need to tighten the bolts along the basin to secure it into place and give it some time to dry completely. When it has completely dried, place the sink onto the stand.
Getting the Most Out of Your Bathroom
It may seem fairly straightforward to install a console sink in your bathroom, but keep in mind that the process can sometimes be better handled by a professional. If you find yourself in need of opinions, advice, or help, contact AJ Alberts Plumbing and speak to a professional about your bathroom plumbing project needs. This way, you can get the most out of your bathroom remodel!