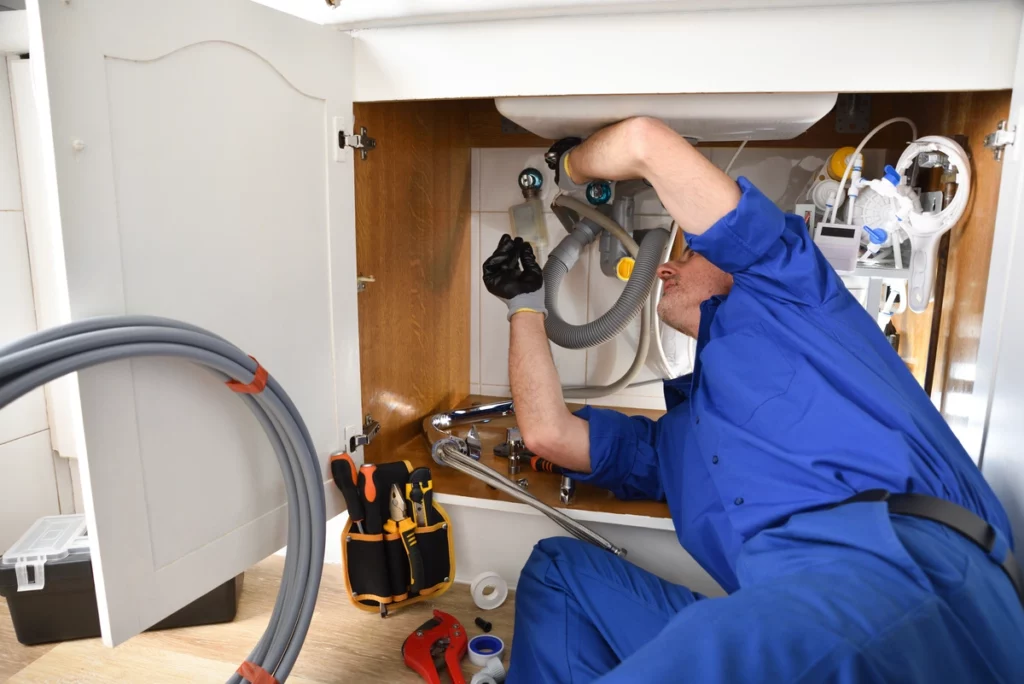
Trying to learn how to remove a bathroom vanity?
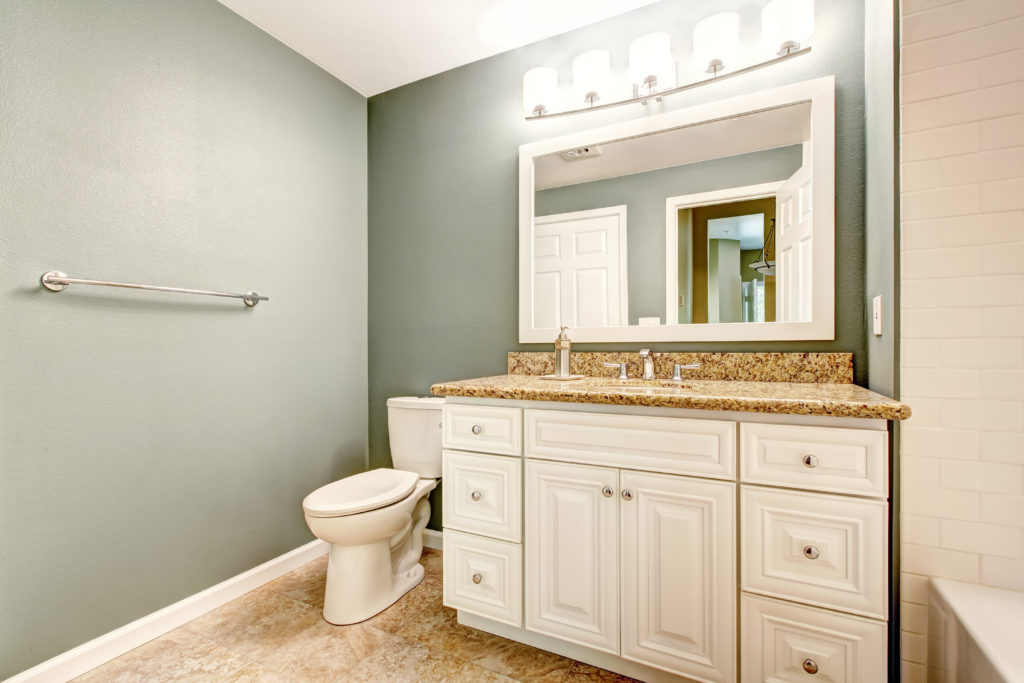
Calling all DIY-lovers and home improvement enthusiasts! If you’re looking to remodel your bathroom, one of the most striking ways to accomplish a brand new look is by replacing the bathroom vanity. A new cabinet color and countertop material can transform your bathroom in no time.
But, in order to install a new bathroom vanity, you’ll need to remove the old one. Sound daunting? It doesn’t need to be! In fact, you can remove a bathroom vanity in less than a few hours if you follow these five simple steps.
Once you gather the following tools and materials, you’ll be ready to go.
- Rag
- Bucket
- Wood block
- Utility knife
- Flat pry bar
- Putty knife
- Channel-lock pliers
- Adjustable wrench
- Screw gun
1) Turn Off and Disconnect the Water Supply
Before begin your project, you want the most ease of access possible as you work. Go ahead and remove the cabinet doors from your existing vanity before you begin working on the pipes. This will also make the cabinet lighter when you remove it at the end.
Turn Off the Water Supply
You don’t want water to spray everywhere when you disassemble your bathroom vanity. Begin by turning off the water supply to both the hot and cold taps of your bathroom sink. Be sure to turn each valve completely clockwise to close the water supply.
It’s usually simple to find water shutoff valves— they are generally located beneath your bathroom sink. If not, try your home’s main water supply. You can also follow the pipes if they’re visible to find the shutoffs.
After you’ve turned off the water valves, turn on your faucet. This will release any pent-up pressure and allow the water to drain out fully.
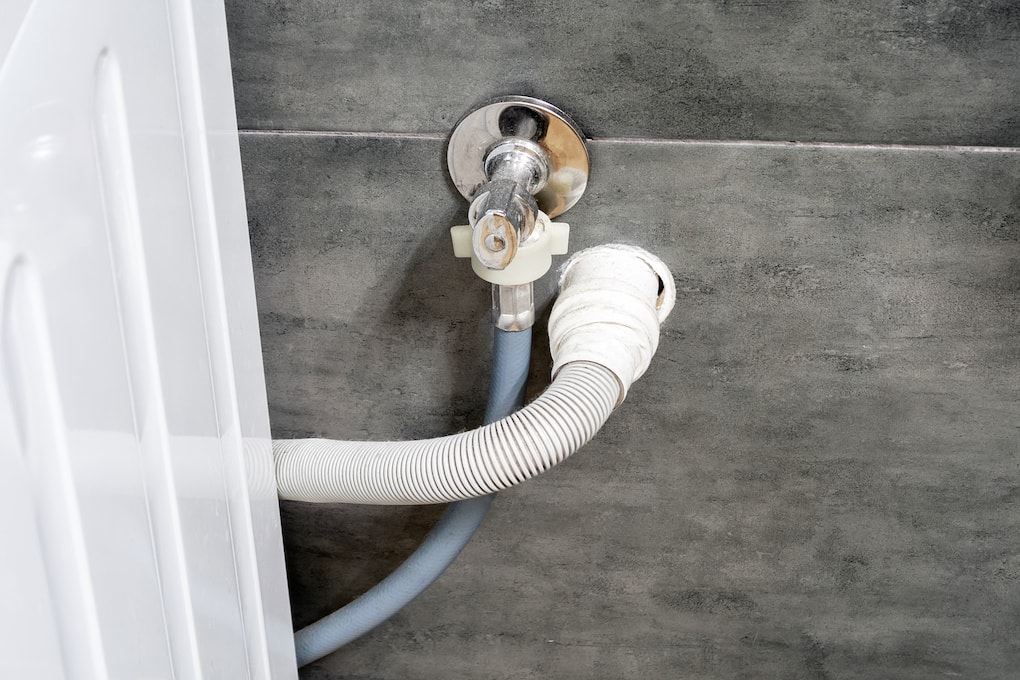
Disconnect the Water Supply Tubes
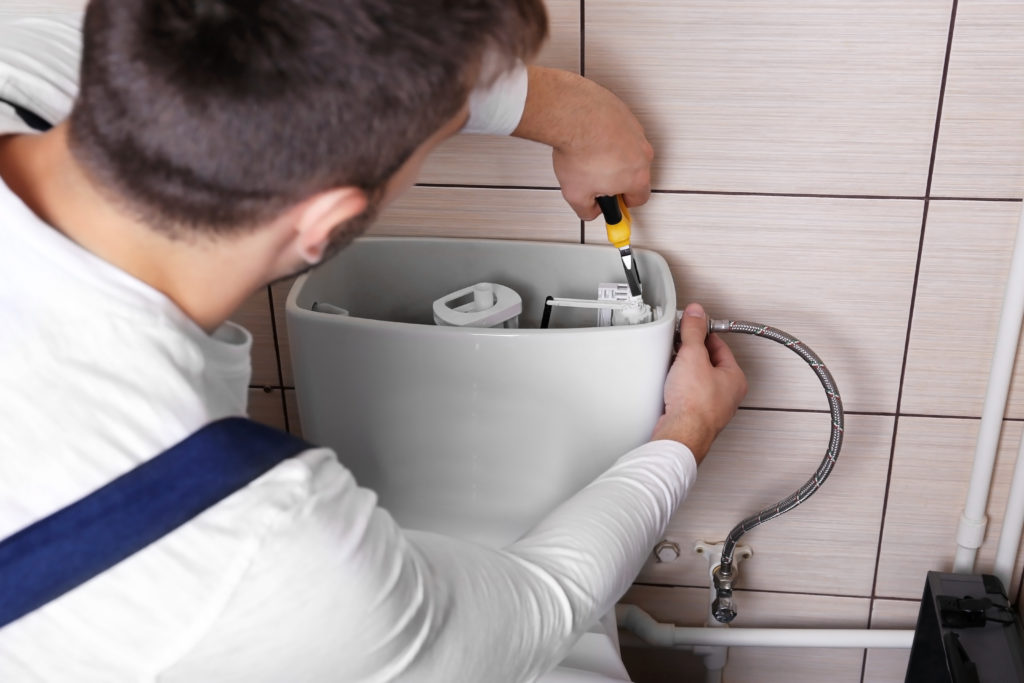
A water supply tube is a pipe that connects to the water shutoff valve. Often, an older water supply tube is made of copper and newer tubes are made from braided stainless steel.
When you locate the water supply tubes, begin disconnecting them one at a time. Remember the bucket from the materials list? Here’s where you’ll need it. Place a bucket under the shutoff valve to catch any water that escapes.
How to Disconnect Water Supply Tubes
- Loosen the compression nut on the tube with an adjustable wrench, turning the nut counterclockwise.
- Slip the water supply tube off of the valve.
- Watch for seeping water from the shutoff valves. If water continues to seep, shut off the water to the house by way of the main shutoff valve.
2) Take Off the Drain Trap
The drain trap, also called the plumbing trap or P-trap, is a curved piece of metal or PVC plastic. Drain traps work by preventing sewer gas from rising back up through the drain and into your home. It’s hard to miss this quintessential curved pipe when you look under your bathroom sink.
The drain trap is assembled from three parts:
- A straight tailpiece that extends down from the sink and connects to the drainpipe
- A U-shaped bent trap
- A straight trap arm with an elbow that leads to the drainpipe in the wall
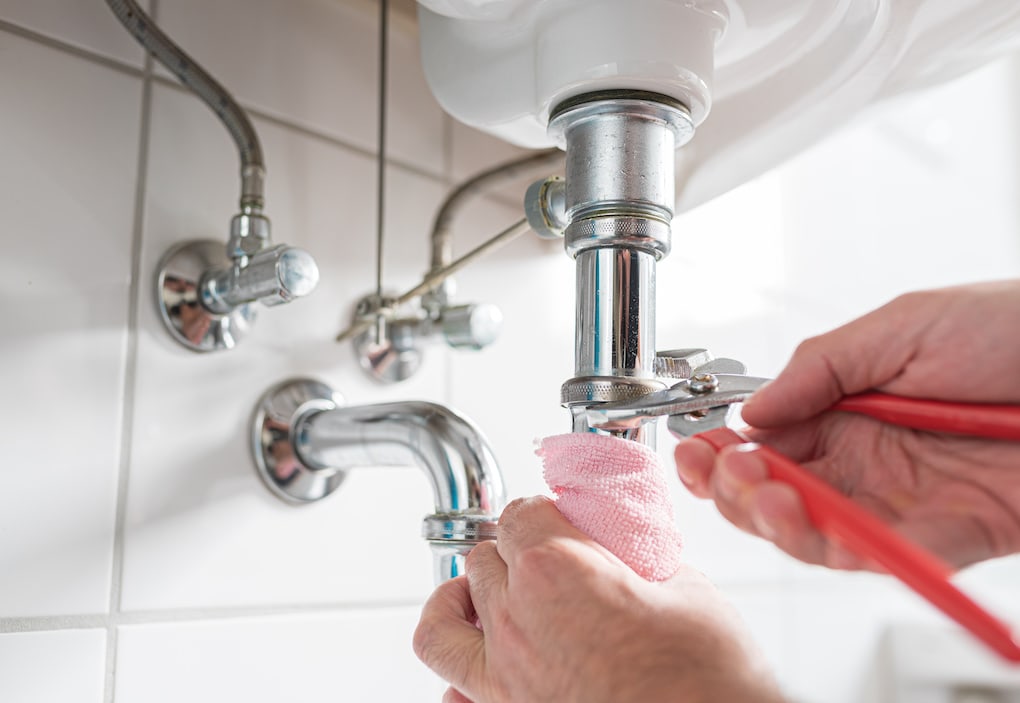
Keep your trusty bucket around as you take off the plumbing trap, and follow these steps:
- Loosen the two outermost slip nuts, one on the sink tailpiece and one at the wall end
- Use your hands to loosen the slip nuts if the pipes are PVC plastic, or use channel-lock pliers
- Turn the slip nuts counterclockwise
- Slide the nuts away from the threaded ends of the pipes
- Slowly remove the plumbing trap apparatus
- Dump water from the P-trap into the bucket
- Put a rag in the open pipe in the wall to seal off any sewer gasses
Now that you’ve handled the pipes and water supply, you can move on to removing the exterior components of your bathroom vanity.
3) Remove the Mirror
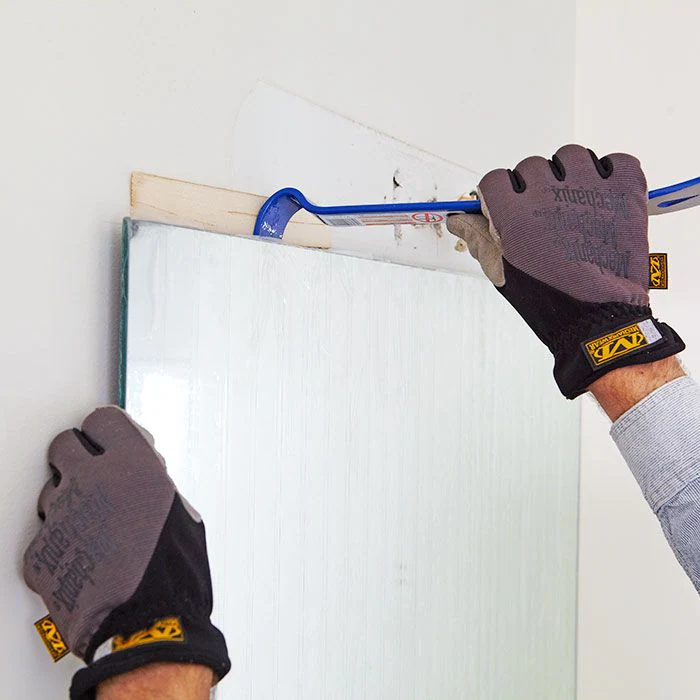
While removing the wall mirror isn’t always required, we recommend it. If your vanity mirror rests on the countertop or backsplash, you run the risk of breaking the mirror when you remove the cabinet. However, if your mirror is glued to the wall, it’s easiest to keep it in place unless you plan to replace it.
Use a screw gun to loosen the screws that hold the mirror in place. Mirrors are often much heavier than they look, so be careful as you take off the screws. Gently remove the mirror from the bathroom once it’s loosened.
Source: Lowes.com
4) Disassemble the Vanity Top and Cabinet
The bulk of the work occurs when you remove the countertop and bathroom vanity cabinet. Use care as you complete these steps and have a friend or family member help you if desired. Before you remove the vanity countertop, take out the sink and faucet. Since you’ve already disconnected the water supply and removed the P-trap, the sink should lift out with ease. Removing this beforehand will make it easier for you to maneuver the countertop and cabinet.
Removing the Vanity Top
Grab your sharp utility knife and begin by gently cutting through the caulk where:
- The vanity countertop meets the wall
- The cabinet meets the wall
- The edges between the countertop and the cabinet
After the caulk is scored, check underneath the countertop for any clips or brackets holding the countertop to the cabinet and unscrew them. Then carefully lift the front edge off the top. If the top isn’t budging, it may be glued to the cabinet. In this case, you can use a flat pry bar to separate the two.
Very gently pull the top up from the cabinet and away from the wall. Take extra care not to cause any wall damage during this step.
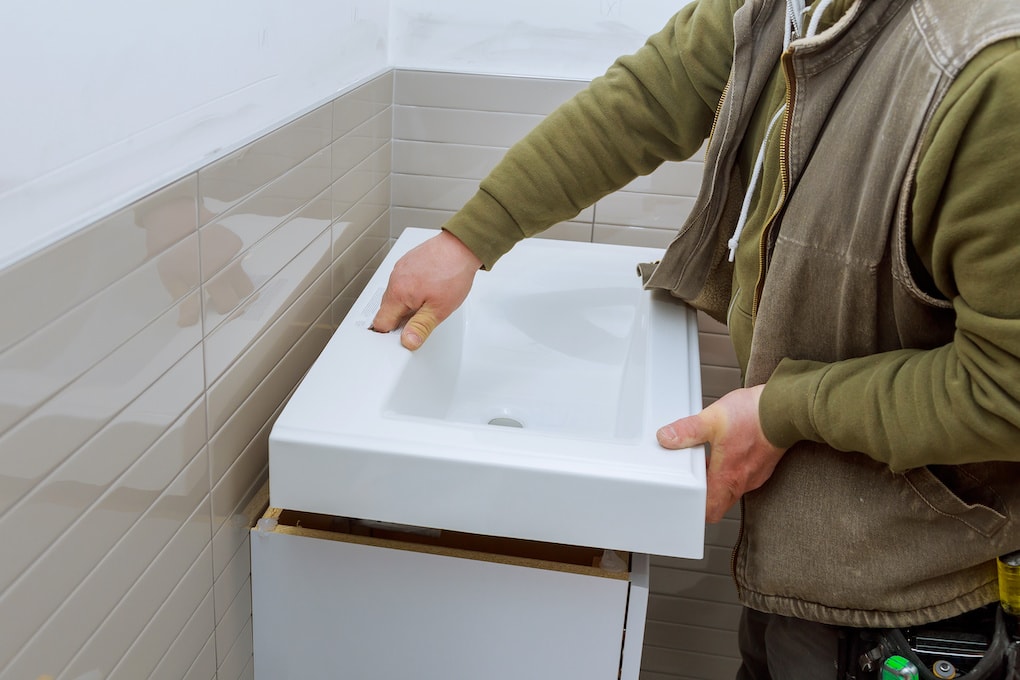
Remove the Vanity Cabinet
Most vanity cabinets are attached to the wall with screws driven through a mounting strip, while others may be screwed into the floor. Check inside your cabinet to see how it is anchored. Once you’ve determined where the screws are, begin removing screws with a screwdriver or screw gun.
Sometimes, cabinets are secured with nails instead of screws. If this is the case for your vanity cabinet, gently pry the cabinet away from the wall with a flat pry bar. To prevent wall damage, place a wood block between the pry bar and the wall, and use the block as leverage.
Once the cabinet has been loosened, carefully pull it away from the wall, and take caution against damaging or turning on any water valves along the way. After this step is completed, you’ve successfully removed your old bathroom vanity! All that’s left is to clean up and prepare for your new installation.
5) Prepare the Area for a New Vanity
After you remove your bathroom vanity, the area will likely look unkempt. Clear the old vanity out of your bathroom so you can work on tidying the area. There’s a good chance that there will be residual caulk on your walls. Remove this caulk with a scraper or putty knife.
If your new vanity will be the exact same size as your old one, you can leave the walls and floors as-is to save time. However, if the new vanity you’ve picked out is shorter or smaller than the old one, you will need to cover some blemishes.
Patch any nail holes on your wall, and paint the now-empty area to match the rest of your walls. Additionally, patch exposed areas of the floor with new flooring before you install your new vanity. This final step will ensure your bathroom project will look pristine once it’s finished.

Looking for Professional Guidance? Trust AJ Alberts Plumbing
Now that you know how to remove a bathroom vanity, you can decide whether to give it a try or leave it to the professionals. Another option would be to remove your bathroom vanity by yourself, then hire a professional to handle the new installation and bathroom plumbing work. At the end of the day, when you put time, money, and effort into your bathroom remodeling project, you want the results to be outstanding.
Do you need a helping hand for removing or installing a bathroom vanity? Leave it to the pros! Reach out to AJ Alberts Plumbing for all your bathroom plumbing repair and installation needs.

